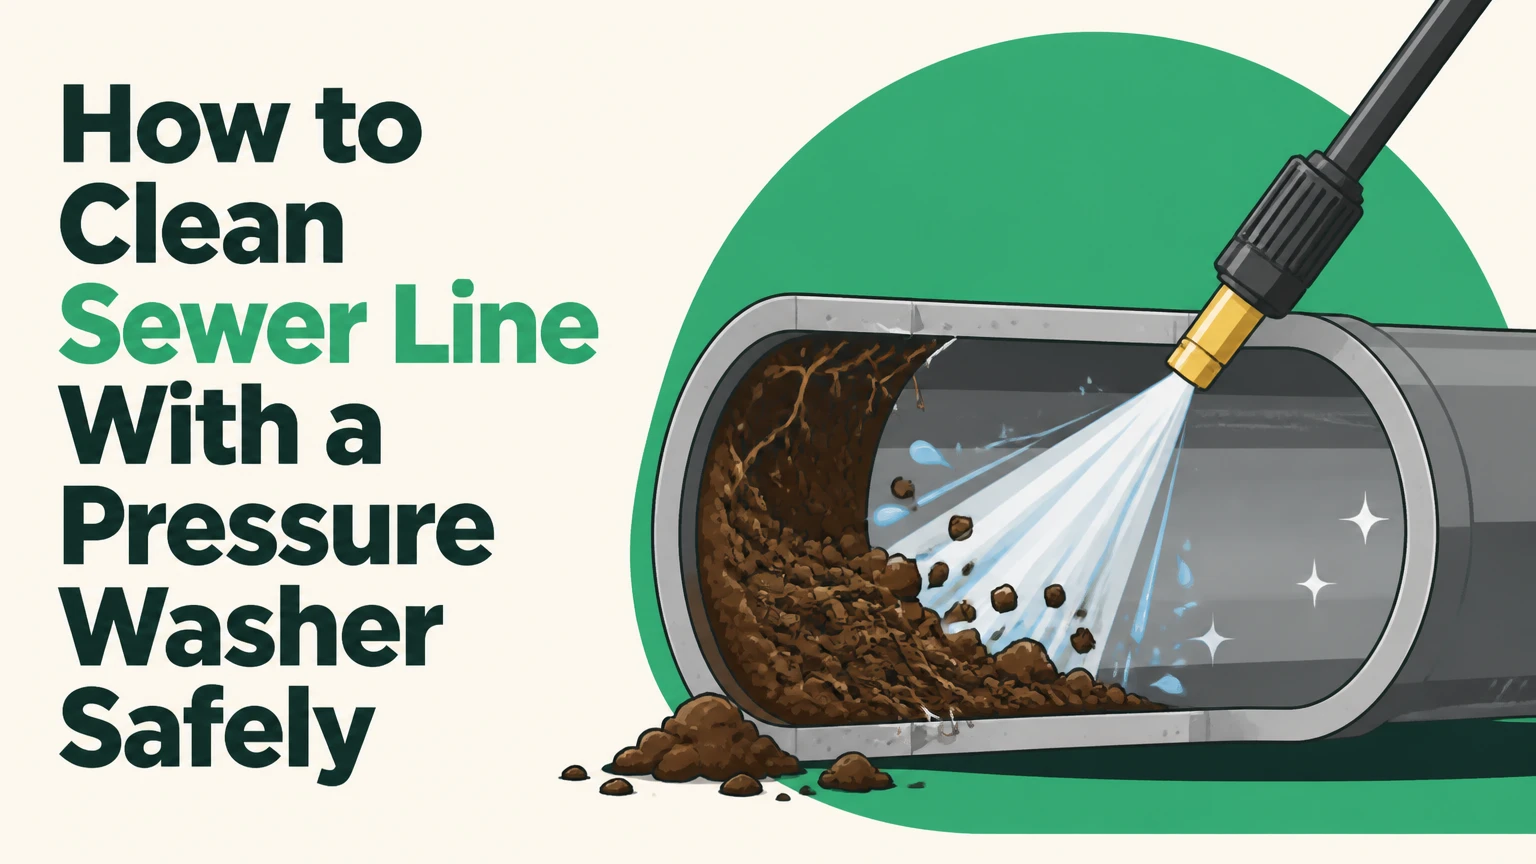
To understand how to clean sewer line with a pressure washer, use a sewer-jetter hose and purpose-built nozzle through an accessible cleanout, not a standard spray wand. Feed the hose only after the nozzle is inside the pipe, use pressure and flow suited to the pipe’s condition, then flush and inspect the line before declaring it clear.
Key Facts at a Glance
- A sewer jetter cleans pipe walls with directed water, while a drain snake usually creates a passage through the obstruction.
- A 3- to 4-inch residential main commonly needs about 2,500-4,000 PSI and 2.5-4 GPM, subject to pipe condition and nozzle design.
- Gallons per minute controls flushing capacity; PSI alone does not predict effective sewer cleaning.
- A camera inspection should precede DIY jetting when the line is old, repeatedly blocked, structurally damaged, or made from Orangeburg pipe.
- A typical residential jetting session takes 1-3 hours, including setup, cleaning, retrieval, and verification.
- A pressure washer hose can whip violently if the nozzle is outside the pipe or if the operator loses control of the pressurized line.
Can a Pressure Washer Clean a Sewer Line?
A pressure washer can clean some residential sewer lines when paired with a sewer-jetter hose, correct nozzle, adequate water flow, and a sound pipe. A household pressure washer is usually suitable for soft grease, sludge, soap residue, and light sediment in accessible 2- to 4-inch lines, but it is not a universal substitute for a professional jetter.
A standard pressure-washer wand is unsuitable because its spray pattern is designed for exposed surfaces, not controlled movement inside a buried pipe. A sewer jetter has a flexible hose, a forward-facing cutting or penetrating stream, and rear-facing streams that provide traction and wash loosened material toward the access point.
The most important limitation is diagnosis. Water can temporarily pass through a broken, offset, root-filled, or collapsed pipe without repairing it. The Plumbing Manufacturers International installation principle is relevant here: drainage systems depend on correct slope, alignment, and accessible cleanouts, not simply an open channel. Jetting treats deposits and some obstructions; it does not rebuild missing pipe walls or correct a sunken section.
How Does Sewer Jetting Remove Buildup?
Sewer jetting removes buildup by combining forward impact with rearward flushing. The front jets open a path through grease or soft sludge, while the rear jets pull the hose forward and scour residue from the pipe circumference as the operator advances and retracts it.
A sewer jetter nozzle is not a pressure washer tip with a longer hose. Orifice size, jet angle, hose flexibility, and pump flow determine how much useful force reaches the obstruction. A nozzle with too many small orifices may lose performance when the water supply cannot maintain its rated flow.
The return pass matters. Pulling the hose back slowly keeps the rear jets working against the upper and side walls, where grease often remains after the initial breakthrough. Rushing retrieval can leave a partially cleaned ring of material that becomes the foundation for another blockage.
What Pressure and Flow Rate Are Appropriate?
For a typical 3- to 4-inch residential sewer main, begin with equipment rated around 2,500-3,000 PSI and 2.5-4 GPM, then follow the jetter and nozzle manufacturer’s chart. Do not select 4,000 PSI automatically: pipe age, material, joint condition, hose length, and nozzle orifice determine the safe operating point.
| Line or application | Typical working pressure | Typical flow rate | Common hose size |
|---|---|---|---|
| 1.5-2 inch branch drain | 1,500-2,000 PSI | 1.5-2.0 GPM | 1/8 or 3/16 inch |
| 3-4 inch residential main | 2,500-3,000 PSI | 2.5-4.0 GPM | 1/4 inch |
| 4-6 inch large lateral | 3,000-4,000 PSI | 3.5-9.0 GPM | 3/8 inch |
| Root cutting by contractor | 3,000-4,000 PSI | 6-18 GPM | 3/8-1/2 inch |
These are typical operating ranges, not universal settings. The rating on a pressure washer describes pump output under specified conditions, whereas the nozzle receives less effective performance after friction loss through a long hose and restrictive fittings.
GPM usually determines whether the line actually flushes. A high-PSI, low-GPM machine can pierce a soft clog but leave loosened debris downstream. Professional sewer jetters often use substantially more flow than electric homeowner machines because they must transport solids through longer and larger lines.
Which Hose, Nozzle, and Machine Should You Choose?
Choose a 1/4-inch sewer hose and flushing nozzle for a sound 3- to 4-inch residential line, provided the pressure washer can deliver the nozzle’s required flow. Use a penetrating nozzle for a soft blockage, a rotating nozzle for wall deposits, and a root-cutting nozzle only with suitable equipment and a confirmed root problem.
| Equipment choice | Typical purchase or rental cost | Best use | Main limitation |
|---|---|---|---|
| 1/4-inch conversion kit | $40-$120 | Light grease and sludge | Limited flow and hose control |
| Electric pressure washer setup | $100-$350 total | Short, accessible branch lines | Often below 2.5 GPM |
| Gas pressure washer setup | $300-$900 total | Residential 3-4 inch lines | Requires outdoor ventilation and fuel |
| Portable sewer jetter | $800-$3,500 | Frequent maintenance or rentals | Higher training and storage demands |
| Professional trailer jetter | $15,000-$50,000+ | Large mains and severe roots | Not economical for occasional use |
A laser or penetrating nozzle concentrates forward energy and may stall at a hard obstruction. A flat-jet nozzle flushes more broadly but can lose traction. A rotating nozzle improves wall coverage on grease, although rotation cannot compensate for inadequate flow or a structurally rough pipe.
The practitioner rule is simple: match the nozzle to the obstruction, then match the nozzle orifice to the pump. Installing a nozzle designed for 4 GPM on a machine that supplies 1.8 GPM can produce weak jets and poor hose propulsion, even when the pressure-washer label advertises a high PSI number.
What Should You Do Before Jetting?
Before jetting, identify the correct cleanout, confirm where the line discharges, inspect pipe condition when risk is high, and control every possible sewage or electrical hazard. Preparation usually takes 20-45 minutes and prevents the most expensive failures, including flooding a basement or forcing a hose into a collapsed section.
Before You Start
- Time: 1-3 hours for a typical accessible residential line.
- Difficulty: High for first-time operators because hose control and wastewater management require practice.
- Typical DIY cost: $40-$120 for a conversion kit if the pressure washer is already available.
- Rental cost: About $100-$300 per day for a suitable gas jetter, depending on location and equipment size.
- Tools: Sewer hose, matched nozzle, gloves, face shield or goggles, waterproof boots, cleanout wrench, hose guide, buckets, disinfectant, and absorbent material.
- Prerequisites: A known cleanout, a reliable water source, outdoor access where possible, and a pipe without signs of collapse.
Turn off electrical equipment near a potential sewage spill. Never use a gasoline engine in an enclosed basement, garage, crawlspace, or other poorly ventilated location. The Centers for Disease Control and Prevention advises treating sewage as contaminated material, so cover cuts, wash exposed skin, and disinfect tools after contact.
Do not open a cleanout cap while fixtures are actively discharging. Stand to the side when loosening the cap because backed-up wastewater can release suddenly under hydrostatic pressure.
How to Clean Sewer Line With a Pressure Washer
The safest process has six operating stages: prepare the access, connect and test the equipment, insert the nozzle while unpressurized, advance gradually, flush during retrieval, and depressurize before removing the hose. A typical 50- to 100-foot residential hose covers many house-to-street runs, but the actual distance must be measured from the cleanout to the suspected problem.
Step 1: Locate and Open the Cleanout
Find the main cleanout outside the foundation, in a basement, or near the property line. A main cleanout commonly has a threaded cap and may be installed on a Y-shaped fitting, although local layouts vary.
Open the cap slowly with a wrench while standing to one side. If wastewater is already at the opening, stop and use a plumber or vacuum service unless you have a controlled plan for containment.
Success checkpoint: The cleanout is accessible, stable, and large enough for the jetter hose without sharp edges.
Common mistake: Removing a toilet and inserting a large jetter through the fixture. This risks splash-back, porcelain damage, and poor hose alignment.
Step 2: Connect the Water Supply and Jetter
Connect the pressure washer to a water supply that can maintain the required flow. Attach the sewer hose to the pressure-washer outlet using the manufacturer-approved adapter, then install the selected nozzle with thread sealant only where the nozzle instructions permit it.
Inspect the hose for cuts, exposed reinforcement, crushed sections, and damaged couplings. Confirm that the nozzle orifices are open and that the hose rating exceeds the machine’s working pressure.
Success checkpoint: The hose connection is secure, the nozzle is tight, and the pump receives continuous water before engine startup.
Common mistake: Running the pump without a water supply. Cavitation can damage the pump and cause unstable pressure.
Step 3: Insert the Nozzle Before Pressurizing
Push the nozzle at least 2-3 feet into the cleanout before activating the pressure washer. Keep the hose aligned with the pipe and use a guide or protective sleeve at the opening to limit abrasion and splash.
Never energize a sewer jetter while its nozzle is outside the pipe. The rear jets can make the hose rotate or recoil, producing laceration and eye-injury hazards.
Success checkpoint: Several feet of hose are inside the line, the operator has stable footing, and the hose path is clear of hands and feet.
Common mistake: Holding the exposed hose close to the cleanout while starting the machine. Place hands behind the control point and maintain a firm, deliberate grip.
Step 4: Advance the Hose Slowly
Start the machine at the lowest effective setting allowed by the equipment instructions. Feed the hose slowly, allowing rear jets to create forward traction rather than forcing the hose around bends.
When the hose reaches resistance, pause for 30-60 seconds. Use a controlled motion that retrieves about 1 foot and advances about 2 feet, allowing the nozzle to work repeatedly against the same deposit.
Success checkpoint: The hose advances without violent bucking, pressure remains stable, and water continues moving through the line.
Common mistake: Forcing a stopped hose. A stuck nozzle may be wedged at an offset joint, tee, root mass, or collapsed section.
Step 5: Break the Blockage and Flush the Line
At a soft clog, hold position until flow improves, then advance beyond the original resistance. Continue far enough to reach the downstream connection or the estimated obstruction zone, but do not blindly feed the full hose into an unknown system.
Retract the hose slowly while the water remains on. The return pass carries grease and sediment back toward the cleanout, where it can be contained instead of being pushed into another restriction.
Success checkpoint: Water drains freely from the cleanout, downstream fixtures stop surging, and the hose returns without repeated hard stops.
Common mistake: Stopping after the first breakthrough. A narrow tunnel through grease is not the same as a clean pipe interior.
Step 6: Shut Down and Sanitize
Stop the pressure washer while the nozzle remains inside the pipe, ideally about 2 feet beyond the cleanout. Release trigger pressure, shut off the water supply, and pull the hose out manually only after pressure has dissipated.
Cap the cleanout securely and test several fixtures, starting with a low-volume faucet and then a toilet flush. Wash the hose and nozzle with detergent, apply a suitable disinfectant according to its label, and keep contaminated gear separate from household tools.
Success checkpoint: Fixtures drain without gurgling, the cleanout remains dry, and the equipment is rinsed and stored without sewage residue.
Common mistake: Pulling a live, pressurized hose through the opening. The nozzle can whip as it exits and spray contaminated water across the work area.
When Should You Not Jet a Sewer Line?
Do not jet a sewer line when the pipe may be collapsed, severely corroded, displaced, or made from fragile Orangeburg, unless a qualified professional has inspected it. Water pressure can remove a blockage while worsening a defect, and a newly opened line may then leak sewage into soil or a building.
| Condition | DIY jetting decision | Safer next action |
|---|---|---|
| PVC or ABS, built after 1970, isolated grease clog | Often reasonable | Use matched low-end settings |
| Clay pipe with recurring roots | Do not begin blindly | Camera inspection and professional jetting |
| Orangeburg or heavily rusted cast iron | Avoid DIY jetting | Camera inspection and repair plan |
| Total backup with no visible flow | High risk | Stop fixture use and call a drain professional |
| Suspected collapsed or bellied pipe | Do not jet | Locate defect with a camera |
| Septic lateral near a full tank | Usually unsuitable | Check tank level and outlet condition |
An inspection camera is especially valuable when the same section blocks every few months. The camera identifies roots, grease, a belly, an offset, or a foreign object, while jetting alone can conceal the cause until the next failure.
What Changes for Tree Roots and Recurring Clogs?
Tree-root intrusion usually requires professional equipment, because root cutting depends on flow, hose diameter, nozzle design, and recovery control rather than PSI alone. A homeowner pressure washer may open a small channel without removing the root mass or preventing regrowth.
Root treatment also requires diagnosis. Roots enter through joints or cracks, so repeated cutting is maintenance, not a permanent repair. A contractor may recommend camera documentation, mechanical cutting, hydro jetting, pipe lining, or excavation based on the defect’s location and severity.
Hydro Jetting Versus Snaking
Hydro jetting is better for grease, sludge, and broad wall deposits, while mechanical snaking is often better for a discrete solid object or an initial emergency opening. Neither method repairs structural damage, and a snake may be the safer first response when the pipe’s condition is unknown.
| Decision factor | Hydro jetting | Mechanical snaking | Camera inspection |
|---|---|---|---|
| Main action | Scours the full pipe diameter | Cuts or punctures a path | Visualizes pipe condition |
| Typical duration | 1-3 hours | 30-120 minutes | 30-90 minutes |
| Best target | Grease, sludge, sediment | Soft blockage or solid object | Roots, breaks, offsets, bellies |
| Typical professional price | $350-$800 | $150-$500 | $100-$400 |
| Main risk | Splash-back or pipe damage | Cable binding or incomplete cleaning | Does not remove blockage |
| Result | Cleaner walls and flushing | Temporary or targeted opening | Evidence for the next decision |
A snake can move a toy, rag, or compacted obstruction when water would only circulate around it. Hydro jetting can then clean residual deposits after removal, but using water first may push a foreign object farther downstream.
How Much Does Sewer Jetting Cost?
DIY sewer jetting typically costs $40-$120 for a conversion kit, $100-$300 for a daily rental, or $300-$900 when a suitable gas pressure washer must also be obtained. A professional residential hydro-jetting visit commonly costs about $350-$800, with access, camera inspection, roots, distance, and cleanup affecting the final price.
| Service scenario | Typical cost | Typical time | Price drivers |
|---|---|---|---|
| DIY kit with existing washer | $40-$120 | 1-3 hours | Hose, nozzle, adapters |
| Jetter rental | $100-$300 per day | 2-4 hours | Machine size and deposit |
| Professional grease cleaning | $350-$600 | 1-3 hours | Cleanout access and flow |
| Professional root cleaning | $500-$1,200 | 2-5 hours | Root mass and camera work |
| Excavation or replacement | $3,000-$15,000+ | 1-5 days | Depth, surface, pipe length |
A low service price may cover only snaking, not hydro jetting or camera documentation. Ask whether the estimate includes inspection, cleanout access, wastewater containment, a return flush, and a recording of any structural defect.
How Long Does Cleaning Take?
A straightforward residential sewer jetting job usually takes 1-3 hours, including setup and cleanup, while root-filled or difficult-to-access lines can take 2-5 hours. The actual water-jetting pass may last less than an hour, but safe diagnosis and controlled hose retrieval account for much of the appointment.
Do not measure success by speed. A fast breakthrough followed by a recurring blockage is less useful than a slower pass that removes the deposit and documents the line condition.
Common Failures and How to Fix Them
What If the Hose Gets Stuck?
Stop advancing, release pressure, and avoid yanking the hose. Once the jets stop propelling it, gently rotate and withdraw the hose; if resistance remains, a camera inspection or professional recovery is safer than damaging the coupling or pipe.
What If Water Rises From the Cleanout?
Stop feeding the hose and reduce or stop water flow. The line may be receiving water faster than the downstream restriction can carry it, so contain the spill, allow the level to recede, and reassess the obstruction.
What If Pressure Drops Suddenly?
Check the water faucet, inlet screen, supply hose, trigger, couplings, and nozzle orifices. Sand or scale can block a jet hole, while an undersized water supply can cause pressure to fall whenever the trigger opens.
What If the Line Still Drains Slowly?
Do not repeat jetting indefinitely. A remaining root, belly, offset, partial collapse, or downstream municipal restriction may be the cause, and a camera provides more useful evidence than another blind cleaning attempt.
How to Verify the Result
Verify a sewer-line cleaning by testing multiple fixtures, observing the cleanout during discharge, and using a camera when the clog was severe or recurring. A successful test produces rapid fixture drainage without gurgling, cleanout overflow, or delayed backup after several minutes of moderate water flow.
Run a bathroom faucet for two minutes, drain a tub if its outlet shares the line, and flush one toilet while watching the cleanout from a safe position. Do not pour a large volume into the system if the cleanout is already unstable or the property uses a septic tank with a suspected full tank.
A post-cleaning camera is the strongest verification method. It can show whether the sewer line is open, whether grease remains on the crown, and whether roots or structural defects require repair rather than another cleaning cycle.
FAQ
Can I Use Hot Water in a Sewer Jetter?
Use only the water temperature allowed by the pressure washer, hose, and nozzle manufacturer. Many cold-water sewer hoses are rated for ordinary supply water, while hot-water jetters require temperature-rated seals and components. Hot water may soften grease, but it does not make a damaged or root-filled line safe to jet.
Is 4,000 PSI Too Much for a Residential Sewer Line?
Four thousand PSI is not automatically safe or unsafe because nozzle orifice, GPM, pipe material, and condition determine the force delivered. A sound modern line may tolerate professional equipment, but blindly applying maximum pressure to old clay, Orangeburg, or corroded cast iron can worsen defects.
Can Pressure Washing Remove Tree Roots Permanently?
Pressure washing can cut or wash away some roots, but it does not permanently seal the crack or joint that allowed roots to enter. Recurring roots require camera diagnosis and may need pipe repair, lining, excavation, or scheduled professional maintenance.
Can I Jet a Sewer Line Toward a Septic Tank?
Do not jet toward a septic tank without confirming the tank level, baffle condition, and outlet path. A high-volume flush can disturb solids or overwhelm a restricted outlet. A septic professional should handle a lateral that is backed up near the tank.
Should I Snake or Jet a Completely Blocked Main Line?
For a completely blocked main line, a snake may create an initial opening with less water and less flood risk, especially when the pipe condition is unknown. Jetting is more suitable after diagnosis or when grease and wall deposits are the confirmed cause.
The Bottom Line
How to clean sewer line with a pressure washer safely depends on using a sewer-jetter hose, matching the nozzle to the machine, inserting the nozzle before pressurization, and confirming that the pipe is structurally sound. DIY hydro jetting can handle accessible soft buildup, but recurring clogs, roots, total backups, and old pipe materials justify camera inspection or professional service before high-pressure cleaning.