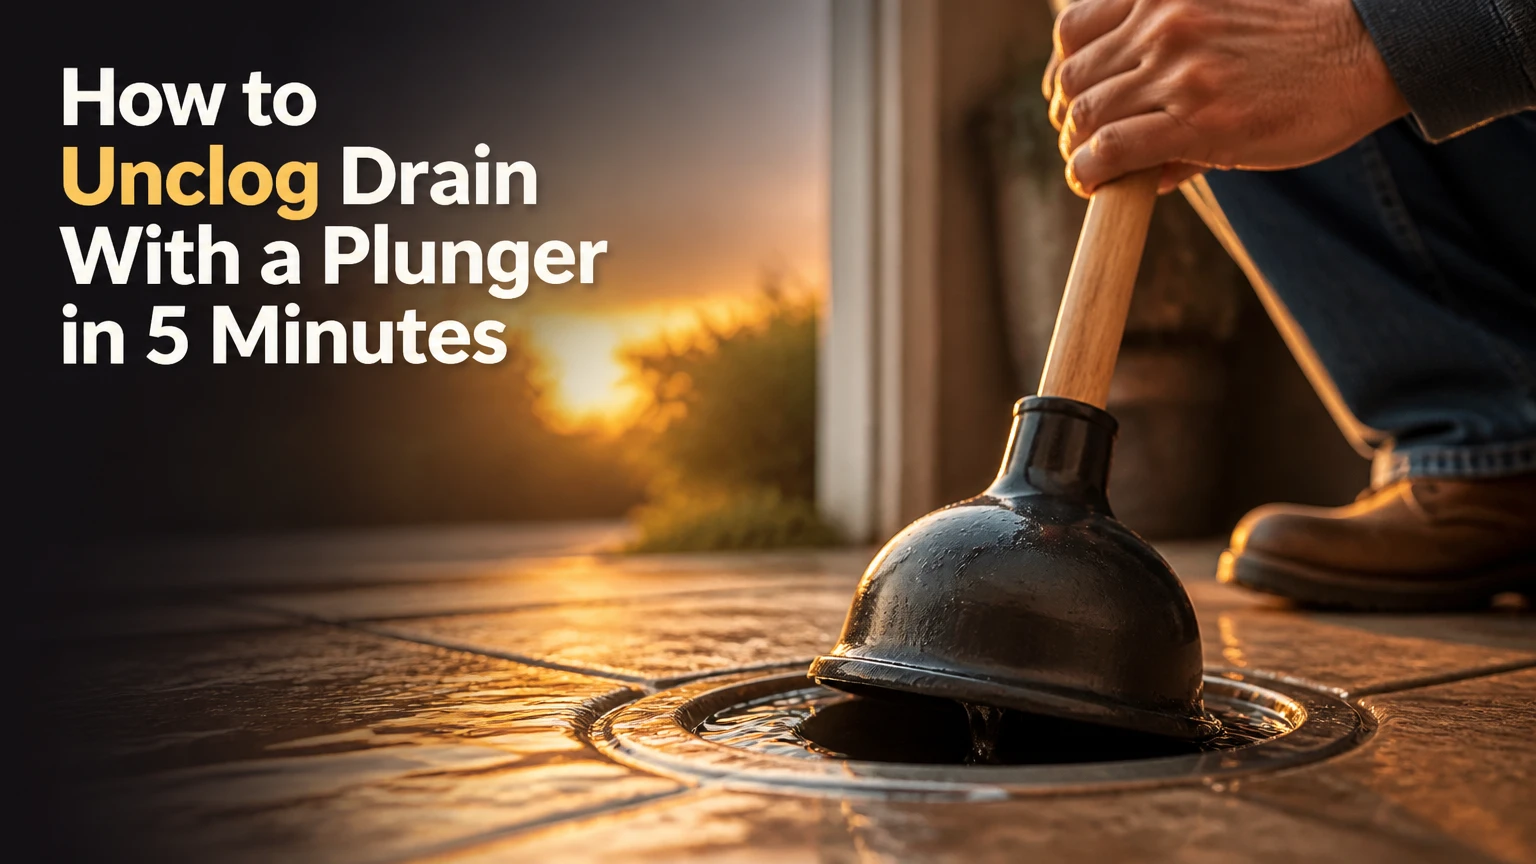
To unclog a drain with a plunger, choose the correct plunger, cover every secondary opening, add enough water to submerge the cup, and make 15-20 firm vertical strokes while maintaining the seal. Most small sink, tub, shower, and toilet clogs respond within 2-5 minutes when the blockage is close to the fixture.
Key Facts at a Glance
- A flat cup plunger seals flat sinks, showers, bathtubs, and utility tubs; a flange plunger seals toilet trapways.
- Standing water transfers plunging force more effectively than trapped air, so the plunger cup should be submerged.
- A bathroom sink or tub overflow must be sealed before plunging, or pressure escapes through the opening.
- A typical plunging session lasts 15-20 seconds, followed by a flow test and a gradual flush.
- Never plunge water that may contain chemical drain cleaner because contaminated splash can burn skin and eyes.
- A plunger can move a localized soft blockage, but it cannot repair roots, collapsed pipe sections, or many hard objects.
What a Plunger Can and Cannot Clear
A drain plunger is a flexible rubber or thermoplastic cup attached to a handle. The cup forms a temporary seal around a drain opening, allowing your strokes to move water back and forth inside the pipe rather than merely shifting air at the surface.
A plunger is most effective against localized, movable material. Common examples include hair near a shower drain, food residue near a kitchen sink strainer, toilet paper in a toilet trap, and soap or organic sludge in a bathroom basin. The tool is less useful when water backs up in several fixtures, because that pattern often indicates a deeper branch-line or main-line obstruction.
A plunger is not a universal drain repair tool. Tree roots, mineral scale, a collapsed drain, and an object wedged beyond the trap generally require an auger, inspection, or professional repair. Repeated plunging can also push a dropped object farther into a pipe.
Why Does Plunging Work?
Plunging works by creating alternating pressure and partial vacuum in water above the blockage. A downward stroke compresses and displaces water toward the clog, while an upward stroke pulls water back toward the fixture; the changing force can loosen, fracture, or reposition soft debris.
Water is effectively incompressible for this household application, whereas a pocket of air absorbs much of the handle movement. That is why a dry basin produces weak results and why lowering the cup at an angle helps fill it with water before the first stroke.
The plunger does not need to create a perfect laboratory vacuum. It needs a stable seal and enough water movement to transmit force. A loose rim, an uncovered overflow, or an open second bowl can reduce the pressure reaching the blockage.
Which Plunger Fits Each Fixture?
The correct plunger depends on the shape of the drain opening and the distance to the obstruction. Use a flat cup for a flat basin and a flange plunger for a toilet, because the flange enters the toilet outlet and creates a more reliable seal.
| Plunger type | Best fixture | Typical price | Useful feature | Main limitation |
|---|---|---|---|---|
| Flat cup | Sink, tub, shower, utility tub | $5-$15 | Broad rubber rim seals flat surfaces | Poor seal in toilet bowls |
| Flange | Toilet, occasional flat drain | $8-$18 | Fold-out sleeve enters toilet trapway | Too narrow when used without flange on some sinks |
| Accordion | Toilet with stubborn soft clog | $18-$30 | Rigid bellows displace substantial volume | Hard plastic can scratch porcelain |
| Bellows or beehive | Toilet with broad outlet | $10-$25 | Flexible shape fits several trapway designs | Less useful on flat sink drains |
A dedicated flat cup is the practical choice for kitchens and bathrooms. A dedicated flange model is safer for toilets than repeatedly repurposing a sink plunger, particularly when the sink plunger has contacted food residue or cleaning chemicals.
Accordion plungers can produce strong displacement, but force is not always an advantage. A rigid plastic head may damage porcelain if rocked sideways, and it can force water around a poor seal instead of through the clog. Start with a rubber flange plunger.
Before You Start
Prepare the fixture, water level, and surrounding area before plunging. The basic setup takes 2-3 minutes and requires a compatible plunger, gloves, towels, and a bucket for excess water.
| Requirement | Typical amount or specification | Why it matters |
|---|---|---|
| Standing water | 2-3 inches in a sink or tub | Submerges the cup and transmits force |
| Active plunging | 15-20 seconds per session | Creates repeated pressure cycles |
| Sessions before escalation | 2-3 sessions | Separates a difficult soft clog from a failed approach |
| Cleanup water | 1-2 gallons for a sink or tub | Rinses loosened residue after flow returns |
| Protective equipment | 1 pair of waterproof gloves, eye protection | Reduces contact with contaminated splash |
Do not begin if chemical drain opener may be present. Read the product label, avoid contact, ventilate the room, and follow the label’s disposal or dilution instructions. A plunger can propel caustic liquid upward with enough force to cause serious injury.
Remove the stopper, strainer, or visible hair only if you can do so without pushing debris deeper. Keep towels around the fixture, and remove stored items from the cabinet beneath a sink because a loose trap connection can leak during vigorous pressure changes.
Step 1: Seal the Overflow and Secondary Drains
Seal every opening connected to the fixture before placing the plunger. Cover a bathroom sink or bathtub overflow with a wet folded cloth held firmly over the opening; use duct tape only on a clean, dry surface when a temporary airtight cover is needed.
For a double-bowl kitchen sink, fill the unused bowl with a stopper or cover its drain with a rubber plug and a weighted, wet cloth. A dishwasher air gap is not normally the target opening, but avoid directing water toward it during cleanup.
You will know the setup is ready when the covering remains in place during a gentle test push. The common mistake is leaving the overflow open, which lets air and water escape through the vent instead of moving toward the blockage.
Step 2: Set the Water Level
Add enough water to cover the plunger cup’s rim by approximately 1 inch, usually 2-3 inches in a sink or tub. If the fixture is full, remove water with a container until the cup can sit without causing overflow.
The water should be deep enough to fill the cup, but not so high that the first stroke sends dirty water onto the wall or floor. A toilet bowl usually contains sufficient water already; remove some if the waterline is close to the rim.
You will know the level is suitable when the rubber cup is submerged and the handle can move vertically without splashing over the basin. The common mistake is plunging a dry drain, which mostly compresses air and delivers little hydraulic force.
Step 3: Position the Correct Plunger
Use a flat cup on a sink, shower, bathtub, or utility tub, and use a flange plunger on a toilet. Inspect the rubber for cracks, hardening, or a warped edge, because a damaged cup cannot maintain pressure.
Lower the plunger into the water at an angle, then center it over the drain. Tilting the cup first allows water to replace trapped air inside the cup. A very thin film of petroleum jelly on the rim can improve sealing on some smooth basins, but it is optional and should not be used as a substitute for the correct shape.
You will know the position is correct when the entire rim contacts the fixture surface. The common mistake is using a small, flat sink cup inside a contoured toilet bowl, where the cup cannot seal the trapway.
Step 4: Establish a Stable Seal
Press the cup down over the drain with the handle vertical and keep the rim fully submerged. On a toilet, insert the flange into the outlet opening before pressing the cup against the bowl.
Make one slow downward push to remove excess air from the cup. Hold the rim in place and avoid side-to-side rocking, which breaks the seal and increases splash without improving pressure transfer.
You will know the seal is stable when the cup resists upward movement and the water surface moves around the rubber rather than escaping beneath one edge. The common mistake is gripping the handle too far from vertical, which turns useful pressure into sideways leakage.
Step 5: Plunge With Controlled Vertical Strokes
Push down and pull up rapidly for 15-20 cycles, keeping the seal intact and using the full flexible travel of the cup. Begin with moderate force, then increase pressure only after the seal remains stable; the upward pull matters because it can draw the loosened material toward the fixture.
For a sink or tub, 15-20 seconds is a practical first session. For a toilet, use slower, deeper strokes at first to avoid sending bowl water over the rim. Pause if the water rises rapidly, then close the toilet’s supply valve or lift the tank flapper to prevent an overflow.
You will know progress is occurring when the water level pulses, falls between strokes, or drains quickly after the seal breaks. The common mistake is treating maximum force as the goal. Seal quality and water movement usually matter more than brute strength.
Step 6: Break the Seal and Test the Drain
Pull the plunger straight up to release the seal, then watch the water for 10-15 seconds. A clear drain usually accepts the water rapidly without rising, while a partial clog may create a slow whirlpool or brief backup.
Do not immediately pour a full sink of water into a questionable drain. Add approximately 1 quart first, observe the flow, and repeat once if the water disappears without rising. For a toilet, flush once only after the bowl level has returned to its normal position.
You will know the clog is probably clear when a controlled test drains at normal speed and does not gurgle in a neighboring fixture. The common mistake is testing with maximum volume, which can recreate a backup before you know whether the blockage has fully moved.
Step 7: Flush Away Loosened Debris
Run warm or hot tap water for 1-2 minutes after a sink, shower, or tub begins draining normally. Hot tap water is safer for most household drain materials than pouring a large pot of boiling water into a cold plastic trap, which can deform some fittings or damage a fixture.
Use the normal flush handle for a toilet and monitor the bowl through the entire cycle. Do not add chemical cleaner as a finishing step; physical removal and ordinary water flow are preferable when the clog has already loosened.
You will know the cleanup succeeded when the fixture accepts several moderate water releases without slowing. The common mistake is assuming one fast drain proves the pipe is clean, even though a remaining grease or hair layer can cause another blockage within days.
Common Mistakes and How to Fix Them
Most failed plunging attempts result from a poor seal, an incorrect plunger, unsafe chemical use, or a blockage located beyond the tool’s useful reach.
| Symptom | Likely cause | Corrective action | Escalation point |
|---|---|---|---|
| Cup will not stay attached | Dry rim, wrong shape, damaged rubber | Add water, change plunger, inspect rim | After 2 failed setup attempts |
| Water splashes outward | Sideways strokes or excessive water | Reduce level, keep handle vertical | Immediately if chemical residue exists |
| Second sink bowl fills | Open shared drain | Stop, seal the second bowl, retry | If both bowls remain blocked |
| Water pulses but does not fall | Soft clog is deeper or compacted | Repeat 2 sessions, then use an auger | After 3 sessions with no improvement |
| Several fixtures back up | Branch or main-line obstruction | Stop fixture use and inspect cleanout | Call a plumber promptly |
| Toilet level rises toward rim | Excessive water or downstream blockage | Stop flushing, close supply valve | If level does not recede |
A petroleum jelly coating can improve a marginal seal, but it cannot correct a warped cup or a porcelain-to-rubber mismatch. Replace inexpensive plungers when the rim has become stiff, split, or permanently distorted.
A neighboring fixture that backs up during plunging is a diagnostic signal. It suggests the pressure is reaching a shared branch line, so continuing to plunge one fixture may move contaminated water into another fixture rather than clearing the obstruction.
What Should You Do If the Plunger Fails?
Stop after two or three correctly performed sessions of about 15-30 seconds each when the water level shows no meaningful change. Repeated force can push a hard object deeper, loosen a trap fitting, or create a leak without solving the obstruction.
For a sink, remove and clean the P-trap only if you can shut off the water, place a bucket beneath the trap, and identify the slip nuts or threaded connections. A hand auger with a 15-foot cable can reach beyond the trap, but feed it gently because forceful cranking can damage fittings or snag an object.
For a toilet, use a closet auger designed for toilet porcelain. A typical 3-6-foot toilet auger protects the bowl better than a general drain snake, while a long cable is appropriate only when the blockage is farther down the branch line.
| Clog or symptom | Better next method | Typical reach or duration | Do not use when |
|---|---|---|---|
| Hair at shower opening | Drain hook or small hand snake | 12-24 inches, 2-5 minutes | The drain contains chemical cleaner |
| Sink clog beyond P-trap | Hand-crank auger | 15 feet, 10-20 minutes | You cannot access or reseal the trap |
| Toilet paper in trapway | Flange plunger, then closet auger | 3-6 feet, 5-15 minutes | Bowl porcelain is cracked |
| Dropped toy or jewelry | Retrieval tool or plumber | Fixture-specific | The object may be pushed farther |
| Multiple slow fixtures | Branch-line inspection | Professional diagnosis | Any fixture risks overflow |
| Recurring clog with gurgling | Camera inspection or drain service | Professional visit | The blockage returns within days |
Do not use a chemical drain opener as a routine substitute for mechanical clearing. Chemical products may dissolve some organic material, but they do not remove toys, roots, collapsed pipe sections, or many dense hair mats, and residue creates a hazard for anyone who later opens the trap.
How Much Time and Money Does Plunging Take?
A basic plunger repair typically costs $5-$18 for the tool and takes 5-10 minutes including setup, active strokes, testing, and cleanup. A premium accordion model may cost $18-$30, but a more expensive plunger does not compensate for a poor seal or an incorrectly diagnosed blockage.
| Situation | Tool cost | Active time | Typical total time | Likely result |
|---|---|---|---|---|
| Bathroom sink, localized sludge | $5-$15 | 30-60 seconds | 5-10 minutes | Often improves after setup |
| Shower hair clog near opening | $5-$15 | 30-90 seconds | 5-15 minutes | May need a drain hook |
| Toilet paper blockage | $8-$18 | 30-90 seconds | 5-10 minutes | Often responds to flange model |
| Dense or recurring clog | $8-$30 | 2-5 minutes | 10-30 minutes | May require auger |
| Multiple-fixture backup | $0-$30 for initial tool | Not reliably DIY | Variable | Professional diagnosis likely |
There is no dependable universal success percentage for plungers across all homes, pipes, clog materials, and fixture designs. Claims such as an 80%-85% success rate should be treated cautiously unless the seller defines the sample, clog type, and test conditions.
Which Variations Require a Different Technique?
Fixture geometry changes the setup, but the hydraulic principle remains the same. The three most common variations are a double-bowl kitchen sink, a shower or tub with an overflow, and a toilet with a rising water level.
Double-Bowl Kitchen Sink
Seal the unused bowl completely before plunging the blocked bowl. Remove standing water until the cup is submerged, then use short vertical strokes while keeping the second drain covered.
If both bowls fill or the dishwasher connection gurgles, the blockage may sit beyond the shared trap. Stop before dirty water enters the dishwasher line, and move to P-trap cleaning or an auger.
Shower or Bathtub
Remove the drain cover and clear visible hair before applying a flat cup. Seal the tub overflow with a wet cloth, then add enough water to cover the cup rim without flooding the floor.
A shower drain often contains hair close to the opening, so a plastic drain hook may remove more material than plunging. Plunge first when the clog is soft and submerged; retrieve visible hair afterward rather than forcing it deeper.
Toilet
Use a flange plunger and keep the bowl below the rim. Start with slow strokes, pause if the water rises, and close the toilet shutoff valve if a flush threatens to overflow.
Do not use a sink plunger, metal coat hanger, or repeated full flushes as a substitute for a toilet auger. Those approaches can damage porcelain, scratch the trapway, or push an object farther into the drain.
When Should You Call a Plumber?
Call a plumber when multiple fixtures back up, sewage enters the home, the clog returns quickly, or plunging produces no change after three properly sealed sessions. Those signs point beyond a small fixture-side blockage and may indicate a branch-line obstruction, root intrusion, pipe damage, or a municipal sewer problem.
A plumber is also the safer choice when you suspect a hard object, cannot identify whether chemical cleaner is present, or cannot disassemble and reseal a sink trap. Stop using affected fixtures until the source is identified, because additional water can spread a backup into flooring, cabinets, or lower-level rooms.
Contact the property manager before dismantling plumbing in a rental. Tenants may be responsible for misuse-related damage but not for a building drain or shared sewer defect, and the distinction depends on the lease and local rules.
FAQ
Can I Use Dish Soap Instead of a Plunger?
Dish soap may lubricate a soft toilet-paper blockage, but it does not create the pressure needed to clear most sink or shower clogs. Use a compatible plunger first, and never combine dish soap with chemical drain cleaner. If the bowl contains unknown chemicals, avoid plunging and follow the product label.
Should I Put Petroleum Jelly on a Plunger?
A thin layer of petroleum jelly can improve the rim seal on a smooth sink or tub, but it is optional. Petroleum jelly cannot fix a cracked cup, a hardened rubber edge, an uncovered overflow, or the wrong plunger shape. Wipe the rim clean after use so it does not collect grit.
Can a Cup Plunger Unclog a Toilet?
A cup plunger can work only when its rim happens to seal the toilet outlet, which is uncommon in many bowl designs. A flange plunger is the correct toilet tool because its extended sleeve enters the trapway. Fold the flange into the cup only when adapting that model to a flat sink.
How Often Should I Plunge a Slow Drain?
Plunge a slow drain when symptoms first appear, after removing visible debris and sealing secondary openings. Do not use plunging as a scheduled maintenance method. Recurring slow flow after cleaning usually indicates buildup deeper in the branch line, so investigate the P-trap, use an auger, or arrange professional service.
Is Boiling Water Safe for Every Drain?
Boiling water is not safe for every drain or fixture. A large temperature shock can stress porcelain, soften some plastic components, and damage certain sealants. Use hot tap water for routine flushing, particularly where the trap or drain piping is plastic, and follow the fixture manufacturer’s care instructions.
Why Does My Drain Gurgle After Plunging?
Gurgling after plunging can indicate trapped air, a partial blockage farther down the branch, or a venting problem. If the sound disappears after several normal water tests, monitor the drain. If gurgling accompanies slow flow, odors, or backups in another fixture, stop using the line and arrange a plumbing diagnosis.
The Bottom Line
To unclog a drain with a plunger, match a flat cup to a sink, shower, or tub and a flange model to a toilet, then seal overflow openings, submerge the cup, and use controlled vertical strokes for 15-20 seconds. Test with a small amount of water before flushing fully. Stop after three unsuccessful sessions, after chemical exposure, or whenever multiple fixtures back up.