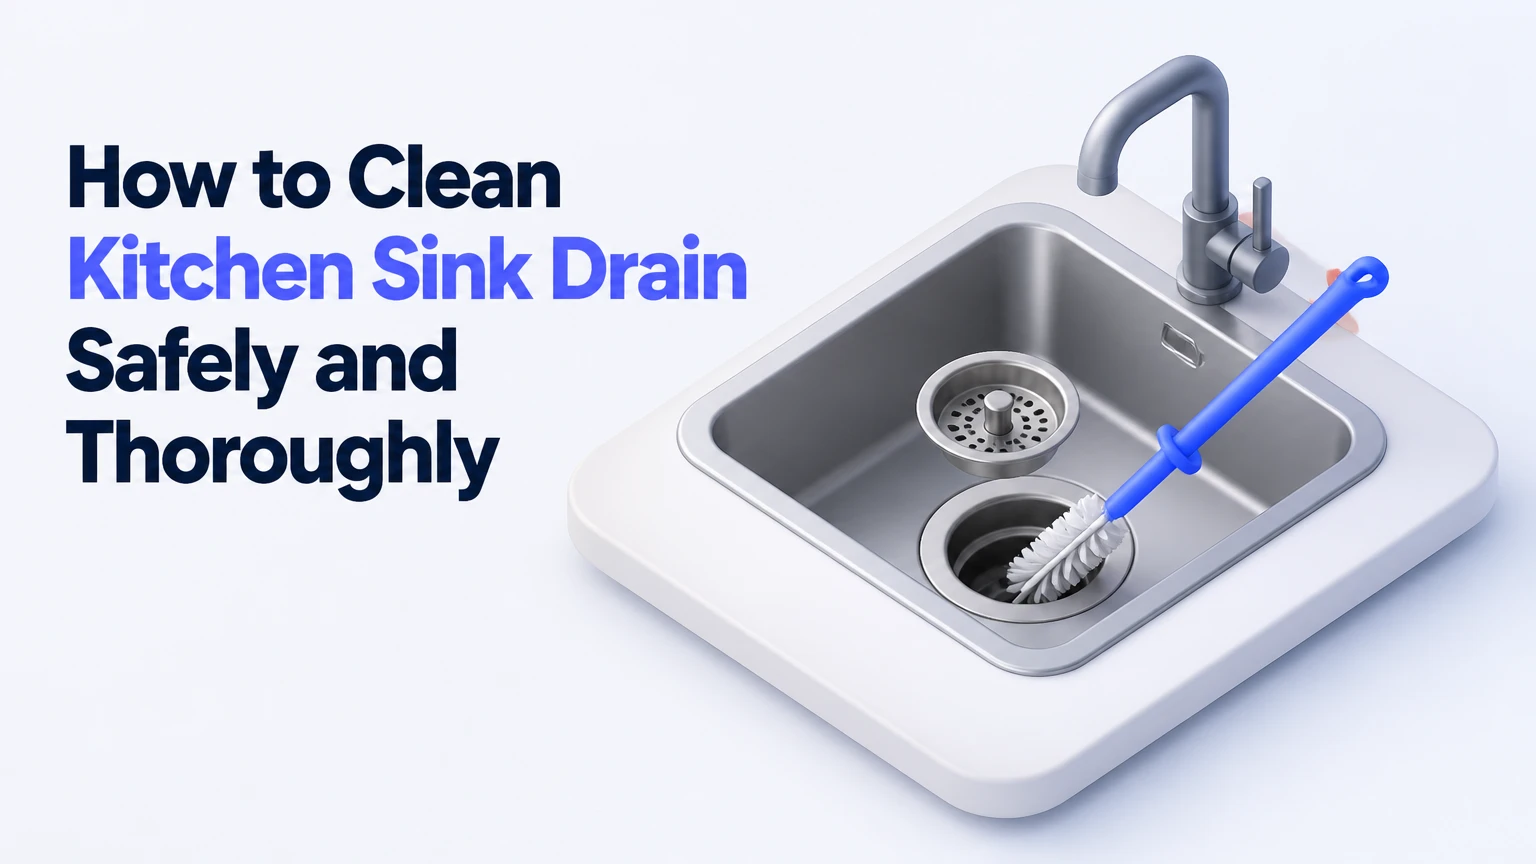
A kitchen sink drain can usually be cleaned in 15-30 minutes by removing surface debris, flushing loosened grease, and washing the P-trap when needed. Start with hot tap water and a plunger, then clean the trap or use a hand auger for a deeper obstruction. Avoid chemical drain cleaners if you may open the plumbing.
Key Facts at a Glance
A kitchen sink P-trap normally holds water to block sewer gases from entering the room.
Baking soda and vinegar create fizzing agitation, but they rarely dissolve a dense grease or food blockage.
A sink plunger is safer and more controllable than caustic drain cleaner for most household clogs.
Hot tap water is generally safer for plastic plumbing than a full kettle of boiling water.
A recurring blockage usually indicates buildup in the branch line, poor venting, or an installation problem.
Never mix drain chemicals with bleach, vinegar, ammonia, or another drain product.
How the Kitchen Sink Drain Works
A kitchen sink drain carries wastewater through the strainer, tailpiece, P-trap, and branch line before it reaches the larger waste system. The strainer catches food particles, the tailpiece connects the basket to the trap, and the P-trap retains a water seal that blocks sewer odor.
Most traps are made from white or black plastic, chrome-plated brass, or older galvanized steel. A double-basin sink commonly has two basket strainers joined by a tee or continuous waste fitting, while a garbage disposal replaces one basket assembly and sends waste through its outlet pipe.
The blockage location determines the best cleaning method. Slime at the opening responds to brushing, soft grease near the trap may come out during trap removal, and a solid obstruction in the wall branch usually requires a plunger or auger rather than a household powder.
What Do the Main Drain Parts Do?
| Component | Typical location | Function | Common problem |
|---|---|---|---|
| Strainer basket | Sink opening | Stops solids larger than about 5-8 mm | Food sludge and mineral scale |
| Tailpiece | Directly below basket | Carries water into the trap | Grease coating and loose joints |
| P-trap | Curved section, 15-30 cm wide | Holds a water seal against sewer gases | Sediment, grease, lost washer |
| Branch line | Inside wall or cabinet | Carries flow toward the waste stack | Deep grease, roots, collapsed pipe |
| Disposal outlet | Beneath garbage disposal | Directs ground food waste to the drain | Fibers, starch, foul biofilm |
What You Need Before Cleaning the Drain
Prepare rubber gloves, eye protection, a bucket holding at least 8-10 litres, two old towels, a flashlight, a narrow brush, dish detergent, and a sink plunger. Add slip-joint pliers for metal fittings, a bottle brush for the P-trap, and a 3-7 metre hand auger if the blockage lies beyond the trap.
Before You Start
| Requirement | Typical specification | Why it matters |
|---|---|---|
| Working time | 15-30 minutes for cleaning; 30-60 minutes for augering | Allows drainage and leak testing |
| Difficulty | Low for strainer cleaning; moderate for trap removal | Plastic fittings are easier than corroded metal |
| Consumables | 60-120 mL dish soap; 1-2 L hot tap water | Cuts surface grease and flushes loosened residue |
| Protection | Nitrile or rubber gloves; safety glasses | Prevents contact with dirty water or chemicals |
| Containment | 8-10 L bucket; two towels | Captures trap water and protects cabinetry |
| Optional tools | Sink plunger; 3-7 m hand auger; bottle brush | Handles branch-line and trap obstructions |
Do not begin trap removal if commercial drain cleaner may still be sitting in the pipe. Contact with trapped sodium hydroxide or acid can cause severe burns, and opening the P-trap can release concentrated liquid onto skin, cabinetry, or flooring.
If the sink contains standing water, remove enough with a cup or wet-dry vacuum to expose the drain opening. Keep the water in a container rather than pushing it into the second basin.
How to Clean Kitchen Sink Drain Step by Step
The safest sequence is surface cleaning, hot-water flushing, controlled plunging, P-trap cleaning, and then augering. Each step targets a different blockage location, so stopping after the first successful method prevents unnecessary disassembly.
Step 1: Remove the Strainer and Surface Debris
Lift out the strainer basket, stopper, or disposal splash baffle if the design allows removal. Pull out visible food, fibrous vegetable matter, and sludge with a paper towel or disposable tool, then scrub the drain flange and basket with dish soap and a narrow brush.
Do not push solids farther down the pipe. A sink drain opening can look clean while a greasy ring remains underneath the flange, where it can trap new particles and produce odor.
You will know it worked when: the basket holes are open and the flange feels smooth rather than slimy.
Common mistake: using a sharp metal object that scratches a stainless-steel sink or damages a rubber disposal baffle.
Step 2: Flush With Hot Tap Water and Dish Soap
Add approximately 60 mL of grease-cutting dish detergent, then run the hottest tap water available for 2-3 minutes. If the sink drains slowly, release the water in intervals so the basin does not overflow.
Hot tap water softens fresh fat and carries loose residue toward the branch line. It cannot reliably remove a thick, cooled grease plug, and it does not replace mechanical clearing when water remains in the basin.
You will know it worked when: water drains continuously without rising around the strainer.
Common mistake: pouring a full kettle of boiling water into an unknown plastic or older drain system. Hot tap water, typically about 45-60°C depending on the heater setting, is the safer default.
Step 3: Plunge the Drain
Add enough water to cover the rubber cup of a sink plunger by 2-5 cm. Center the plunger over the opening, press it down to remove trapped air, and make 10-15 firm strokes while maintaining the seal.
A plunger alternates pressure and suction at the blockage. That movement can dislodge food and grease near the trap without exposing the plumbing to corrosive chemicals.
For a double-basin sink, seal the second drain with a wet cloth or stopper before plunging. Without that seal, pressure escapes through the adjoining basin instead of reaching the obstruction.
You will know it worked when: the water level drops suddenly or the drain begins accepting a steady stream.
Common mistake: using a toilet flange plunger, whose extended neck fits poorly over a flat sink opening.
Step 4: Clean the P-Trap
Place the bucket beneath the curved trap and loosen the slip nuts by hand. Use slip-joint pliers only when necessary, because excessive force can crack plastic threads or twist a corroded metal pipe.
Lower the trap carefully. Dirty water and compacted food often collect there, especially when the sink has no disposal or the drain slope is shallow. Empty the contents into the bucket, then wash the trap with warm water, dish detergent, and a bottle brush.
Inspect both slip washers for flattening, cracks, brittleness, or distortion. On many plastic tubular fittings, the tapered side faces the fitting joint, but the replacement washer must match the original design and the manufacturer’s instructions.
Reinstall the trap without cross-threading the nuts. Tighten each nut by hand, then add only a small additional turn if needed. Run water for 2-3 minutes while checking every joint with a dry paper towel.
You will know it worked when: the trap is clear, the sink drains quickly, and the paper towel remains dry.
Common mistake: overtightening the slip nut. A compressed or displaced washer leaks more often than a correctly seated washer tightened by hand.
Step 5: Use a Hand Auger for a Deeper Blockage
Remove the P-trap and feed a 3-7 metre hand auger into the open pipe leading into the wall. Rotate the handle clockwise while advancing gently, then withdraw the cable periodically to remove captured debris.
A small sink auger is designed for localized branch-line obstructions. It is not a substitute for professional equipment when the cable stops at a hard structural obstruction, repeatedly returns clean, or cannot travel beyond a short distance.
Do not force the cable through resistance. Old galvanized steel can be fragile, and aggressive pushing may damage a weakened elbow or drive the cable into a joint.
You will know it worked when: the auger advances farther, retrieves sludge, and the open wall pipe accepts a strong water flow.
Common mistake: using a large drain machine in a sink branch without experience. Its torque can damage fittings and create a blockage that is harder to retrieve.
Step 6: Reassemble and Test the Complete Drain
Reconnect the trap, restore the disposal outlet if present, and confirm that every washer is aligned. Fill the basin with 5-8 cm of water, release it, and inspect the trap and wall connection during the full discharge.
A clean drain should empty without gurgling, backup, or a sewer odor after the water seal re-forms. Test both basins separately and together on a double-bowl sink, because a shared branch can drain acceptably under a small flow while backing up under a larger one.
Does Baking Soda and Vinegar Clean a Sink Drain?
Baking soda and vinegar can loosen light surface residue and reduce minor odors, but the reaction does not reliably dissolve a dense kitchen sink clog. Acetic acid and sodium bicarbonate react quickly to form carbon dioxide, water, and sodium acetate, so much of the cleaning action comes from bubbling and agitation rather than sustained grease digestion.
Use the method only when no commercial drain cleaner is present:
- Remove standing water and visible debris.
- Pour about 100 g, or one-half cup, of baking soda into the opening.
- Add 240 mL, or one cup, of white vinegar.
- Cover the opening for 10-15 minutes.
- Rinse with 1-2 litres of hot tap water.
A rag over the opening contains the foam, but it does not create enough pressure to clear a solid obstruction. Enzyme cleaners are a different option: they use biological activity against fats, oils, proteins, or food residue and generally require 8-12 hours, often overnight, to work.
Enzymes are more useful for maintenance than emergencies. They cannot repair a collapsed pipe, remove a hard object, or overcome a completely waterlogged blockage.
Which Drain-Cleaning Method Should You Choose?
Choose mechanical cleaning for a blockage, hot tap water and detergent for fresh grease, and an enzyme product for recurring organic residue. Avoid strong caustic or acidic products when the plumbing is old, the sink has a septic system, or you may need to open the trap.
| Method | Typical cost | Working time | Best target | Main limitation |
|---|---|---|---|---|
| Brush and detergent | $3-$10 | 5-10 minutes | Opening slime and odor | Does not reach wall branch |
| Baking soda and vinegar | $2-$6 | 15-30 minutes | Light residue | Weak against dense grease |
| Sink plunger | $8-$20 | 5-10 minutes | Soft nearby blockage | Needs a sealed opening |
| Enzyme cleaner | $10-$25 | 8-12 hours | Organic maintenance buildup | Too slow for urgent backups |
| Hand auger | $15-$45 | 15-40 minutes | Branch-line obstruction | Can damage fragile pipe if forced |
| Chemical opener | $8-$20 | 15-60 minutes | Some grease and organic plugs | Burn, heat, corrosion, and splash risk |
| Plumber or hydro-jetting | $150-$600 typical | 1-3 hours | Repeated or deep blockage | Requires access and professional equipment |
Prices are typical United States household ranges and vary by region, access, emergency timing, and pipe condition. Hydro-jetting uses high-volume water to scour pipe walls, but a plumber should inspect questionable older piping before applying high pressure.
Are Chemical Drain Cleaners Safe?
Chemical drain cleaners are not the first choice for a kitchen sink because they create exposure and plumbing risks without removing every type of obstruction. Sodium hydroxide products can generate heat while attacking grease, while acidic products can burn tissue and damage incompatible metals or seals.
Never combine drain cleaner with bleach, vinegar, ammonia, baking soda, or another drain opener. The U.S. Consumer Product Safety Commission and poison-control services warn that household cleaning-product mixtures can release toxic gases or cause violent reactions.
Read the product label before use, ventilate the room, wear the specified protection, and do not plunge afterward unless the label expressly permits it. A plunger can propel caustic liquid back through the drain opening.
A chemical product is particularly unsuitable when a sink is completely full, the cause is unknown, the P-trap must be removed, or the property uses old galvanized plumbing. Mechanical removal exposes the actual debris and leaves fewer residual hazards.
What Changes With a Garbage Disposal?
A garbage disposal requires cleaning the splash baffle, grinding chamber, and outlet connection rather than treating the disposal as a separate sewer line. Turn off the wall switch, unplug the unit or switch off its circuit breaker, and never place a hand inside the chamber.
Scrub the removable rubber splash baffle with dish soap and a brush. Place several ice cubes into the disposal and run cold water while briefly operating the unit, if the manufacturer permits that procedure; ice can help dislodge residue from rotating components, but it does not clear a downstream clog.
Citrus peels may improve odor temporarily, but large quantities can lodge in the outlet or create fibrous debris. Avoid grease, cooking oil, coffee grounds, rice, pasta, eggshell fragments, potato peels, and stringy vegetable matter because these materials either expand, bind, or accumulate in the branch line.
If the disposal hums without grinding, switch it off and use the manufacturer’s reset and jam-clearing procedure. Do not confuse an electrical jam with a blocked sink drain.
Why Does the Drain Smell After Cleaning?
A kitchen sink drain can still smell after cleaning when food residue remains under the strainer, behind a disposal splash baffle, inside the P-trap, or along the upper branch line. Sewer odor is more concerning because it may indicate a dry trap, a leak, poor venting, or a missing water seal.
| Symptom | Likely location | Safe first test | Escalation point |
|---|---|---|---|
| Sour food odor | Strainer or disposal baffle | Brush with detergent | Odor remains after 24 hours |
| Sewer-gas smell | P-trap or vent | Run water for 30 seconds | Smell returns repeatedly |
| Gurgling during drainage | Vent or partial branch clog | Plunge with second basin sealed | Multiple fixtures gurgle |
| Odor plus slow flow | Trap or branch line | Clean trap and test flow | Backup returns within days |
| Smell under cabinet | Slip joint or cracked trap | Dry-towel leak test | Washer replacement fails |
Do not seal a suspected sewer-gas problem with a drain deodorizer. A deodorizer masks the symptom while a faulty trap or leaking connection continues to release odor.
Common Mistakes and How to Fix Them
Pouring Boiling Water Into Any Pipe
Boiling water can soften some plastic components, stress joints, and damage sealants, particularly in poorly supported or older tubular plumbing. Use hot tap water unless the pipe manufacturer confirms a higher temperature is acceptable.
Mixing Cleaning Products
Mixing bleach with acids can release chlorine gas, while mixing incompatible drain openers can produce heat, fumes, or splashing. Leave the drain alone, ventilate without placing yourself in the fumes, and contact poison control or emergency services if exposure symptoms occur.
Plunging After Chemical Treatment
Plunging a chemically treated drain can spray corrosive liquid onto the face and hands. Flush only according to the product label and tell a plumber exactly what product and quantity entered the pipe.
Tightening Plastic Fittings With Pliers
Plastic slip nuts seal through washer compression and alignment, not brute force. Re-seat the washer, straighten the trap, and hand-tighten before adding a small adjustment.
Ignoring the Second Basin
An unsealed second opening prevents useful pressure from reaching a shared blockage. Seal the second basin firmly before plunging either side.
Treating a Recurring Clog as a One-Time Cleaning
A blockage that returns within days or weeks may indicate a grease-coated branch line, inadequate slope, root intrusion, damaged pipe, or vent restriction. Repeating chemical treatments can worsen damage while leaving the cause intact.
When Should You Call a Plumber?
Call a plumber when multiple fixtures back up, wastewater rises in another sink, the blockage returns after trap cleaning and plunging, or a hand auger meets an immovable obstruction. Professional assessment is also appropriate when sewage enters the sink, a pipe leaks inside the wall, or the home has fragile galvanized or cast-iron plumbing.
A typical service visit costs about $100-$250 for diagnosis or a simple clearing, while difficult access, after-hours work, camera inspection, or hydro-jetting can raise the total to $600 or more. Ask whether the quoted price includes inspection, equipment, cleanup, and a warranty period.
Stop DIY work immediately if the cabinet floor becomes wet, a metal fitting begins crumbling, or the trap cannot be reassembled without force. Water damage under a sink often costs more than the original drain service.
How to Prevent Kitchen Sink Drain Buildup
Prevent kitchen sink clogs by keeping fats, oils, coffee grounds, rice, pasta, flour, produce stickers, and fibrous scraps out of the drain. Wipe greasy pans into the trash before washing them, and use a correctly fitted strainer even when a garbage disposal is installed.
Run hot tap water for 20-30 seconds after washing a greasy load, but do not rely on heat to transport large quantities of oil. Clean the strainer weekly, brush the disposal baffle every one to two weeks, and inspect the P-trap annually if the plumbing is accessible.
For a septic system, prioritize physical food removal and follow the septic installer’s guidance before using biological or chemical products. Enzyme products may be compatible with some systems, but “septic safe” on a label is not a substitute for the system manufacturer’s instructions.
FAQ
Can I Clean a Sink Drain Without Taking Apart the Pipes?
Yes. Remove surface debris, scrub the strainer, flush with hot tap water and detergent, and plunge the opening first. This approach handles many soft obstructions near the basin, but it cannot fully clean sludge trapped inside the P-trap or clear a hard blockage in the wall branch.
How Long Does a Kitchen Sink Drain Cleaning Take?
A basic clean takes 10-20 minutes, while removing and washing the P-trap usually takes 20-40 minutes. A hand-auger job may take 30-60 minutes, depending on access and blockage depth. Repeated backups require diagnosis rather than repeated timed treatments.
Is Hydrogen Peroxide Safe for a Kitchen Sink Drain?
Hydrogen peroxide can oxidize some organic residue, but it is not a dependable treatment for a blocked kitchen drain. Never combine it with vinegar, bleach, or a commercial drain product, because incompatible mixtures can create irritating or hazardous compounds.
Why Is One Side of My Double Sink Draining Slowly?
One side may drain slowly because food residue is lodged in its strainer or tailpiece, but both bowls can also share a blockage in the tee or branch line. Clean each strainer, seal one basin, plunge the other, and test both bowls together before removing the trap.
Can a Dry P-Trap Cause a Kitchen Sink Odor?
Yes. A dry P-trap removes the water seal that blocks sewer gases. Run water for 30 seconds to refill it, then check whether the odor returns. If the trap dries again without use, a leak, siphoning problem, evaporation, or venting fault needs professional diagnosis.
The Bottom Line
The safest way to clean a kitchen sink drain is to remove surface debris, flush with hot tap water and detergent, plunge the opening, and clean the P-trap before using a hand auger for a deeper branch-line blockage. Baking soda and vinegar can freshen light residue, but they are not a reliable substitute for mechanical removal. End the job with a full-flow leak test, and call a plumber when the clog recurs, affects multiple fixtures, or involves damaged plumbing.