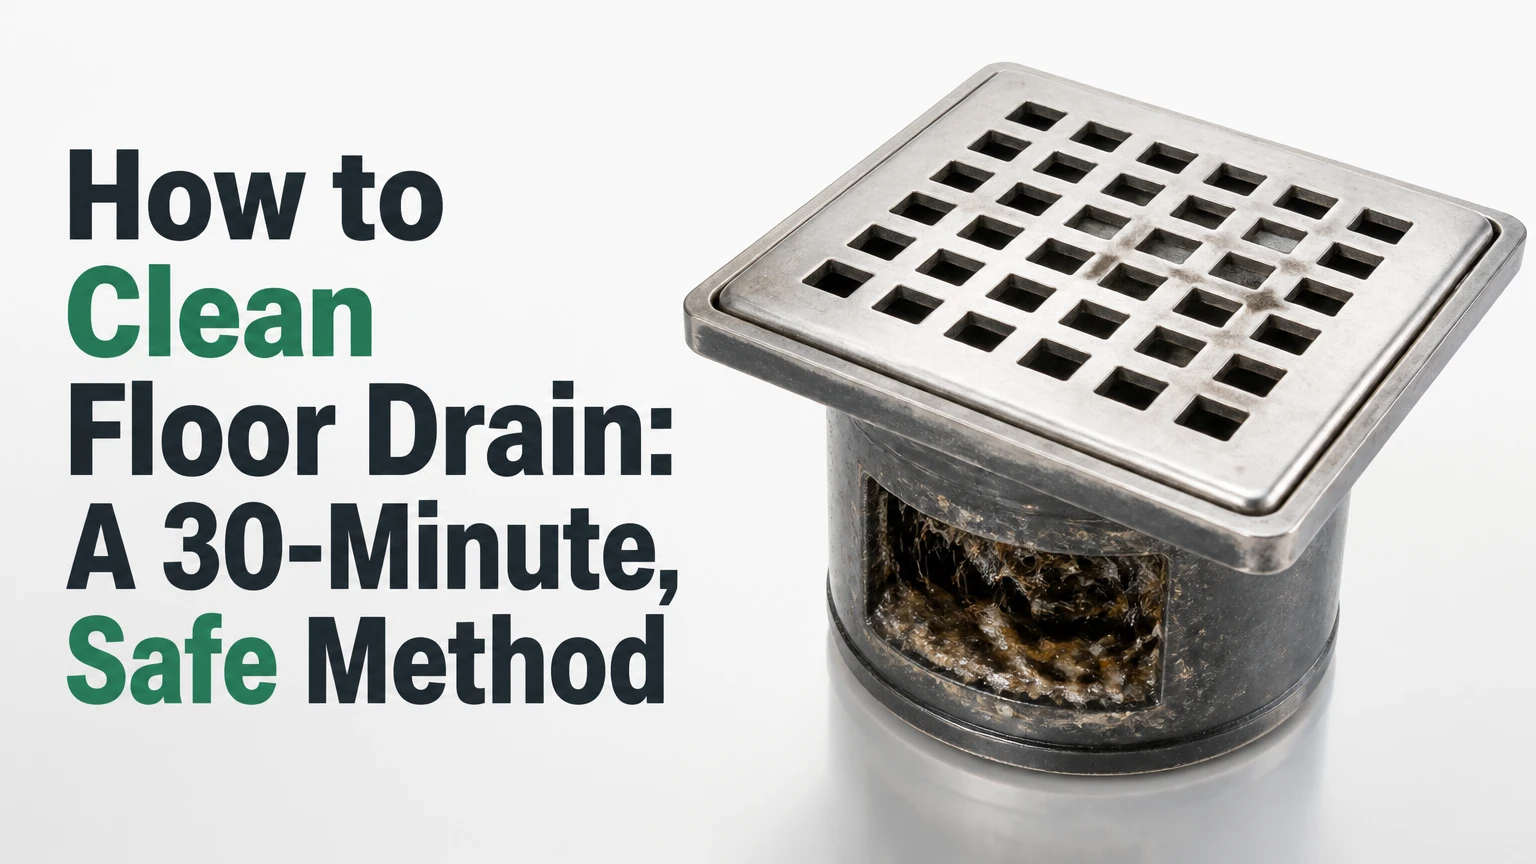
To clean a floor drain, remove and wash the grate, pull out visible debris, scrub the drain bowl and trap opening, then flush with warm water and test drainage. A typical residential floor-drain cleaning takes 30-45 minutes. The main factor determining success is whether the problem is surface buildup, a trap clog, or a blockage farther inside the drain line.
Key Facts
A floor drain’s P-trap must retain water to block sewer gases and pests.
Manual debris removal and brushing are safer and more reliable than routine chemical cleaner use.
Baking soda and vinegar may loosen light residue, but their fizz does not reliably remove a deep clog.
A plunger works best when standing water covers the drain opening and the plunger forms an airtight seal.
A drain that backs up repeatedly may have a main-line, sewer, or structural problem rather than a dirty grate.
Never mix drain chemicals, bleach, vinegar, or other cleaning products.
What a Floor Drain Does
A floor drain collects water from a basement, bathroom, laundry room, garage, shower, or commercial work area and sends it through a waste pipe. The grate catches larger material, the drain bowl directs water downward, and the P-trap retains a water seal that blocks sewer odors.
A typical assembly contains four working parts:
| Component | Typical location | Function | Cleaning concern |
|---|---|---|---|
| Grate or strainer | Floor surface | Stops hair, lint, and solids | Holds biofilm and trapped debris |
| Drain bowl or body | Directly under grate | Collects and directs water | Accumulates sludge and sediment |
| P-trap | Below the bowl | Retains a water seal | Can hold hair, grease, and foul residue |
| Cleanout plug | Bowl, branch line, or nearby floor | Provides pipe access | May release contaminated water or gas |
The drain may also connect to a trap primer, sump pit, storm system, sanitary sewer, or septic tank. That connection changes the correct cleaning method. A floor drain connected to a sump basin, for example, may require pump and basin inspection rather than aggressive flushing.
How Does a Floor Drain Work?
Water passes through the grate, enters the drain body, flows through the curved P-trap, and continues into the building drain. The water retained in the P-trap forms a seal against sewer gas, while gravity moves additional water through the pipe.
A dry trap explains many intermittent odors. Evaporation is common in low-use basement and garage drains, especially during dry weather or when indoor heating reduces humidity. Pouring approximately 500 milliliters to 1 liter of clean water into the drain usually restores the seal, but a persistent smell requires further diagnosis.
Before You Start
Prepare gloves, eye protection, a screwdriver, a stiff nylon brush, a bucket, absorbent towels, a flashlight, a plunger, and a small hand auger. Use a wet-dry vacuum only if the manufacturer permits liquid pickup and the drain water does not contain chemical cleaner.
| Item | Typical quantity or specification | Purpose | Typical cost |
|---|---|---|---|
| Nitrile or rubber gloves | 1 pair, 8-15 mil thickness | Protect hands from contaminated sludge | $3-$12 |
| Eye protection | 1 pair, splash-rated | Reduce splash exposure | $5-$20 |
| Nylon drain brush | 1 brush, 30-60 cm shaft | Scrub bowl and pipe entrance | $5-$15 |
| Hand auger | 1 unit, 3-7.5 m cable | Reach a deeper obstruction | $15-$45 |
| Plunger | 1 flat-bottom or flange model | Dislodge a nearby clog | $8-$25 |
| Disinfectant | 250-500 ml, label-approved | Sanitize exposed surfaces | $4-$12 |
Safety Checks
Do not start with chemical drain cleaner. Ask whether anyone has already poured caustic soda, sulfuric acid, bleach, or another product into the drain; chemical residue can splash during plunging or snaking.
Ventilate the room, keep children and pets away, and place a bucket beside the opening. If wastewater contains sewage, wear disposable gloves and disinfect tools after use. Stop immediately if you smell strong sewer gas, see sewage rising from multiple fixtures, or find a damaged grate or broken cleanout.
How to Clean Floor Drain: Step-by-Step
The following process handles surface dirt, biofilm, light sediment, and many small organic obstructions without relying on corrosive chemicals. Complete the steps in order because plunging or flushing before removing solids can drive debris deeper into the trap.
Step 1: Remove and Inspect the Grate
Turn off nearby water use, then remove the grate screws with the correct screwdriver. Place screws in a container. If the grate is screwless, lift it with a plastic pry tool or a flat screwdriver wrapped in cloth; do not lever against fragile tile edges.
Scrape lint, hair, rust flakes, and sediment into a trash bag instead of pushing them through the opening. Photograph the grate and screw positions if the assembly has several parts.
You will know it worked when: the grate lifts without bending and the drain opening is unobstructed.
Common mistake: forcing a seized screw until the head strips. Apply penetrating oil to the screw head, wait 10-15 minutes, and use the correct bit before trying again.
Step 2: Remove Solids From the Drain Bowl
Use gloved fingers, disposable tongs, or a small scoop to remove visible material from the bowl. A flashlight helps identify hair mats, gravel, grease, lint, and standing sludge. Put all solid waste in the trash, not back into the drain.
If the bowl contains standing water, remove enough with a cup or wet-dry vacuum to expose the sediment. Do not vacuum water that may contain an unidentified chemical product.
You will know it worked when: you can see the drain throat or the water level begins dropping without added water.
Common mistake: using bare hands because the opening looks clean. Floor-drain sludge can contain bacteria, sharp metal fragments, and cleaning-product residue.
Step 3: Scrub the Grate, Bowl, and Drain Throat
Mix warm water with a small amount of dish detergent in a bucket. Scrub both sides of the grate, the bowl walls, the rim, and the first accessible section of the pipe with a stiff nylon brush.
Nylon is preferable to an aggressive wire brush on coated metal, plastic, and tile-in grates. Work around the circumference rather than jabbing straight down, which can pack sediment into the trap.
Rinse the brush into the bucket, not across the surrounding floor. Dispose of heavily contaminated rinse water according to local wastewater rules.
You will know it worked when: the bowl no longer feels slimy and the brush removes little or no dark film.
Common mistake: cleaning only the visible grate. The underside and bowl wall often hold the biofilm that produces odor.
Step 4: Test the Trap and Use a Plunger if Needed
Pour 500 milliliters of warm water into the drain and observe the level. If water drains slowly but does not rise, cover the opening with a flat-bottom plunger and add enough water to cover the rubber cup.
Pump firmly 10-15 times while maintaining the seal, then lift the plunger and observe the flow. A flange plunger is useful for some larger openings, but a flat cup often seals better on a flat floor-drain grate opening.
You will know it worked when: the water level drops quickly and remains low after two additional 500-milliliter tests.
Common mistake: plunging over an open cleanout or a grate with large gaps. Seal every overflow path first, or pressure will escape instead of moving the obstruction.
Step 5: Flush With Warm Water
Use 2-4 liters of warm water, added gradually over 30-60 seconds. Water around 45-60°C is generally safer for mixed plumbing systems than freshly boiling water, particularly where plastic fittings, solvent-welded joints, membranes, or old seals may be present.
A small amount of dish detergent can help carry greasy residue in a garage or laundry drain, but detergent will not dissolve concrete, roots, hardened mineral scale, or a solid object.
You will know it worked when: the drain accepts the full volume without backing up and the downstream fixtures remain unaffected.
Common mistake: pouring a full kettle of boiling water into an unknown drain. Boiling water may soften some plastics, damage sealants, or create a sudden thermal shock in older materials.
Step 6: Clear a Persistent Clog With a Hand Auger
Use a hand auger only after surface cleaning and plunging fail. Feed the cable slowly through the drain opening or an accessible cleanout, turning the handle clockwise when resistance appears. Advance a short distance, rotate, withdraw, and wipe the cable before repeating.
Do not force the cable around a hard bend. Old cast-iron systems may have rough, weakened interiors, while poorly supported plastic fittings can separate if excessive torque is applied.
You will know it worked when: the cable retrieves hair, lint, grease, or another obstruction and a 2-4 liter water test drains continuously.
Common mistake: pushing a clog farther into the branch line. Withdraw the auger periodically so the obstruction comes out rather than simply moving downstream.
Step 7: Sanitize and Reinstall the Grate
Wash the grate with detergent, rinse it, and apply a disinfectant that is compatible with the grate material. Follow the product’s contact time, because wiping immediately can prevent the disinfectant from working.
Clean the floor around the drain and dry the rim. Reinstall the grate with the original screws, tightening them evenly without crushing plastic or stripping soft metal.
You will know it worked when: the grate sits level, does not rock, and water flows through every opening.
Common mistake: spraying bleach into the drain after using vinegar or another acid. Dangerous chlorine gas can form when bleach contacts acids.
Step 8: Refill the P-Trap
Pour 500 milliliters to 1 liter of clean water into the drain after cleaning. Low-use drains may need periodic refilling, while drains with a functioning trap primer should receive water automatically when connected fixtures operate.
For a drain that dries repeatedly, ask a plumber to inspect the trap primer or install an approved primer. A thin layer of mineral oil is sometimes used to slow evaporation, but it is not a substitute for repairing a failed primer and may conflict with local wastewater or septic requirements.
You will know it worked when: the sewer odor disappears and the water seal remains after the final drainage test.
Which Cleaning Method Works Best?
Manual cleaning is the best routine method because it removes solids at the source and lets you inspect the drain. Plunging and snaking are clearing methods, not substitutes for washing the grate and bowl.
| Method | Best target | Typical time | Main limitation |
|---|---|---|---|
| Hand removal and nylon brush | Hair, lint, sludge, biofilm | 15-25 minutes | Limited reach beyond trap |
| Plunger | Nearby soft clog | 5-15 minutes | Needs an airtight seal |
| Hand auger | Deeper organic obstruction | 15-30 minutes | Can damage weak or corroded pipe |
| Enzyme product | Recurring organic residue | 8-24 hours | Does not remove objects, roots, or scale |
| Professional water jetting | Heavy commercial buildup | 30-90 minutes | Requires equipment and access |
Is Baking Soda and Vinegar Safe for a Floor Drain?
Baking soda and vinegar are usually compatible with common household drain materials in small quantities, but the reaction mainly produces carbon dioxide, water, and sodium acetate. The visible fizz can loosen light surface residue, yet it does not reliably cut through a compacted clog or mineral scale.
If you use this method, remove solids first, add about 100-200 grams of baking soda, then add approximately 250-500 milliliters of vinegar. Wait 10-15 minutes, and rinse with warm water. Never use the mixture after caustic drain cleaner, and never seal the drain while gas is forming.
Enzyme products offer a different approach. They work gradually on some organic residue and fats, but they cannot replace mechanical removal when the drain contains a rag, toy, gravel, roots, or hardened deposits.
Should You Use Chemical Drain Cleaner?
Routine chemical drain cleaner is a poor choice for floor-drain maintenance. A blocked floor drain can retain the product, exposing anyone who later removes the grate, uses a plunger, or inserts an auger to corrosive liquid.
| Cleaner type | Typical action | Suitable use | Avoid when |
|---|---|---|---|
| Caustic alkaline cleaner | Reacts with fats and organic material | Product-label-approved partial organic clog | Drain is full, chemical history is unknown, or septic compatibility is unclear |
| Acidic cleaner | Rapidly attacks some deposits | Specialist use under controlled conditions | Old metal, mixed chemicals, standing water, or household DIY work |
| Enzyme cleaner | Slowly digests selected organic residue | Preventive maintenance after physical cleaning | Object, roots, scale, or immediate backup |
| Detergent and warm water | Carries light grease and soil | Routine flushing | Concrete, mineral scale, and solid obstructions |
Never mix products. If chemical cleaner has already been used, do not plunge or snake the drain until a qualified professional confirms that the residue is gone or explains the safe procedure.
What Changes by Drain Location?
Drain location changes the likely debris and the risk of a hidden system problem. Bathroom drains commonly contain hair and soap film, garages collect grit and oil, basements may receive groundwater, and commercial kitchens accumulate food solids and fats, oils, and grease.
| Location | Common debris | Practical cleaning interval | Extra inspection |
|---|---|---|---|
| Bathroom or shower | Hair, soap film, skin oils | Weekly grate cleaning, deep clean every 1-3 months | Hair catcher and tile seal |
| Laundry room | Lint, detergent residue, sand | Every 1-3 months | Washer discharge and lint screen |
| Basement | Dust, sediment, insects, groundwater | Every 3-6 months | Backwater valve, sump, and trap primer |
| Garage | Grit, leaves, oil, road salt | Monthly during wet seasons | Oil separator and discharge route |
| Commercial kitchen | Food solids, grease, fats, oils | Daily solids removal, weekly drain cleaning | Basket, grease interceptor, and sanitation log |
How Do You Clean a Basement Floor Drain?
Clean a basement floor drain by removing sediment, checking the trap seal, testing for backup, and inspecting nearby cleanouts or a sump connection. Do not assume a basement drain is a simple sanitary drain because some systems discharge to a sump basin or include a backwater valve.
If water backs up during rain, the cause may be groundwater, a blocked exterior line, a failed sump pump, or a closed backwater valve. A drain snake will not correct a failed pump or a sewer surcharge.
How Do You Clean a Commercial Kitchen Floor Drain?
Clean a commercial kitchen drain by removing the sediment basket, scraping solids into waste containers, brushing the drain body, and following the facility’s approved sanitation chemical and contact-time procedure. Commercial drains require more frequent cleaning because food particles and grease can accumulate within days.
Do not wash fats, oils, or grease into the drain to make cleanup faster. Use a properly sized basket and maintain the grease interceptor according to the equipment manufacturer and local authority requirements.
Why Does a Floor Drain Smell?
A floor drain usually smells because the P-trap is dry, the trap contains decomposing debris, or sewer gas is entering through a damaged seal or defective drain assembly. Pouring water into a dry trap is the first test, but a returning odor indicates that the water seal is not being maintained or the pipe needs inspection.
| Symptom | Likely cause | First action | Escalation signal |
|---|---|---|---|
| Rotten-egg odor after weeks of nonuse | Dry P-trap | Add 500 ml-1 L water | Odor returns within 24-48 hours |
| Musty odor with slow flow | Biofilm or sludge | Brush and warm-water flush | Flow remains slow |
| Sewer odor with a full trap | Damaged seal or vent issue | Stop chemical use and inspect | Odor affects several fixtures |
| Sewage smell after rain | Main sewer or backflow issue | Limit water use | Multiple drains back up |
| Chemical odor after prior treatment | Residual cleaner | Ventilate and call for advice | Burning eyes, fumes, or heat |
A drain that smells after the trap has been filled may have a cracked trap, loose cleanout plug, failed primer, blocked vent, or sewer connection problem. Those conditions require diagnosis rather than repeated deodorizing.
When Is a Floor Drain Problem Beyond DIY Cleaning?
Call a licensed plumber when multiple fixtures back up, wastewater rises from the drain, an auger cannot pass, the clog returns within days, or the building has an unknown chemical history. Professional drain cleaning may involve a camera inspection, longer cable machine, hydro-jetting, trap replacement, or sewer-line repair.
Typical residential costs vary by region and access. A basic service visit may cost $100-$250, machine augering often costs $150-$500, and camera inspection or hydro-jetting can raise the total to $300-$1,000 or more. These are typical planning ranges, not fixed prices.
Stop DIY work in these situations:
- Water backs up from two or more fixtures.
- Sewage reaches the floor or enters wall cavities.
- The drain has a broken, loose, or missing grate.
- The cleanout plug is seized, cracked, or leaking.
- The auger meets hard resistance immediately.
- The pipe is old cast iron with visible corrosion.
- A chemical cleaner was poured into standing water.
- The property uses a septic system with unexplained backups.
A practitioner rule of thumb is useful here: one isolated slow drain often needs local cleaning, while several slow fixtures point toward a shared branch or main line. Repeated success followed by rapid failure usually means the obstruction was pierced rather than removed.
Maintenance Schedule and Prevention
Clean the grate weekly in a shower, monthly in a garage, and every 3-6 months in a lightly used residential basement. Commercial kitchens generally need daily solids removal and at least weekly drain-body cleaning, with frequency adjusted for grease and food volume.
Prevent recurrence with these measures:
- Install a removable hair catcher in bathroom and shower drains.
- Keep laundry lint out of floor drains with a washer discharge filter where permitted.
- Use a sediment basket in garage and commercial drains.
- Remove solids before washing floors.
- Test low-use drains monthly by adding water and checking for odor.
- Record commercial cleaning dates, chemical products, basket condition, and grease-interceptor service.
- Do not use a floor drain as a disposal point for paint, plaster, cement, oil, or food waste.
A trap primer is better than relying on memory in buildings with infrequently used drains. Mineral oil can reduce evaporation temporarily, but the plumbing connection, local rules, and septic design should determine whether that practice is acceptable.
Frequently Asked Questions
Can I clean a floor drain without removing the grate?
Yes, you can flush and lightly brush through some floor-drain grates, but thorough cleaning normally requires grate removal. Hair, lint, and biofilm often collect underneath the grate, where poured cleaner cannot reach effectively. Use the correct screwdriver and replace damaged screws rather than leaving the grate loose.
How long should a floor drain cleaning take?
A typical residential cleaning takes 30-45 minutes when the problem is surface debris, sludge, or a dry trap. Plunging or hand-auger work may add 15-30 minutes. A camera inspection, machine cable, or hydro-jetting requires a professional appointment and may take 30-90 minutes on site.
Can I use bleach to clean a smelly floor drain?
Use bleach only on exposed, compatible surfaces and only according to the product label. Do not pour bleach into a drain after vinegar, acidic cleaner, ammonia, or an unknown chemical. Mechanical cleaning, trap refilling, and an appropriate disinfectant provide better control with less chemical exposure.
Why does my floor drain back up when the washing machine runs?
A washing machine releases water quickly, so a partial branch-line clog may appear only during discharge. Lint, detergent residue, a blocked standpipe connection, or a main drain restriction can cause the backup. Stop running the washer, test nearby fixtures, and arrange professional diagnosis if another fixture also drains slowly.
Will a drain snake remove tree roots from a floor-drain line?
A small hand auger usually will not remove established tree roots reliably. Roots require specialized cutting equipment, camera confirmation, and often sewer-line repair or approved root treatment. Repeated root intrusion can indicate a cracked or displaced pipe, so repeated snaking alone may provide only temporary flow.
How can I tell whether the P-trap is full?
Use a flashlight after removing the grate, or add a small amount of clean water and observe whether the water level remains in the trap. A full trap blocks sewer gas. If the drain repeatedly dries despite regular water use, inspect the trap primer, venting, drain slope, and trap condition.
The Bottom Line
To clean a floor drain, remove the grate, extract solids, scrub the bowl and throat, test with warm water, plunge or hand-snake only when needed, sanitize the exposed parts, and refill the P-trap. Avoid routine chemical cleaners and boiling-water flushes in unknown plumbing. If multiple fixtures back up, sewage rises, or the problem returns quickly, professional inspection is safer than repeated DIY treatment.