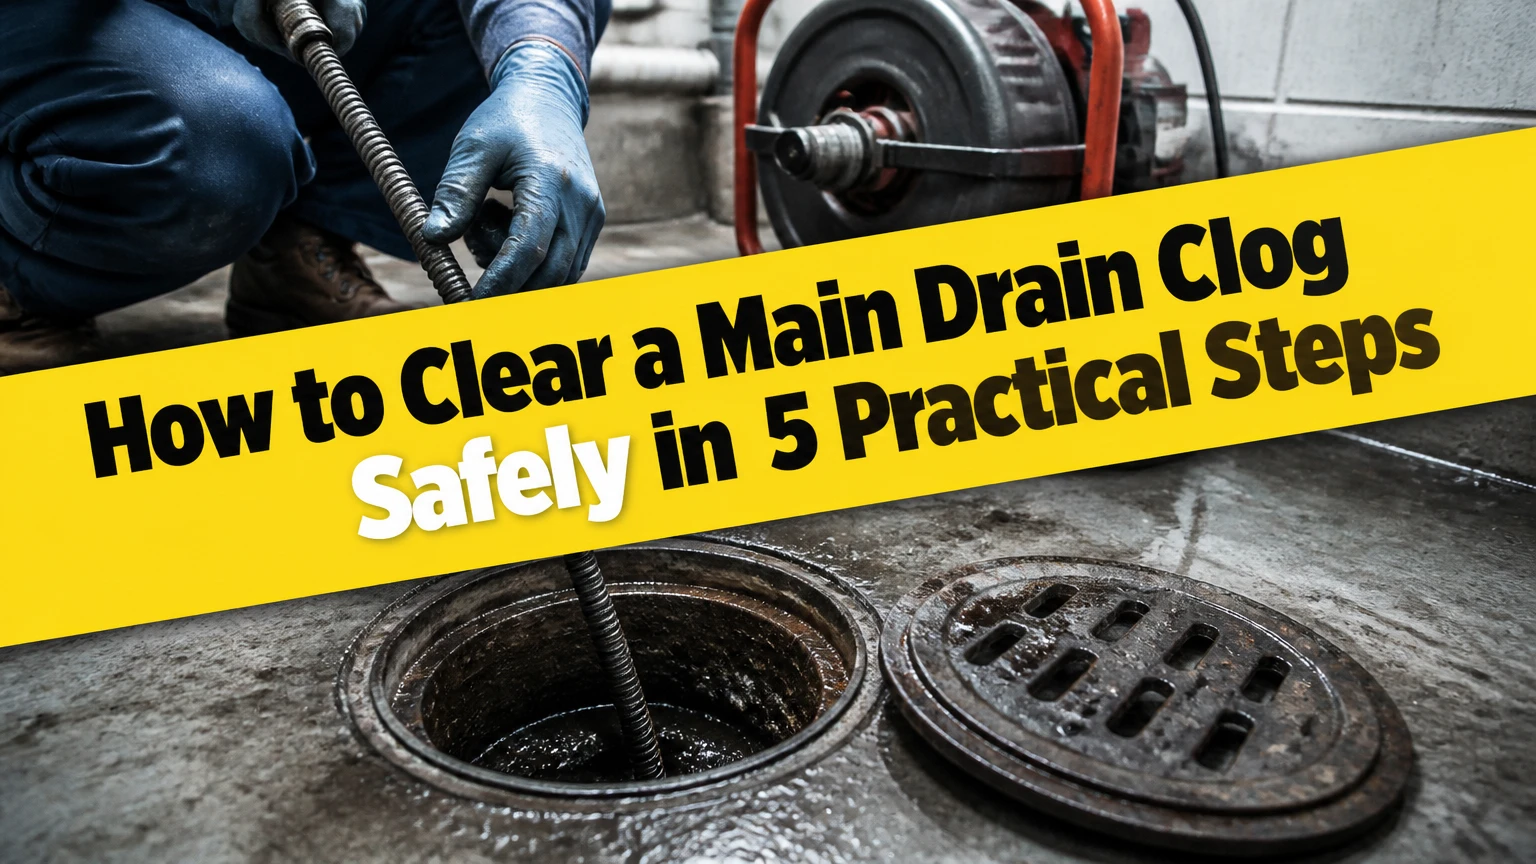
To clear a main drain clog, stop using every plumbing fixture, identify the safest cleanout, and remove the blockage with a properly sized sewer auger or professional hydro jetter. The correct method depends on whether the obstruction is grease, roots, wipes, or a damaged pipe. Repeated backups require a camera inspection, not repeated snaking.
Key Facts at a Glance
A main drain clog usually affects multiple fixtures and causes sewage to rise from the lowest drain.
A 3-inch or 4-inch cleanout usually provides the most direct access to a residential building sewer.
Chemical drain cleaners rarely solve a fully blocked main line and can create a caustic exposure hazard.
A motorized auger may restore flow temporarily without removing grease or diagnosing pipe damage.
Hydro jetting cleans pipe walls more thoroughly, but it can damage fragile, cracked, or severely collapsed piping.
A backup that returns within days is evidence for camera inspection and possible structural repair.
What Counts as a Main Drain Clog?
A main drain clog blocks the large pipe that carries wastewater from several household fixtures toward a municipal sewer or septic tank. The strongest household sign is simultaneous trouble in multiple fixtures, such as a toilet bubbling when the washing machine drains or wastewater appearing in a basement floor drain.
A single slow sink usually indicates a fixture trap or branch-line problem. A main sewer blockage affects the drainage network downstream of several fixtures. Because wastewater follows gravity, sewage normally appears first at the lowest open fixture, which may be a basement shower, floor drain, bathtub, or laundry standpipe.
Run no water while diagnosing the problem. One toilet flush or washing-machine cycle can add several gallons to a blocked line and push contaminated water across flooring.
Signs that distinguish the blockage
| Symptom | Likely blockage location | Immediate response |
|---|---|---|
| One sink drains slowly | Sink trap or branch pipe | Stop using that fixture and clear locally |
| One toilet overflows | Toilet trap or branch drain | Close the toilet supply valve |
| Several fixtures gurgle | Main building drain or shared branch | Stop all household water use |
| Basement floor drain rises | Main drain downstream of the floor drain | Avoid the contaminated area |
| Backup occurs at outdoor cleanout | Private line or municipal sewer downstream | Call plumber or sewer authority |
| Backup occurs before outdoor cleanout | House sewer under property | Arrange private-line service |
How Does the Main Drain System Work?
Residential drainage forms a gravity-fed network: fixture drains join branch lines, branch lines connect to a larger building drain, and the building sewer carries wastewater outside the property. A cleanout gives a plumber direct access to the pipe, but cleanout location does not by itself prove who owns the blocked section.
Most residential main drains measure 3 or 4 inches in diameter, although older, larger, or specially designed systems can differ. The pipe may be PVC, ABS, cast iron, vitrified clay, concrete, or a combination of materials installed during repairs.
The pipe should slope continuously toward the street sewer or septic tank. A sag, called a belly, holds solids and water even when the pipe is not fully collapsed. A backwater valve can also alter cable travel and may require access from a different cleanout.
Cleanout direction matters
An exterior cleanout often has two access points, called a two-way cleanout. One direction leads toward the house and the other toward the public sewer. A single cleanout may provide access in only one direction.
Opening a cleanout is not a harmless inspection step. If wastewater stands inside the pipe, removing the cap can release sewage under pressure. Wear waterproof gloves, eye protection, waterproof boots, and disposable protective clothing, and keep children and pets away.
What Causes a Main Drain Blockage?
Roots, grease, wipes, sediment, foreign objects, and structural pipe defects account for most main-line blockages. The cause matters because a cable can restore a passage without correcting the condition that created the obstruction.
Tree roots enter through separated joints, cracks, or deteriorated pipe walls. Roots do not normally grow through intact pipe; they exploit an opening and then expand as moisture and nutrients move through the joint.
Fats, oils, and grease cool against pipe walls and collect paper, food particles, and sediment. “Flushable” wipes may pass a toilet but remain intact longer than ordinary toilet paper, particularly in low-flow or partially obstructed pipes.
Match symptoms to likely causes
| Pattern | More likely cause | Typical clearing approach | Long-term response |
|---|---|---|---|
| Slow drainage after cooking-heavy use | Grease and sludge | Professional jetting or augering | Keep oil and grease out of drains |
| Backup every few months in a tree-lined yard | Root intrusion | Cutting head, then root treatment | Repair joints or replace affected section |
| Cable stops at the same distance | Collapse, offset, or bend | Stop and camera-inspect | Repair, lining, or replacement |
| Blockage after wipes or hygiene products | Soft foreign-object mass | Auger retrieval or removal | Dispose of products in household waste |
| Recurring backup after rain | Infiltration, surcharge, or damaged line | Camera and flow diagnosis | Repair private line or contact utility |
| Low spot repeatedly collects solids | Belly or poor grade | Camera and locating equipment | Regrade or replace the affected section |
Before You Start: Is DIY Clearing Appropriate?
DIY main-line clearing is reasonable only when there is no uncontrolled sewage release, the cleanout is accessible, the pipe condition is reasonably known, and the operator can handle a heavy machine safely. A licensed plumber is the safer choice for active flooding, unknown old piping, electrical hazards, septic problems, or suspected collapse.
| Requirement | Typical value or specification | Why it matters |
|---|---|---|
| Rental sewer auger | 3/4-inch cable, 75-100 feet | Reaches many residential building sewers |
| Protective gloves | Waterproof chemical-resistant pair | Reduces sewage and cable exposure |
| Eye protection | Sealed goggles or face shield | Prevents splash contamination |
| Work area | 3 feet of clear access | Allows controlled cable handling |
| Initial work time | 1-3 hours | Includes setup, clearing, and testing |
| Typical rental cost | $60-$150 per day | Varies by machine and market |
| Camera inspection | $150-$500 typical | Identifies roots, collapse, belly, and offsets |
Never operate a sewer machine while wearing loose clothing, jewelry, or gloves that can catch on a rotating cable. The U.S. Occupational Safety and Health Administration warns that sewage exposure can involve “bacteria, viruses, and other microorganisms,” so handwashing and contaminated-material control are part of the job, not optional cleanup.
Do not enter a crawlspace or basement containing standing water near energized electrical equipment. Turn off power only from a safe, dry location, or leave the area and call an emergency plumber.
Step 1: Stop Water Use and Control the Backup
Stop all water use before opening a cleanout or starting a drain machine. Tell everyone in the building not to flush toilets, run faucets, use the dishwasher, operate the washing machine, or trigger automatic water-softener regeneration.
Close toilet supply valves if someone might accidentally flush. If a large release is imminent and the shutoff is safely accessible, close the home’s main water valve, but remember that the valve does not stop wastewater already inside the drain system.
Protect unaffected rooms with a barrier, but do not spread contaminated water by walking through it. Keep HVAC fans from blowing across sewage-contaminated areas, because airflow can distribute droplets and odor.
Inspect the lowest fixtures
Look at the lowest floor drain, basement shower, bathtub, and laundry standpipe. Do not plunge or remove traps from fixtures containing sewage unless you have appropriate protective equipment and a plan for containing the discharge.
You will know this step is complete when: nobody is adding water, the affected area is isolated, and you have identified the lowest point where wastewater is rising.
Common mistake: running a faucet “for only a few seconds” to test the line. That test adds wastewater before the blockage has been removed.
Step 2: Locate and Open the Main Cleanout Carefully
Find the cleanout inside the basement, in a crawlspace, or outside within several feet of the foundation. Look for a 3-inch or 4-inch capped pipe with a square-headed plug, raised hex head, or threaded PVC cap. Some properties have buried or inaccessible cleanouts.
Use a pipe wrench or adjustable wrench that fits the plug, and loosen it one turn at a time while standing to the side. Place a shallow catch pan, bucket, absorbent material, and plastic sheeting below the opening. Do not put your face above the cap.
If sewage begins escaping, tighten the cap and call a plumber unless you have a safe containment plan. A full pipe can release more wastewater than a household bucket can hold.
Once the cap is removed, observe the water level:
- Water standing at the cleanout usually indicates a blockage downstream of that access point.
- An empty cleanout with sewage backing up inside suggests the blockage may be upstream, under the house, or in a separate branch.
- An exterior cleanout overflowing toward the street may indicate a private-line or municipal-side blockage.
You will know this step is complete when: the cleanout is open, the flow direction is understood, and no uncontrolled sewage is escaping.
Common mistake: assuming the outdoor cleanout always points toward the street. Two-way and single-direction designs vary, so cable resistance and camera tracing matter.
Step 3: Use a Motorized Sewer Auger
Use a commercial sewer machine with a 3/4-inch cable and enough length to reach the suspected blockage. A small sink auger is not designed for a 3-inch or 4-inch building sewer, and a cable that is too short may clear only the first obstruction.
Position the machine on stable, dry ground with the cable aligned as straight as possible with the cleanout. Feed only a short amount of cable through the opening, keep both hands clear of rotating sections, and operate the foot switch so you can stop immediately.
Advance slowly until the cutting head meets resistance. Maintain controlled tension, work the cable forward and backward, and avoid forcing the head around a hard stop. If the blockage breaks, wastewater may suddenly drain through the cleanout.
Continue in short passes rather than driving the cable aggressively. Roots may require a root-cutting head, while wipes and soft masses may require a retrieval or boring head. The correct head depends on the machine and pipe condition.
You will know the blockage is breached when: the standing water level drops, the cable advances beyond the previous resistance, and a controlled fixture test drains without rising at the cleanout.
Common mistake: allowing cable slack to form inside the machine. A loop can kink, whip, or injure the operator. Stop the machine before adjusting cable position.
Stop immediately if the cable repeatedly hits an immovable obstruction, binds hard, disappears into a suspected broken pipe, or returns with fragments of pipe. Those signs support camera inspection before further mechanical work.
Step 4: Flush and Test the Line Gradually
Do not immediately run a garden hose at full flow into a recently cleared sewer. A partial opening may accept a small discharge but fail when the household produces normal wastewater volume.
Reinstall the cleanout temporarily or keep the opening controlled while testing. Start with one toilet flush or a small basin of water, then wait several minutes. Check the lowest drain and cleanout for rising water before increasing the test volume.
If flow remains stable, run a cold-water faucet for 2-5 minutes and operate one fixture at a time. Avoid forcing a hose into the cleanout unless a professional has confirmed the pipe is open and structurally sound.
Clean and disinfect reusable tools according to the manufacturer’s instructions. Double-bag disposable protective materials, wash hands with soap and water, and disinfect hard surfaces with a product labeled for sewage contamination. Porous flooring, insulation, drywall, and upholstered materials may require removal rather than surface cleaning.
You will know this step is complete when: several fixtures drain normally, the lowest drain stays clear, and the cleanout shows no rising wastewater during a controlled flow test.
Common mistake: treating one successful flush as proof of a complete repair. A narrow channel through grease or roots can pass one fixture’s discharge and fail during laundry use.
Step 5: Close the Cleanout and Document the Result
Inspect the cap and threads before closing the cleanout. Replace a cracked cap or damaged gasket, and use a compatible thread sealant where the fitting manufacturer or local plumbing practice calls for one. Do not overtighten a PVC cap, because excessive force can split the fitting.
Record the date, blockage location, cable length used, material recovered, and symptoms that remain. Photograph the cleanout and mark its location before covering it again. This record helps a plumber distinguish a recurring root issue from a new obstruction.
If the line cleared only after repeated passes, schedule a camera inspection even when drainage appears normal. A successful opening is not the same as a confirmed, structurally sound pipe.
Which Clearing Method Fits the Blockage?
Mechanical snaking is the appropriate first-line clearing method for many accessible, obstructed residential lines, while hydro jetting is better for extensive grease and sludge after pipe condition is verified. Excavation, pipe lining, or replacement is necessary when inspection finds collapse, severe deformation, or persistent leakage.
| Method | Best target | Typical cost | Typical duration | Main limitation |
|---|---|---|---|---|
| Hand auger | 1.5-2 inch fixture branch | $20-$60 DIY | 15-45 minutes | Cannot reach most main-line clogs |
| Motorized cable auger | Roots, wipes, solid masses | $60-$150 rental, $175-$450 professional | 1-3 hours | May leave grease and damaged pipe |
| Hydro jetting | Grease, sludge, scale, soft roots | $350-$900 professional | 1-4 hours | Unsafe for unverified fragile piping |
| Camera inspection | Roots, belly, collapse, offsets | $150-$500 professional | 30-90 minutes | Diagnoses rather than clears |
| Spot repair | Local crack or separated joint | $1,000-$4,000 typical | 1-2 days | Requires excavation or access work |
| Full replacement or lining | Extensive structural failure | $3,000-$15,000 typical | 1-5 days | Requires design, permits, and property access |
Cost varies by region, access, emergency timing, depth, pipe material, and whether cleaning reveals a repair requirement. Treat these as typical planning ranges, not a guaranteed quote.
Why chemical drain cleaners usually fail
Chemical drain cleaners are a poor choice for a main sewer blockage because the product may sit in a long column of stagnant wastewater instead of reaching the obstruction at an effective concentration. The remaining chemical can burn a homeowner or plumber when the cleanout or trap is opened.
Sodium hydroxide and sulfuric-acid products can also damage vulnerable metal, rubber, or older pipe components. Never mix drain chemicals, bleach, acids, or other cleaners. If chemical cleaner has already been added, tell the plumber exactly what product and quantity were used.
Enzyme products are maintenance aids, not emergency clearing tools. They may digest limited organic residue over hours or days, but they cannot remove a collapsed pipe, solid foreign object, or complete root mass.
What If the Clog Does Not Clear?
A cable that stops at a hard wall, repeatedly binds at the same distance, or returns damaged material indicates a diagnostic problem rather than a feeding problem. Stop forcing the auger and arrange a camera inspection, because additional pressure can break an old clay or cast-iron line or trap the cable.
A professional camera can show the obstruction, pipe material, joint condition, belly, collapse, and approximate distance from the cleanout. A locating transmitter can then identify the defect’s position and depth, preventing unnecessary excavation.
Failure modes and recovery actions
| Result after clearing | Probable explanation | Correct next action |
|---|---|---|
| No water movement at cleanout | Complete blockage or disconnected line | Stop and call a plumber |
| Water drops, then rises again | Partial passage or downstream blockage | Camera-inspect and reclean |
| Backup returns within 1-7 days | Roots, belly, grease, or collapse | Diagnose cause, do not repeat blindly |
| Cable cannot pass a fixed point | Offset, valve, bend, or structural defect | Use camera and locate the point |
| Sewage exits outdoor cleanout | Blockage downstream of cleanout | Contact plumber and sewer utility |
| Only septic fixtures back up | Septic tank, filter, or outlet issue | Contact septic professional |
A municipal sewer may be responsible for a blockage beyond the property boundary, but responsibility varies by city, easement, and local code. Call the sewer utility when neighboring properties also have backups, a public manhole is surcharging, or the blockage appears beyond the private lateral.
For a septic system, do not assume the house drain is at fault. A full tank, blocked effluent filter, failed pump, or saturated drain field can create symptoms similar to a main-line clog.
How Can You Prevent Another Main Drain Backup?
Preventive maintenance works best when it addresses the cause rather than repeatedly opening a passage. Keep cooking oil, grease, paper towels, wipes, dental floss, and hygiene products out of the drain, and have recurring root intrusion diagnosed instead of relying indefinitely on chemical treatments.
Use a container to cool and discard fats and oils. Scrape plates into the trash before washing them, and avoid labeling any wipe as sewer-safe simply because its packaging says “flushable.” Only human waste and toilet paper belong in a conventional toilet.
Root treatment may slow regrowth in some systems, but it does not repair open joints. A plumber should select any root-control product for the pipe material, septic or municipal destination, local rules, and environmental restrictions.
Practical maintenance schedule
| Condition | Recommended interval | Action |
|---|---|---|
| No prior sewer problems, newer PVC | Every 2-3 years | Inspect cleanout access and observe drainage |
| Older cast iron or clay line | Every 1-2 years | Consider camera inspection |
| Documented root intrusion | 6-12 months | Professional cleaning and root assessment |
| Repeated grease blockage | 6-12 months | Cleaning plus kitchen disposal changes |
| Backup after heavy rain | Before wet season | Camera, flow, and utility assessment |
| Recently repaired line | 3-12 months | Confirm repair performance with inspection |
Frequently Asked Questions
Can plunging clear a main drain clog?
A plunger can clear a toilet trap or sometimes a nearby branch blockage, but it rarely generates enough sustained force to remove a deep main-line obstruction. Plunging multiple fixtures can also move contaminated water between connected drains. Use a plunger only when one fixture is affected and the main-line symptoms are absent.
How long does it take to clear a main sewer line?
A straightforward motorized auger service typically takes 1-3 hours, including setup and controlled testing. Hydro jetting commonly takes 1-4 hours after a technician confirms access and pipe condition. Structural repairs may take one to five days because excavation, permits, restoration, or lining equipment can extend the work.
Should I call the city for a sewer backup?
Call the municipal sewer authority when nearby properties have the same problem, a public manhole is overflowing, or the blockage may be beyond the private lateral. The property owner often remains responsible for the building sewer from the house to a public connection, but local ordinances and easements determine the boundary.
Can tree roots be permanently removed from a sewer line?
Cable cutting and hydro jetting remove existing roots but do not permanently seal the joint or crack that allowed entry. Permanent solutions include repairing the defective section, installing a suitable liner where permitted, or replacing the damaged pipe. Root-control treatment can reduce regrowth only when the underlying defect remains manageable.
Is a sewer camera inspection worth the cost?
A camera inspection is usually worthwhile when a backup returns, an auger stops at a fixed location, the property has old clay or cast-iron piping, or repair costs could be substantial. The inspection can distinguish a removable obstruction from collapse, belly, offset joints, or a disconnected pipe before excavation begins.
What should I do after sewage enters the basement?
Keep people and pets out, avoid energized equipment, stop water use, and photograph the damage for insurance documentation if safe. Sewage-contaminated porous materials may need removal, while hard surfaces require appropriate disinfection. Contact a qualified restoration contractor or plumber, because ordinary household cleaning does not reliably address biohazard exposure.
The Bottom Line
To clear a main drain clog, isolate the plumbing system, open the correct cleanout cautiously, use a properly sized motorized auger only when conditions are safe, and test flow gradually. Choose hydro jetting for verified, intact pipes with heavy grease or sludge, and choose camera inspection whenever the blockage returns, the cable meets a hard stop, or structural damage is possible. The safest solution is the one that removes the obstruction without converting a drain problem into a contaminated flood or broken sewer pipe.