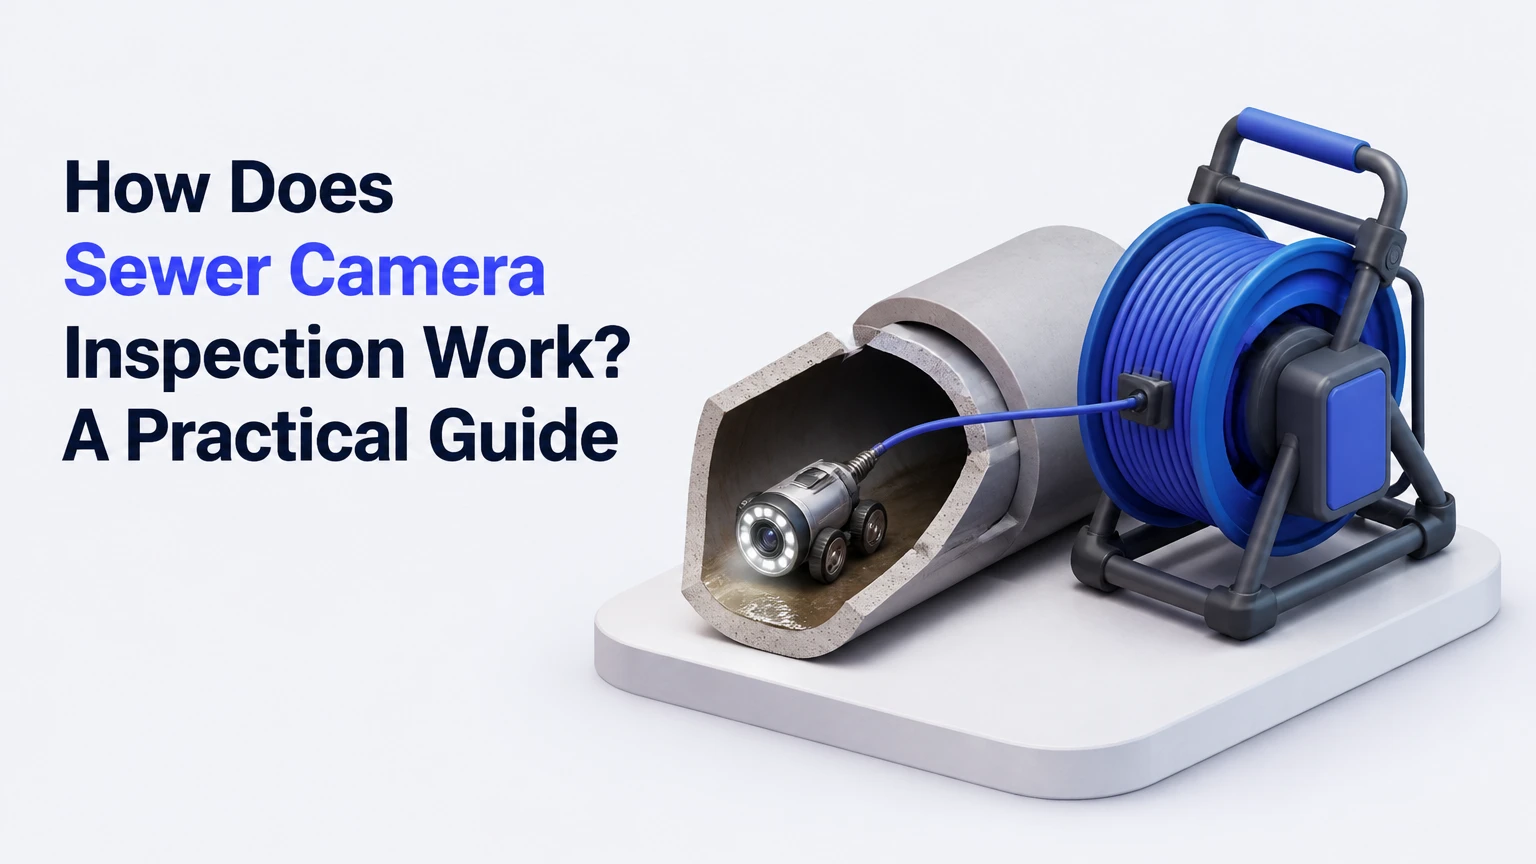
A sewer camera inspection sends a waterproof camera through an accessible drain or sewer opening on a flexible push rod, allowing a technician to watch and record the pipe interior in real time. The camera reveals blockages, roots, cracks, offsets, corrosion, and collapse without excavation, while a transmitter and locator can mark a defect’s surface position and approximate depth.
Key Facts at a Glance
- A residential sewer scope typically uses a push camera with a 100-200-foot cable and a 1.5-6-inch camera head.
- A camera inspection usually takes 30-45 minutes when a cleanout is accessible and the line is passable.
- Typical residential pricing is $150-$400, with extra charges possible for toilet removal, roof access, cleaning, or locating.
- A sonde transmitter helps locate the camera underground, but the video distance counter does not independently prove the pipe’s surface location.
- A completely water-filled or heavily blocked line may need drain cleaning before the camera can produce usable images.
- Camera footage shows the pipe interior; it cannot prove external soil voids, every leak, or the full structural condition outside the pipe.
What Is a Sewer Camera Inspection?
A sewer camera inspection is a visual examination of a drain or sewer pipe using a waterproof camera attached to a flexible cable. The technician inserts the camera through a cleanout, removed toilet connection, vent, or other access point, then records the pipe interior while advancing and retracting the equipment.
The inspection is often called a sewer scope, drain camera inspection, video pipe inspection, or CCTV drain survey. The terms overlap, although a “drain inspection” may refer to a short branch drain under a kitchen sink, while a sewer scope usually follows the building’s larger main sewer lateral toward the public connection or septic tank.
The camera can document visible evidence rather than relying on symptoms alone. A recurring backup might result from roots, grease, a separated joint, a sagging section, or a crushed pipe. Each condition requires a different repair strategy, so the video matters most when it identifies both the defect and its position.
What can a sewer camera find?
A sewer camera can identify visible obstructions and pipe defects, including tree roots, grease deposits, foreign objects, cracks, holes, displaced joints, corrosion, scale, channeling, bellies, and structural collapse. The camera may also show pipe material, connections from branch lines, standing water, and changes in pipe diameter.
Video evidence does not make every diagnosis certain. Mud, sewage, heavy scale, or water turbulence can hide the wall. A camera can show that a pipe is full of water, but it cannot see through opaque blockage or determine whether soil has washed away around the outside.
How Does Sewer Camera Inspection Work?
A sewer camera inspection works through six linked actions: the technician gains access, sets the equipment and distance reference, pushes the camera through the line, documents findings, locates important defects above ground, and delivers the recording with an interpretation. The inspection succeeds only when the camera reaches enough of the line to support the conclusion.
The system combines optics, mechanical force, measurement, and radio locating. A camera head provides light and images, the fiberglass rod carries the head through the pipe, and a monitor displays the live view. The reel records how much cable has entered the pipe, while a sonde can transmit a signal through the ground.
What equipment does a technician use?
A typical system contains a camera head, LED lighting, a push rod and reel, a monitor, a recording unit, and often a sonde locator. Commercial systems may add motorized crawlers, pan-and-tilt cameras, and higher-capacity cable reels for larger pipes.
| Equipment | Typical specification | Primary function | Important limitation |
|---|---|---|---|
| Residential push camera | 1.5-6-inch pipe range; 100-200-foot cable | Inspects house laterals and branch lines | Requires a passable pipe and usable access |
| Micro-camera reel | About 1-2-inch head; 50-100-foot cable | Examines small indoor drains and traps | Smaller optics provide less detail and reach |
| Camera head | Waterproof housing; adjustable LEDs | Illuminates and records the pipe wall | Grease, mud, and water can obscure the lens |
| Push rod and reel | Commonly 100-300 feet | Carries the camera through bends | Excessive force can damage the rod or pipe |
| Monitor and recorder | Live display with video and still capture | Documents findings and footage | Recording quality varies by system |
| Sonde locator | Often 512 Hz transmitter and receiver | Marks camera position and approximate depth | Metal, depth, and interference can weaken signals |
High-end camera heads may use self-leveling optics. A pendulum or electronic orientation system keeps the bottom of the pipe near the bottom of the screen as the head rotates through bends. Self-leveling makes interpretation easier, but it does not tell the operator whether a mark is a crack, scratch, root, or deposit.
The distance counter measures pushed cable from the selected access point. “Root intrusion at 42 feet” means approximately 42 feet of cable entered the pipe from that reference point. It does not automatically mean the defect is 42 feet in a straight line across the yard.
What Happens During the Inspection?
A standard residential inspection follows a repeatable sequence, but access, pipe geometry, and blockage condition determine how far the camera travels. The technician should explain the starting point, destination, footage readings, visible defects, and any section that the camera could not inspect.
Step 1: Identify and prepare the access point
The technician first locates the cleanout or another opening that connects to the target line. An exterior two-way cleanout is usually preferable because it avoids removing a fixture and often provides a more direct route through the main lateral.
If no cleanout exists, the technician may remove a toilet, enter through a basement drain, or use a roof vent when the equipment and safety conditions permit. Toilet removal can add labor, require a new wax ring, and create a risk of damaging an old flange. Roof access introduces fall hazards and may not provide a practical route to the sewer lateral.
Success checkpoint: The technician can identify the pipe direction and explain which section the camera will inspect.
Common mistake: Treating the nearest drain opening as the main sewer access without confirming its connection.
Step 2: Set up the camera and zero the footage
The technician powers the monitor, checks the camera image and lights, confirms the locator frequency if available, and zeros the distance counter at the agreed access reference. The camera should be clean before insertion, because a smeared lens can make a sound pipe appear defective.
The starting point should be recorded in the report. A measurement from an indoor toilet differs from a measurement from an exterior cleanout, so repair crews need the same reference point to reproduce the finding.
Success checkpoint: The video displays a clear image, and the footage counter starts at a documented location.
Common mistake: Reporting a defect distance without stating where the measurement began.
Step 3: Push the camera through the line
The operator advances the camera slowly while watching the monitor for changes in pipe shape, material, color, water level, and surface texture. The rod must be firm enough to push but flexible enough to negotiate bends, and the operator may rotate it gently when a normal elbow resists passage.
A camera should not be forced through a tight obstruction. Excessive pressure can kink or break the fiberglass rod, dislodge fragile pipe material, or drive debris farther into the line. A small amount of running water can sometimes improve visibility and help the camera pass a bend, but water cannot solve a structural obstruction.
Success checkpoint: The camera progresses without binding, and the monitor shows the pipe floor, walls, joints, and direction of travel.
Common mistake: Moving too quickly. Fast travel can blur a small offset joint or skip a short crack that becomes visible only when the camera pauses.
Step 4: Record and classify findings
When the operator sees a potential defect, the camera stops or slows, and the technician records video, captures still images, notes the footage, and describes the finding. Useful documentation identifies the clock-face position, approximate length, pipe material, and whether the condition restricts flow.
Clock positions provide orientation. A root entering at the 12 o’clock position is located at the top of the pipe, while a defect at 6 o’clock is at the invert or bottom. Orientation may be less reliable when the camera lacks self-leveling or when the pipe is full of turbulent water.
Success checkpoint: Each significant finding has video, footage, orientation where practical, and a description that distinguishes observation from interpretation.
Common mistake: Calling every dark line a crack. Scratches, longitudinal seams, grease streaks, and root strands can resemble fractures until the operator changes the camera angle or cleans the lens.
Step 5: Locate the camera from the surface
For a repairable defect, the technician activates the sonde inside the camera head and traces the signal with a receiver above ground. The receiver can identify the camera’s horizontal position and estimate depth, allowing the technician to mark the ground above the pipe.
A 512 Hz sonde is common in locating equipment, but frequency alone does not guarantee accuracy. Reinforcing steel, cast-iron pipe, electrical interference, deep burial, nearby utilities, and signal distortion can affect the result. A competent locator confirms the strongest signal from more than one direction and records the depth method used.
Success checkpoint: The defect location is marked relative to fixed property features, with an approximate depth and the access point documented.
Common mistake: Excavating from the footage number alone. Cable length follows the pipe’s bends and slope, not a straight surface route.
Step 6: Review the video and issue the report
The technician retracts the camera carefully, verifies that the recording saved, and provides the customer with the relevant video and findings. A useful report states the inspected route, access point, pipe material, visible conditions, footage references, limitations, and recommended next action.
A report should separate confirmed observations from assumptions. “Open joint visible at 38 feet” is stronger than “entire sewer needs replacement,” unless the video shows repeated failure, collapse, or another condition supporting that conclusion.
Success checkpoint: The customer receives a playable recording and can connect each recommendation to a visible condition.
Common mistake: Accepting a repair proposal without asking which footage, image, or locator mark supports it.
Which Camera System Fits Each Pipe?
Push cameras fit most residential sewer laterals, while micro-cameras handle narrower branch drains and robotic crawlers handle large commercial or municipal pipes. Equipment choice depends on pipe diameter, access geometry, distance, obstruction severity, and whether the camera must travel independently.
| System type | Typical pipe diameter | Typical reach | Best application | Main constraint |
|---|---|---|---|---|
| Micro-camera reel | 1.5-2 inches | 50-100 feet | Shower, sink, laundry, and small branch drains | Limited lighting and pushing power |
| Residential push camera | 2-6 inches | 100-200 feet | House main lines and sewer laterals | Cannot cross every obstruction |
| Long-reach push system | 3-8 inches | 200-300 feet | Larger properties and long laterals | Requires an experienced operator |
| Robotic crawler | 8-36-plus inches | 300-1,000-plus feet | Commercial and municipal mains | Needs larger access and suitable pipe geometry |
A crawler is not automatically better for a house. Its wheels need enough pipe diameter and a relatively clear route, whereas a push camera can navigate many residential bends that a large vehicle cannot.
What Problems Can the Video Reveal?
Sewer camera footage can reveal the internal cause of poor drainage, but the finding must be interpreted alongside pipe material, flow behavior, and the extent of the defect. A single minor root strand does not carry the same repair significance as a collapsed clay section or a recurring open joint.
| Finding | What the camera may show | Typical consequence | Usual next diagnostic or repair |
|---|---|---|---|
| Root intrusion | Fine roots or dense root mass entering a joint | Recurring restriction and moisture entry | Root cutting, cleaning, spot repair, or replacement |
| Offset joint | Pipe sections no longer align | Catch point for solids and reduced flow | Spot excavation, lining assessment, or replacement |
| Belly or sag | Standing water remains after flow stops | Solids settle and backups recur | Grade verification and targeted repair |
| Crack or hole | Linear fracture, opening, or missing wall | Leakage, soil entry, or structural weakening | Locate, assess extent, then repair or replace |
| Grease or scale | Coating narrows the usable opening | Slow drainage and repeated blockage | Cleaning followed by a verification camera |
| Collapse | Deformed or fully blocked passage | Severe restriction or no flow | Excavation, replacement, or engineered rehabilitation |
Pipe material changes the interpretation. Clay commonly develops open joints and root entry; cast iron can develop heavy rust scale and channeling; Orangeburg can deform or flatten; PVC often shows joint separation or installation defects rather than internal corrosion.
A “belly” deserves special care. The camera may show standing water, but video alone cannot measure the pipe’s exact grade or prove the entire segment sags. A locating survey, level measurements, or excavation may be needed before selecting a repair.
How Are Defects Located and Measured?
A sewer camera locator marks the camera head’s underground position by detecting the sonde’s radio signal, while the reel counter records cable length from the access point. The two measurements answer different questions: the locator identifies where the camera is physically situated, and the counter identifies how much cable has entered the pipe.
Depth readings are approximate rather than excavation guarantees. Soil composition, nearby metal, reinforced concrete, and signal reflection can influence the receiver. The technician should mark the signal peak, verify it from multiple angles, and state whether the depth is measured to the sonde or estimated from the surface.
Repair planning also benefits from fixed references. A mark such as “4 feet east of the cleanout, 3 feet deep, adjacent to the driveway edge” is more useful than a video overlay that says “42 feet.”
How Much Does a Sewer Camera Inspection Cost?
A typical residential sewer camera inspection costs $150-$400 and takes about 30-45 minutes when an accessible cleanout is available and the pipe is open enough for the camera. A visit can reach $500-$800 when the technician must remove a toilet, access a roof, clear a blockage, perform surface locating, or inspect a difficult route.
Prices vary by region, line length, emergency timing, property type, and whether the fee includes a recording and written report. The following ranges are typical planning figures, not a universal price schedule.
| Service component | Typical price range | Typical time | When it applies |
|---|---|---|---|
| Basic residential camera scope | $150-$400 | 30-45 minutes | Accessible cleanout and passable line |
| Toilet removal for access | $250-$500 total | 45-90 minutes | No usable cleanout near the main line |
| Roof vent access | $300-$800 total | 60-120 minutes | Special access with height and setup requirements |
| Camera plus drain cleaning | $350-$1,000-plus | 1-3 hours | Blockage prevents a complete visual inspection |
| Camera locating and marking | $75-$250 add-on | 15-45 minutes | Repair planning requires surface position and depth |
Ask whether the quoted fee includes the full recording, return travel, footage measurements, locator marks, and a second camera pass after cleaning. A low initial price may exclude the work needed to make the line visible.
Is a Camera Better Than Snaking or Hydro-Jetting?
A sewer camera diagnoses the pipe, a drain snake removes a localized obstruction, and hydro-jetting cleans the pipe walls with high-pressure water. These methods are complementary rather than interchangeable, so the right sequence depends on whether the immediate priority is restoring flow, identifying damage, or verifying the result.
| Method | Primary purpose | Typical output | Main risk or limitation |
|---|---|---|---|
| Sewer camera | Visual diagnosis | Video, footage, defect record | Cannot see through opaque blockage |
| Drain snake | Open a passage through a clog | Restored short-term flow | May leave roots, grease, or structural damage |
| Hydro-jetting | Scour deposits and roots | Cleaner pipe interior | Can damage severely weakened pipe |
| Smoke or dye testing | Investigate leaks or connections | Evidence of escape or cross-connection | Does not show internal wall condition |
A camera before hydro-jetting is especially useful in older clay, cast-iron, or Orangeburg lines. Cleaning equipment can expose a weak section that was already failing, and the pre-cleaning video provides a baseline for judging whether the pipe is suitable for high-pressure work.
After cleaning, a second camera pass is often more informative than the first. The clean view can distinguish a genuine fracture from a grease line and can show whether roots return through a joint or were merely sitting on the pipe floor.
What Can a Sewer Camera Inspection Not Prove?
A sewer camera cannot inspect hidden pipe exteriors, measure soil stability, guarantee watertightness, or reveal every defect when water, debris, scale, or a blockage blocks the lens. The recording is evidence of visible interior conditions, not a complete engineering survey of the entire drainage system.
Important limitations include:
- A flooded line can produce dark or brown footage with little wall visibility.
- A camera may stop at a sharp bend, offset, collapsed section, or dense obstruction.
- A small camera head may pass through a defect without showing the full exterior consequence.
- The video cannot reliably identify a leak that occurs only under pressure or during unusual flow.
- The camera may not reach the municipal connection, property line, septic tank, or downstream cleanout.
- Surface locating may be inaccurate near rebar, utilities, deep pipe, or metal structures.
- A clean-looking segment does not prove that upstream or downstream sections are sound.
A complete conclusion must state what was inspected and what remained unseen. “Camera reached 118 feet and stopped at a collapsed section” is a defensible result. “The entire sewer is good” is not defensible when 40 percent of the route was inaccessible.
When Should You Schedule a Sewer Camera Inspection?
Home buyers should schedule an independent sewer scope before removing inspection contingencies because a standard home inspection usually does not evaluate the buried sewer lateral. A camera inspection can identify a costly defect before ownership changes, although the buyer should confirm who owns the lateral and whether the inspection reaches the public connection.
Owners of older homes should consider a scope after recurring backups, slow main-line drainage, sewage odors, unexplained wet spots, or a history of root cutting. Proactive timing depends on pipe material and symptoms, not a universal two-year rule. Older clay, cast iron, and Orangeburg systems deserve more attention than recently installed, well-documented PVC.
Landlords and property managers should preserve the original video and a dated report before approving excavation. Multiple repair bids become easier to compare when each contractor receives the same footage, defect distance, locator mark, and access information.
What Should You Ask the Inspection Company?
A reliable inspection agreement should answer five operational questions before the technician arrives:
- Which line will be inspected? Confirm the building sewer, a branch drain, or the lateral to the street or septic tank.
- Where will the camera enter? Ask whether cleanout access is included and what toilet or roof access costs.
- What will you receive? Request the raw video, still images, footage references, and written findings.
- Is locating included? Confirm whether the technician marks defect position and reports approximate depth.
- What happens if the line is blocked? Ask whether cleaning is optional, separately priced, and followed by a verification pass.
An inspection company should also explain any section the camera could not reach. A video that ends at a blockage is useful, but it does not support conclusions about the unseen downstream pipe.
Common Inspection Problems and Fixes
Why is the camera image blurry?
Grease, mud, paper, or mineral deposits can coat the lens and create false defects or a blank image. The technician should retrieve the head, clean the lens, improve water conditions when appropriate, and repeat the pass rather than interpreting an obscured screen.
Why can’t the camera pass a bend?
A sharp elbow, offset joint, undersized opening, or deformed pipe can stop the push rod. Gentle rotation and controlled pressure may help at a normal bend, but forcing the cable risks a broken rod, so the operator should document the stopping point and consider access from the opposite direction.
Why can’t the locator find the sonde?
Deep burial, cast iron, reinforced concrete, nearby electrical sources, or an incompatible receiver can weaken the signal. The technician should confirm frequency, search in a grid, verify the strongest signal, and compare the locator result with the documented pipe route.
Why does the video show only water?
A backed-up line, low pipe grade, active discharge, or insufficient drainage may cover the camera lens. Clearing the line or waiting for flow to subside can improve visibility, but a camera cannot inspect a wall hidden behind opaque water.
FAQ
Can a sewer camera inspection damage the pipe?
A properly operated camera normally causes little or no damage because the camera head is smaller than the pipe and the operator controls the push force. Risk increases in brittle clay, severely corroded cast iron, collapsed pipe, or a line with a trapped rod. Technicians should never force the equipment through resistance.
How far can a sewer camera travel?
Residential push cameras commonly inspect 100-200 feet, while some systems reach 300 feet or more under favorable conditions. Actual reach depends on pipe diameter, bends, access location, obstruction severity, rod stiffness, and whether the camera can be advanced without damaging the line.
Should I get a sewer scope when buying a house?
A sewer scope is prudent for a home purchase, particularly when the property has mature trees, an older sewer lateral, recurring drainage symptoms, or unknown pipe material. The scope should be independent of the seller’s repair contractor and should document the route, video, defects, and any inaccessible section.
Can a camera inspection find a sewer leak?
A camera can reveal visible holes, open joints, cracks, displaced connections, and conditions that could allow leakage. Camera footage cannot prove that every joint is watertight or detect all leaks that occur only under specific flow or pressure conditions, so dye, smoke, pressure, or excavation testing may be required.
Is DIY sewer camera rental worthwhile?
DIY rental can be reasonable for a short, accessible branch drain when the goal is locating a simple obstruction. Professional service is safer for a buried main line, a home purchase, a suspected collapse, or a repair dispute because interpretation, locating, access, and documentation matter as much as the image.
How long should a sewer camera inspection take?
A straightforward residential scope generally takes 30-45 minutes, including setup and review. Toilet removal, roof access, drain cleaning, difficult bends, long laterals, multiple access points, or surface locating can extend the appointment to 90 minutes or longer.
The Bottom Line
How does sewer camera inspection work? A technician inserts a waterproof camera through an access point, advances it through the sewer while recording the interior, documents visible defects with footage references, and uses a sonde locator to mark important findings above ground. The typical service costs $150-$400 and takes 30-45 minutes when access and flow conditions are favorable.
The most useful inspection is not merely a video. It identifies the inspected route, distinguishes visible evidence from assumptions, states where the camera stopped, and connects each repair recommendation to a recorded finding. Before excavation, cleaning, or a home purchase decision, that combination of footage, measurements, locating, and limitations provides the clearest basis for action.