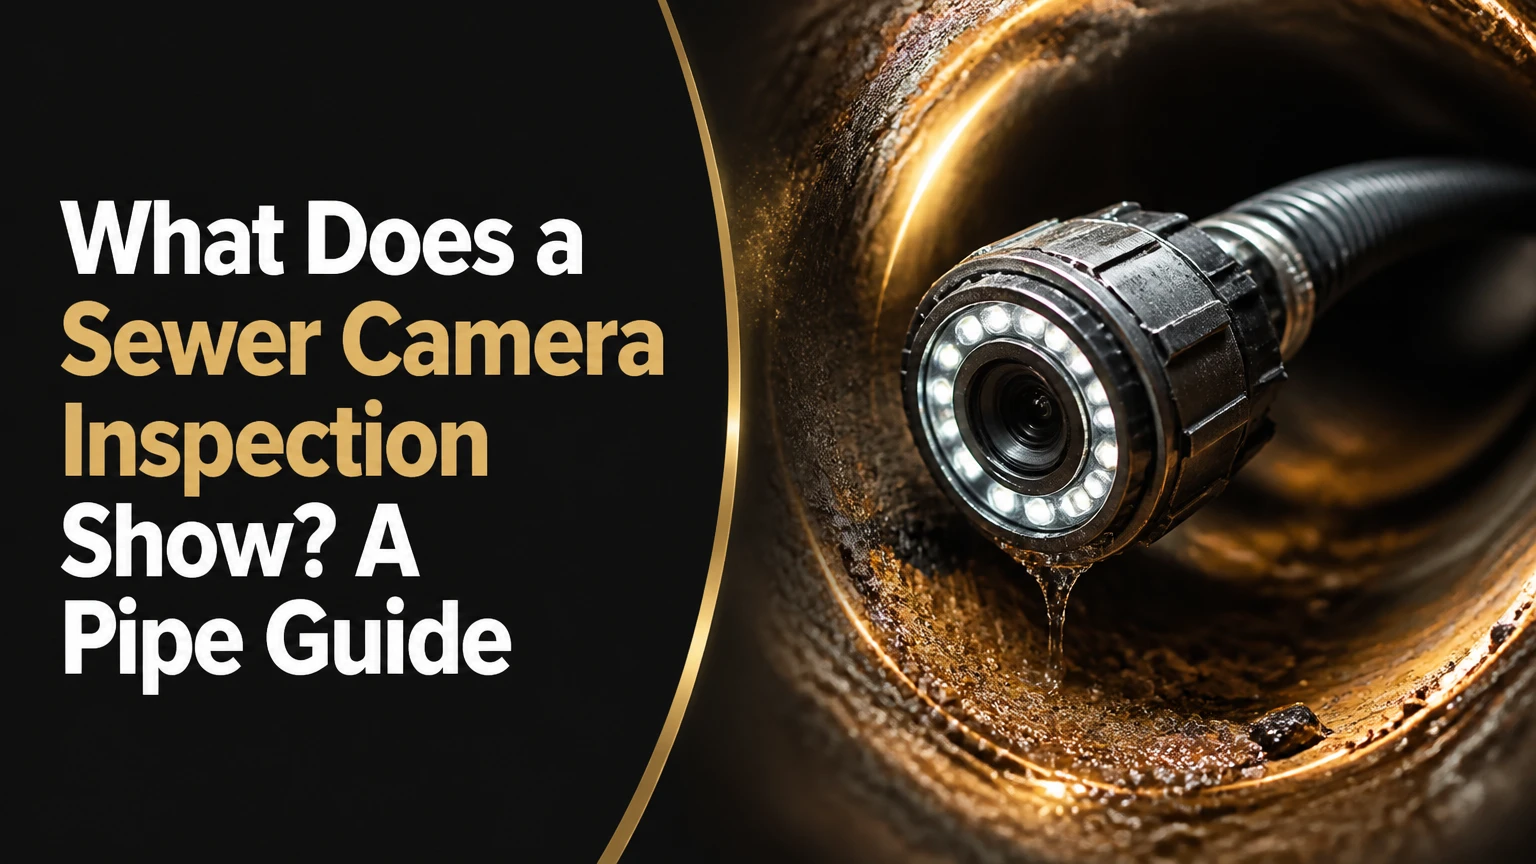
A sewer camera inspection shows the inside of a wastewater pipe, including blockages, tree roots, cracks, separated joints, offsets, standing water, corrosion, scale, and pipe material. A locating transmitter and distance counter can identify a defect’s approximate position and depth, but footage cannot reveal every external leak or inaccessible section.
Key Facts at a Glance
A sewer camera inspection provides visual evidence of interior pipe condition without opening the ground.
Typical residential inspections cost about $250-$600 and take 30-90 minutes.
A camera can show roots, grease, foreign objects, fractures, bellies, offsets, corrosion, and collapse.
A sonde locator estimates the camera head’s underground position and depth; frequency varies by equipment and is not universally 512 Hz.
A completely flooded, opaque line may need snaking or hydro-jetting before the camera can produce usable footage.
A video is most useful when paired with footage timestamps, distance measurements, pipe material, defect location, and repair recommendations.
What Does a Sewer Camera Inspection Actually Show?
A sewer camera inspection shows the internal surface, geometry, flow path, connections, and visible structural condition of the inspected pipe. The technician watches a waterproof camera travel through the line and records findings such as obstruction type, joint displacement, root entry, standing water, and wall deterioration.
The image may also reveal where a branch drain joins the main lateral. A connection that appears as a circular opening, a protruding fitting, or an abandoned lateral can explain recurring backups or unusual flow patterns. The camera may identify pipe material by texture and shape, although a short video segment cannot always confirm material throughout an entire system.
Sewer footage does not automatically establish repair urgency. A small amount of grease, light surface scaling, or a narrow root hair may need cleaning rather than replacement, while a short-looking offset can prevent a camera from passing and conceal a more serious condition. Interpretation depends on obstruction severity, pipe function, recurrence, and whether the camera reached the municipal connection.
Which defects appear most often?
The most consequential findings are roots, fractures, offsets, collapses, bellies, corrosion, scale, grease, and foreign objects. Each has a different appearance and repair implication.
| Finding | Typical video appearance | Likely consequence | Usual next evaluation |
|---|---|---|---|
| Tree roots | Pale strands entering at a joint or crack | Recurring blockage and joint deterioration | Root cutting, cleaning, or structural repair |
| Crack or fracture | Linear split, missing wall section, or jagged break | Soil intrusion, leakage, collapse risk | Locate, assess length, and inspect surrounding soil |
| Offset joint | One pipe section sits higher or lower than the next | Debris-catching lip and restricted flow | Spot repair, lining review, or replacement |
| Belly or sag | Camera enters standing water and image dips | Solids settle in low section | Elevation survey and repair feasibility review |
| Collapse | Pipe wall closes, fragments obstruct passage, or camera stops | Severe restriction or total blockage | Excavation, replacement, or engineered rehabilitation |
| Grease or FOG | Tan, gray, or black coating narrows the passage | Slow drainage and odor | Cleaning, then repeat inspection |
| Scale or corrosion | Flaking, rough walls, pitting, or tuberculation | Reduced diameter and fragile cast iron | Cleaning and structural assessment |
| Foreign object | Wipes, toys, cloth, construction debris, or rocks | Localized or recurring blockage | Retrieval, cleaning, and cause investigation |
Can a sewer camera identify pipe material?
A sewer camera can often identify clay, cast iron, Orangeburg, PVC, ABS, and concrete from visible texture, joints, color, and shape. Material identification is more reliable when the video includes several representative sections and the technician records transitions between materials.
Clay pipe commonly shows bell-and-spigot joints and irregular mineral deposits. Cast iron may display rust flakes, tuberculation, or a dark rough interior. Orangeburg, a bituminized fiber pipe, can look compressed, rippled, or deformed and may lose its circular shape. PVC and ABS generally show smoother walls and manufactured fittings, but dirt and lighting can make colors unreliable.
A camera cannot certify the age, manufacturer, remaining wall thickness, or entire-property material from appearance alone. Building records, exposed pipe, and a qualified plumbing assessment may be needed before choosing a lining or replacement method.
How Does a Sewer Camera Inspection Work?
A sewer camera inspection uses a waterproof camera head attached to a flexible push rod, a monitor, and recording equipment. The technician feeds the camera through a cleanout or another access point, watches the live image, records distance markers, and may use a radio sonde to locate defects above ground.
Residential push cameras usually inspect lines about 2-6 inches in diameter. The camera head contains lights, a lens, and sometimes a self-leveling mechanism that keeps the image upright as the head rotates through bends. The push rod supplies mechanical force and carries the camera signal, while the control unit displays video, distance, and technician notes.
A sonde is a transmitter inside or near the camera head. A locator wand detects the signal from above ground and estimates horizontal position and depth. Frequencies vary by manufacturer and locator system, so 512 Hz is common in some equipment but is not a universal requirement. Metal, reinforced concrete, depth, electrical interference, and saturated ground can reduce accuracy.
What happens during the inspection?
The inspection normally follows six stages, although access problems or an active backup can change the order.
- Find the access point. The technician uses a main cleanout, basement opening, exterior riser, or another suitable entry. Removing a toilet or entering through a roof vent may add labor and risk.
- Prepare the line. The technician checks whether wastewater is flowing and whether the camera can see. A fully blocked line may require a drain machine or hydro-jetter first.
- Set the equipment. The operator checks the camera, lighting, recording system, and distance counter, then establishes the starting reference.
- Push and observe. The camera travels toward the street or septic tank while the operator notes connections, obstructions, water level, and structural changes.
- Locate significant findings. The sonde and locator wand mark approximate surface position and depth when a defect needs excavation or targeted access.
- Record and review. The final file should show the route, footage markers, observed conditions, and any sections the camera could not reach.
The camera should not be forcibly pulled or pushed when it catches at an offset. Excessive force can damage the push cable, dislodge a fragile pipe, or leave the camera underground.
Which camera type is appropriate?
A push camera is usually appropriate for a single-family sewer lateral, while lateral-launch equipment and robotic crawlers are better for larger or branching systems. The correct choice depends on pipe diameter, access, length, bends, obstruction level, and the required report standard.
| Camera system | Typical pipe range | Typical reach | Best application |
|---|---|---|---|
| Micro drain camera | 1.5-2 inches | 50-100 feet | Small branch drains and tight appliance lines |
| Residential push camera | 2-6 inches | 100-325 feet | House-to-street sewer laterals |
| Lateral-launch camera | 6-12 inches main | 200-500 feet combined | Main lines with multiple branch connections |
| Robotic crawler | 8-36 inches or larger | Up to about 1,000 feet | Commercial, institutional, or municipal mains |
| Pan-and-tilt crawler | 8-48 inches or larger | Project-specific | Joint, manhole, and service-connection assessment |
Manufacturer specifications differ substantially. A listed maximum push length is not a guarantee that the camera will negotiate every bend or reach the public sewer from a particular cleanout.
How Should You Interpret Sewer Camera Findings?
Sewer camera findings should be ranked by flow impact, structural risk, recurrence, and repairability rather than by the most dramatic-looking image. The first question is whether the camera reached the intended endpoint and whether cleaning changed the appearance of the line.
A root-covered joint may explain repeated backups but not require immediate excavation if the pipe remains round and structurally sound. Conversely, a belly may look less dramatic than roots while causing chronic sediment accumulation that returns after every cleaning. A report should distinguish maintenance conditions from structural defects.
The technician should identify the starting point, direction of travel, distance to each finding, approximate depth when located, pipe material, and endpoint. “Problem in the sewer line” is not an adequate repair description because it cannot reliably guide excavation, lining, or price comparison.
What does a professional report include?
A useful sewer inspection report includes the original video, a written defect log, distance markers, access-point information, endpoint status, and photographs or surface marks for located defects. The report should also state whether water, grease, roots, or debris prevented a complete view.
| Report element | Minimum useful detail | Why it matters |
|---|---|---|
| Access reference | Basement cleanout, yard cleanout, toilet, or vent | Establishes where distance measurement begins |
| Direction | Street, septic tank, or building | Prevents locating the wrong side of the line |
| Distance | Feet or meters to each finding | Supports targeted excavation and estimates |
| Depth | Locator estimate in feet or meters | Helps plan digging and avoid utilities |
| Defect description | Root intrusion, offset, belly, fracture, or collapse | Connects footage to repair scope |
| Endpoint | Main connection, tank, or unreachable section | Shows whether inspection was complete |
| Video file | Downloadable original recording | Allows second opinion and future comparison |
A report that says “line looks good” without showing the endpoint is incomplete evidence. The camera may have stopped at a bend, obstruction, or collapsed section before reaching the property boundary.
What is the difference between scale, grease, and collapse?
Scale and grease are interior deposits that restrict flow, while collapse is a failure of the pipe’s shape or wall. A rough-looking surface does not by itself prove that the pipe needs replacement.
Cast-iron scale can appear as thick, flaky rust or irregular mineral growth. Grease can coat the lower half of a pipe and make the lens dark as the camera passes through it. Cleaning can reveal whether the underlying pipe remains round and continuous. A collapse typically produces a narrowed opening, broken fragments, a sharply distorted profile, or an impassable section that remains after cleaning.
One practitioner rule is to avoid approving full replacement from dirty footage alone when the camera can be retrieved, the line can be cleaned, and a second inspection is feasible. Cleaning is diagnostic as well as corrective.
How Much Does a Sewer Camera Inspection Cost?
A typical residential sewer camera inspection costs about $250-$600 and takes 30-90 minutes, while commercial work commonly costs $500-$2,500 or more. Access difficulty, line length, cleaning requirements, locating, video reporting, and after-hours service create most price differences.
These are typical planning ranges, not universal prices. A simple exterior cleanout with clear flow may cost less than a blocked line that requires hydro-jetting, toilet removal, surface locating, and a written report. Municipal or commercial projects may use PACP-style coding, manhole access, crawler equipment, and detailed asset records.
| Service condition | Typical price range | Typical duration | Main price driver |
|---|---|---|---|
| Residential camera only | $250-$600 | 30-90 minutes | Access and line length |
| Camera after basic snaking | $400-$900 | 1-2 hours | Clearing opaque water first |
| Camera plus hydro-jetting | $600-$1,500 | 2-4 hours | Heavy grease, roots, or scale |
| Commercial lateral inspection | $500-$2,500 | 1-5 hours | Diameter, footage, and reporting |
| Municipal crawler survey | $2,500 or more | Project-specific | Manholes, traffic control, and coding |
Ask whether the price includes a downloadable video, locator work, written findings, cleaning, tax, and return travel. A low inspection fee may exclude the steps needed to make the footage interpretable.
Is a Sewer Camera Better Than Snaking or Digging?
A sewer camera is better than snaking for identifying the cause and location of a sewer problem, but snaking is often necessary before the camera can see through a fully blocked line. Digging provides direct access to the exterior and surrounding soil, so it remains necessary when footage cannot establish a repairable condition.
| Method | Primary evidence | Typical cost pattern | Best use | Main limitation |
|---|---|---|---|---|
| Sewer camera | Interior video and distance | $250-$600 residential | Diagnose cause and location | Cannot see outside pipe walls |
| Drain snaking | Mechanical resistance and restored flow | Often lower initial cost | Open a localized blockage | Does not document structural condition |
| Hydro-jetting | High-pressure cleaning result | $400-$1,500 typical | Remove grease, roots, and scale | Can expose weak pipe or cause damage |
| Exploratory digging | Direct exterior observation | Often thousands of dollars | Confirm soil, depth, or collapse | Property disruption and uncertain scope |
| Smoke or dye testing | Flow path or leak indication | Project-specific | Investigate certain connections or leaks | Does not replace internal video |
Snaking can pass through a defect without identifying it. A drain cable may puncture roots, push debris downstream, or slide through a broken section while leaving the underlying structural problem undocumented.
What Can a Sewer Camera Not Show?
A sewer camera cannot reliably show minor external leaks, soil voids, pipe-wall thickness, every hidden connection, or conditions beyond an inaccessible obstruction. The camera sees the interior surface and the water path, not the entire underground environment surrounding the pipe.
Murky wastewater can block the lens completely. A submerged section may hide cracks, and a camera that stops at a severe offset cannot assess the pipe beyond that point. A camera also cannot prove that a pipe is watertight because a joint may leak outward without producing a visible interior gap.
Specialized tests may answer questions that video cannot. A dye test can help trace flow, smoke testing can identify certain illegal connections, and acoustic or pressure methods may investigate leakage. A structural engineer, utility locator, or excavation may be needed when the financial decision involves a full replacement.
What if the line is completely clogged?
A completely clogged sewer line usually needs flow restored before a camera inspection can produce meaningful footage. The technician may snake or hydro-jet the line, then run the camera while the pipe is open and document any remaining obstruction or structural defect.
Do not assume that restored drainage proves a healthy pipe. Roots, displaced joints, grease, and broken fragments can all permit temporary flow after cleaning. The most informative sequence is often clean, inspect, locate, and then verify after repair.
Why might the camera get stuck or lose its signal?
A sewer camera can become stuck at a sharp offset, collapsed section, severe bend, or broken pipe edge. A locator signal can weaken because of depth, reinforced concrete, metal interference, unsuitable frequency, or equipment limitations.
The operator should avoid yanking the cable. Gentle rotation and controlled retrieval may free a head, but a permanently trapped camera may require locating and excavation. If the camera is stuck beyond a defect, the final report should state that the downstream section was not inspected.
When Should You Schedule an Inspection?
Home buyers should request a sewer scope before closing when the property has an older lateral, mature trees, unknown repair history, or a long distance to the street. Homeowners should schedule one after recurring backups, multiple slow drains, gurgling fixtures, sewage odors, or a blockage that returns soon after cleaning.
A standard home inspection usually cannot assess the underground sewer lateral unless a dedicated camera inspection is included. A home buyer should make the scope part of the inspection contingency and obtain the original video before negotiating repairs.
For property managers, inspection frequency should follow risk rather than a universal calendar. Annual or biannual camera work may suit grease-heavy commercial lines, while a low-risk residential lateral may need inspection only after symptoms, before purchase, or before major landscaping.
What should you ask the technician?
Ask these questions before approving work:
- Will the camera inspect from the building to the street or septic tank?
- Is cleaning included if wastewater obscures the lens?
- Will the technician provide the original video file?
- Does the report include distance, depth, direction, and endpoint?
- Can the technician locate defects at the surface?
- What portion of the line remained uninspected?
- Are roots or scale being described as maintenance findings or structural failures?
- Can another technician review the footage before excavation?
- Does the quoted price include toilet removal, roof access, or after-hours fees?
The strongest evidence combines footage with location data. Video without distance and endpoint information is difficult to turn into a precise repair plan.
What Should You Do After a Sewer Camera Inspection?
After a sewer camera inspection, match the response to the finding: clean and monitor deposits, remove recurring roots, repair localized structural defects, or obtain an engineered replacement plan for collapse and extensive failure. Request a second opinion before approving major excavation when the video is dirty, incomplete, or ambiguous.
Use this decision sequence:
- Confirm completeness. Verify that the camera reached the street connection, septic tank, or other intended endpoint.
- Separate maintenance from structure. Identify grease, roots, and scale that may improve after cleaning.
- Locate the defect. Confirm distance, direction, approximate depth, and utility considerations.
- Compare repair methods. Evaluate spot repair, trenchless lining, pipe bursting, or open replacement against access and pipe condition.
- Verify the result. Run another camera after repair or rehabilitation to document restored continuity and flow.
A camera inspection is diagnostic evidence, not a repair guarantee. The best next action preserves the video, tests uncertain findings, and pays for excavation only when the evidence supports its location and scope.
Frequently Asked Questions
Does a sewer camera inspection show the city sewer?
A sewer camera inspection can show the private lateral up to the municipal connection if the camera can travel that far and local access rules permit it. A standard residential push camera may stop at a blockage, difficult bend, or transition. Municipal pipe beyond the connection generally requires separate authorization, access, and equipment.
Can a sewer camera find tree roots?
A sewer camera can show tree roots entering through joints, cracks, or failed seals. The footage may reveal whether roots form a light hairlike intrusion, a dense blockage, or a recurring structural entry point. Root cutting removes the obstruction, but it does not repair the opening that allowed roots inside.
How accurate is sewer-camera depth locating?
Sonde depth locating provides an estimate, not a survey-grade excavation point. Reinforced concrete, metal, signal interference, soil conditions, camera orientation, and operator technique can affect accuracy. Confirm the mark with utility locating and careful exposure before using it to plan excavation near gas, electric, water, or communication lines.
Can a camera inspection detect a sewer gas leak?
A camera may show an open joint, crack, separated fitting, or blockage associated with sewer-gas problems, but video does not measure gas concentration or prove airtightness. A smoke test, plumbing trap evaluation, or licensed technician’s investigation may be necessary when odor persists despite visually intact piping.
Is a sewer scope necessary for a new home?
A sewer scope can still be worthwhile for a new home because construction debris, improper joints, settlement, crushed sections, and incomplete connections can occur before occupancy. The decision is strongest when the lateral is long, buried beneath finished landscaping, or excluded from the builder’s warranty inspection.
How long should I keep the inspection video?
Keep the original sewer inspection video for as long as you own the property and retain repair invoices, because the recording documents pre-repair conditions and can help compare future deterioration. Home buyers should preserve it with the inspection report, especially when the footage shows older clay, cast iron, or Orangeburg pipe.
Conclusion
A sewer camera inspection shows the interior condition and flow path of an inspected wastewater pipe, including roots, cracks, offsets, bellies, collapse, corrosion, scale, grease, foreign objects, connections, and material changes. The most valuable inspection includes a complete video, distance markers, endpoint confirmation, and surface locating. Use that evidence to distinguish cleaning from structural repair, and remember that what does a sewer camera inspection show is narrower than what it can prove about the surrounding soil or watertightness.