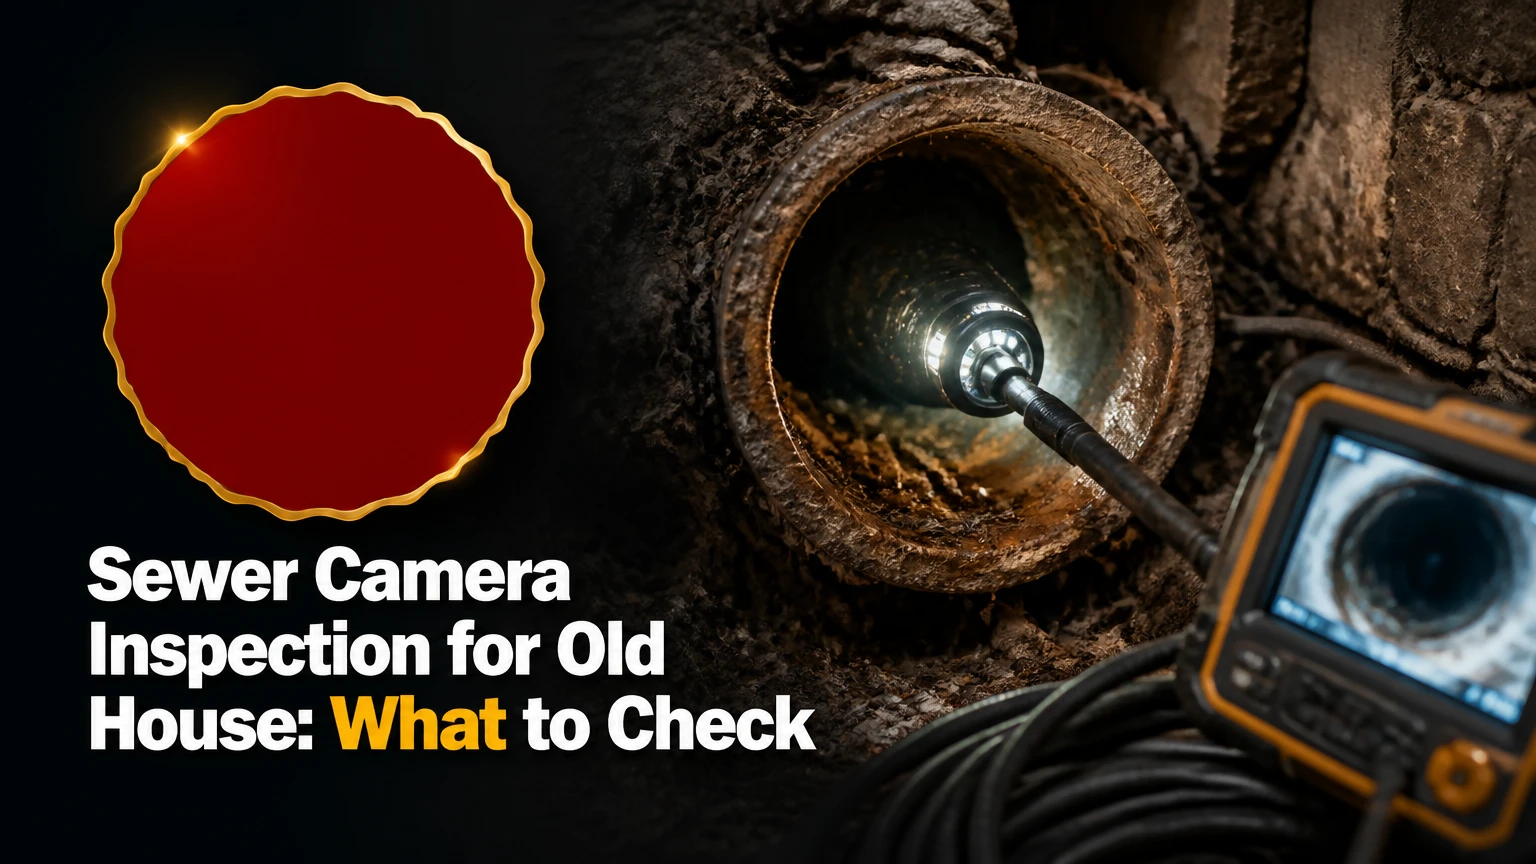
A sewer camera inspection for an old house is a recorded visual examination of the private sewer lateral, from an accessible cleanout or fixture toward the municipal main or septic tank. The inspection can reveal root intrusion, cracked clay, corroded cast iron, Orangeburg deformation, belly sections, offsets, and collapse before those defects cause a backup.
Key Facts at a Glance
- A typical residential sewer scope costs about $200-$450 before blockage clearing, difficult access, or repairs.
- A complete inspection should identify the pipe route, reach the municipal connection or septic tank when possible, and record defect locations.
- A camera shows interior condition, but it cannot prove every leak, soil void, or pipe defect outside the visible field.
- Cast iron, clay, and Orangeburg need different interpretations because age, corrosion, joint failure, and deformation create different risks.
- A sonde locator can mark a camera head’s approximate surface position and depth, which helps contractors plan excavation.
- A clean video is more useful than a verbal “clear” result because buyers and repair contractors can review the same evidence.
What Is a Sewer Camera Inspection?
A sewer camera inspection uses a waterproof camera attached to a flexible push cable to view the inside of a building sewer or private lateral. The technician watches the live image, records the run, tracks distance from the entry point, and may electronically locate defects from the surface.
An old house deserves special attention because its sewer line may combine several pipe materials and installation eras. A 1910 home can have cast-iron interior piping, clay beneath the yard, and a later PVC repair near the street. A single camera run can identify those transitions and show whether a problem is isolated or continuous.
The inspection is diagnostic, not a guarantee. A camera cannot see the outside of an intact pipe, measure soil movement directly, or confirm that a buried connection is watertight when the lens cannot reach it. A professional report should distinguish an observed defect from an inferred risk.
Which sewer line is inspected?
Most residential scopes examine the building sewer, also called the house sewer or private lateral, between the home and the public main. The line commonly measures 3 or 4 inches inside the building and 4-6 inches beneath the yard, although local construction varies.
Responsibility also varies. Some municipalities own the public main but assign the private lateral, including the section beneath a sidewalk or street, to the property owner. Ask the local utility or sewer department where ownership changes before authorizing excavation.
How Does the Camera Equipment Work?
A sewer inspection camera combines a lens and LED lighting, a flexible fiberglass push rod, a monitor, distance counter, and often a sonde transmitter. The system works only when the camera can physically enter the line and the lens has enough visibility to distinguish pipe structure from sludge, roots, or flowing water.
The camera head typically ranges from about 0.75-1.5 inches in diameter for residential push systems. Self-leveling heads keep the picture upright, while pan-and-tilt heads let the operator examine joints, service connections, and defects without rotating the entire rod.
The push rod is rigid enough to transmit force through a 3-6 inch line but flexible enough to pass ordinary bends. Tight offsets, collapsed sections, heavy root masses, and sharp transitions can stop the camera before the line ends. A shorter video is not a complete inspection.
What does the sonde locator add?
A sonde is a small radio transmitter near the camera head. When the technician activates it, a receiver above ground estimates the camera’s horizontal position and depth, allowing the operator to mark a defect for targeted excavation.
Sonde accuracy depends on soil, reinforcement, pipe depth, signal interference, and operator technique. The mark identifies the camera head, not necessarily the exact center of a long defect. Request surface markings and depth readings at major breaks, offsets, and suspected connection points.
How Is an Old-House Sewer Line Inspected?
A professional sewer scope normally follows six stages: access, preliminary clearing when needed, camera insertion, live evaluation, defect locating, and report delivery. A straightforward run takes about 45-90 minutes, while blocked lines, difficult access, and long laterals take longer.
Step 1: Confirm the line and access point
The technician identifies the cleanout, usually a capped 3- or 4-inch fitting in a basement, crawlspace, garage, exterior wall, or yard. The technician should confirm that the opening leads toward the sewer lateral rather than toward an interior branch drain.
Older houses often lack a usable cleanout. Possible alternatives include removing a toilet, opening a basement floor drain, or accessing a stack, but each option carries a risk of damaged seals, cracked fittings, water leakage, or restoration charges.
Step 2: Decide whether cleaning comes first
Standing sewage, thick grease, or compacted sludge can cover the lens and make footage meaningless. A drain machine may create a passage, while hydro-jetting uses pressurized water to remove grease and loose deposits.
Cleaning is not the same as inspection. A contractor should record the condition after cleaning and explain whether the cleaning could have displaced roots or exposed a weakened pipe. High-pressure jetting can damage fragile clay joints, thin Orangeburg, or severely corroded cast iron when used improperly.
Step 3: Push the camera toward the endpoint
The operator advances the camera slowly while monitoring the screen and distance counter. Running a faucet or flushing a toilet can provide moving water that rinses the lens and reveals flow direction, but excessive flow can reduce visibility in a partially blocked line.
A complete run should continue to the municipal main, property-line connection, or septic tank when the equipment and access point allow. If the camera stops, the report should state the distance, obstruction, reason for stopping, and whether another access point is recommended.
Step 4: Record, interpret, and locate defects
The technician records the image and notes pipe material, distance, clock position, defect type, and approximate severity. When a defect matters for excavation, the operator uses the sonde to mark its surface location and depth.
The report should include the original video, not only selected screenshots. A buyer needs to see whether a suspected crack is continuous, whether roots occupy one joint or the entire run, and whether standing water results from a short dip or a long belly.
Which Camera Type Is Appropriate?
A standard push camera is appropriate for most old-house sewer laterals. Micro cameras suit small branch drains, while robotic crawlers are generally unnecessary unless the pipe is unusually large, straight, and accessible.
| Equipment type | Typical size or reach | Best application | Main limitation |
|---|---|---|---|
| Standard push camera | 0.75-1.5-inch head, 100-200-foot rod | 3-6-inch residential lateral | Cannot pass severe offsets or collapse |
| Micro push camera | Under 1-inch head, 50-150-foot rod | Kitchen, bath, and small branch drains | Limited image stability and pushing force |
| Pan-and-tilt push camera | 1-2-inch head, 100-200-foot rod | Detailed joints and service connections | Higher equipment and service cost |
| Robotic crawler | 6-12-inch or larger pipe, 200+ feet | Large private, commercial, or municipal lines | Needs adequate pipe diameter and access |
A camera’s resolution matters less than the operator’s interpretation and the completeness of the run. A clean 480p recording can document a defect better than a high-resolution image obscured by grease. Full HD is useful, but lighting, lens cleanliness, distance logging, and sonde locating carry greater diagnostic value.
How Much Does an Old-House Sewer Scope Cost?
A typical residential sewer camera inspection costs $200-$450 and usually takes 45-90 minutes. Toilet removal, roof access, blockage clearing, hydro-jetting, extended travel, and surface locating can raise the total, so the written quote should separate inspection fees from related services.
| Service or condition | Typical added cost | Typical added time | Pricing question to ask |
|---|---|---|---|
| Standard cleanout scope | Included in $200-$450 | 45-90 minutes | Does the price include a recording? |
| Toilet removal for access | $100-$200 | 20-45 minutes | Is the wax ring replacement included? |
| Mechanical blockage clearing | $150-$350 | 30-90 minutes | Will the camera run happen afterward? |
| Hydro-jetting before inspection | $350-$600 | 60-150 minutes | Is the pipe material suitable for jetting? |
| Sonde locating and surface marking | $75-$250 | 15-45 minutes | Are depth and route included in the report? |
These are typical practitioner ranges, not regulated national prices. Regional labor rates, emergency scheduling, pipe length, access difficulty, and whether a plumber or home inspector performs the scope can change the invoice.
What should the inspection report include?
A useful report identifies the entry point, endpoint, pipe materials, observed distance, video file, defects, photographs, locator marks, and recommended next action. “Sewer line clear” is incomplete if the technician did not reach the main or explain why the run ended.
Ask for these six items:
- The full unedited video with an audible or written distance reference.
- A diagram or map showing the route from the access point.
- Defect distances and clock positions, such as “root intrusion at 42 feet, 6 o’clock.”
- Pipe-material transitions and connection points.
- Sonde depth and surface markings for repairable defects.
- A statement identifying inaccessible or uninspected sections.
What Problems Appear in Old Sewer Pipes?
Old-house sewer defects usually fall into four groups: obstruction, structural failure, joint failure, and capacity or slope problems. The camera can show the interior evidence, but repair urgency depends on defect size, recurrence, location, pipe ownership, and whether the line currently drains reliably.
| Pipe material | Common period | Typical failure pattern | Camera appearance | Usual implication |
|---|---|---|---|---|
| Cast iron | Before 1980 | Scale, corrosion, bottom channel loss | Jagged scale, rust flakes, missing invert | Cleaning may be temporary if wall loss is advanced |
| Vitrified clay | Before 1970 | Open joints, roots, cracks, offsets | Root curtains, separated joints, fractures | Spot repair may work for isolated defects |
| Orangeburg | 1940s-1970s | Flattening, blistering, delamination | Oval or irregular bore, soft-looking interior | Replacement is often more reliable than repeated clearing |
| PVC or ABS | 1970s-present | Belly, poor joints, cracks from movement | Smooth wall, standing water, separated fitting | Installation or soil movement may be the cause |
How serious is a root intrusion?
Root intrusion is a symptom of an opening, commonly a separated clay joint or cracked pipe. Cutting roots restores flow temporarily, but roots usually return unless the opening is repaired, renewed, or managed with a suitable maintenance plan.
A few fine roots at one joint are different from a continuous root curtain across multiple joints. The video should show whether roots prevent passage, occupy the full diameter, or appear only as thin strands around a joint.
What is a sewer-line belly?
A belly is a sag in a horizontal sewer pipe that retains water and solids. The camera may dip below the waterline, producing a black or distorted image, but standing water alone does not prove that the entire pipe has inadequate slope.
The commonly cited design slope for small building sewers is about 1/4 inch per foot, yet existing homes often contain sections that function with less slope. A short, stable dip may be monitored, while a long belly that repeatedly collects solids can justify correction.
Can the camera identify a leak?
The camera can show cracks, open joints, displaced fittings, and missing pipe sections that could allow leakage. It cannot prove the absence of a leak through every intact-looking joint, because exterior soil conditions and small seepage paths may not appear on video.
A smoke test, dye test, pressure test, or excavation may be needed when leakage, illegal connections, or stormwater entry remains suspected. The correct follow-up depends on the defect and local plumbing requirements.
Should You Get a Sewer Scope When Buying an Old House?
Home buyers should usually order a dedicated sewer camera inspection for a house with aging or unknown sewer piping, especially before the inspection contingency expires. A general home inspection may identify slow drainage or visible plumbing problems, but flushing fixtures does not inspect the buried lateral.
The best timing is early enough to obtain a repair estimate and negotiate without delaying closing. Request permission for the technician to access cleanouts, remove a toilet if necessary, mark the yard, and deliver the video directly to you.
| Buyer finding | Typical next action | Negotiation relevance | Follow-up needed |
|---|---|---|---|
| Clean run to public main | Retain video and report | Supports normal maintenance | Confirm lateral responsibility |
| Isolated clay root intrusion | Obtain spot-repair quote | Request credit or repair | Re-scope after repair |
| Cast-iron channel loss | Compare replacement and lining | Significant cost exposure | Structural assessment |
| Orangeburg deformation | Seek replacement estimate | Strong contingency issue | Confirm route and permits |
| Camera stops at obstruction | Do not treat as pass | Inspection remains incomplete | Clear and re-scope |
Repair credits cannot be predicted from video alone. A defect beneath a driveway, sidewalk, or street may cost more than the same defect in a lawn because restoration, traffic control, permits, and utility coordination add expense.
Should Homeowners Inspect an Existing Old House?
Homeowners should establish a baseline inspection when the property has pre-1980 construction, recurring drain backups, clay or cast-iron piping, large trees near the lateral, or no prior sewer documentation. A repeat scope every 2-3 years can help track root growth or corrosion, but no universal schedule fits every line.
An annual scope is usually unnecessary for a stable PVC lateral with no symptoms. A repeat inspection becomes more defensible after root cutting, pipe lining, spot repair, repeated backups, or a major landscaping project near the sewer route.
Sewer camera inspection is also appropriate before listing a house when the owner wants documented condition. A video does not certify that a line will never fail, but it reduces uncertainty and gives buyers evidence about the inspected section.
What Are the Alternatives to Camera Inspection?
Camera inspection, drain cleaning, dye testing, and excavation answer different questions. Drain cleaning restores flow, dye testing traces water movement, and excavation confirms external soil and pipe conditions; none automatically substitutes for a recorded internal view.
| Method | Primary question answered | Typical cost range | What it cannot establish |
|---|---|---|---|
| Sewer camera scope | What is inside the accessible pipe? | $200-$450 | Every exterior leak or hidden section |
| Drain snaking | Can a passage be opened? | $150-$350 | Whether the pipe wall is structurally sound |
| Hydro-jetting | Can deposits and roots be removed? | $350-$600 | Whether weakened pipe will survive long-term |
| Dye or smoke testing | Where does water or vapor travel? | $150-$500 | Exact internal defect dimensions |
| Targeted excavation | What is the outside pipe condition? | $1,000-$5,000+ | Unexcavated portions of the lateral |
An inspection should generally precede replacement. Replacing a line because a drain was slow can waste money, while repeatedly snaking an Orangeburg line can postpone a predictable structural failure.
When is trenchless lining unsuitable?
Trenchless lining may be unsuitable when the pipe has major collapse, severe deformation, missing sections, inaccessible cleanouts, poor cleaning access, or defects that prevent a liner from conforming. Local codes and contractor specifications also control whether lining is permitted.
A liner can renew the interior of a suitable host pipe, but it does not correct every belly, restore a missing segment, or solve an incorrectly routed connection. Obtain a post-cleaning camera review and a written explanation of how the proposed method addresses each observed defect.
What Can Go Wrong During an Inspection?
The most common inspection failures are incomplete reach, dirty lenses, poor access documentation, and overconfident interpretation. A professional should report limitations instead of presenting an obstructed or partial video as a clean bill of health.
- The screen turns black: The camera has entered standing water, grease, sludge, or a belly. Pull back, flush with controlled water, clean the lens, and document any section that remains invisible.
- The camera becomes stuck: A root mass, offset joint, or collapse may trap the head. Do not violently yank the rod; locate the head, work it back carefully, and disclose if the camera could not be recovered.
- The lens blurs: Fecal matter or grease has coated the lens. Rinse through a nearby fixture or withdraw and clean the camera before continuing.
- The technician stops early: Ask for the exact footage, obstruction description, and endpoint. A minor blockage near 40 feet does not establish the condition at 60 feet.
- A defect is misread: Scale, cobwebs, mineral deposits, and water reflections can resemble cracks. Request a second interpretation when a replacement recommendation depends on ambiguous footage.
- The access point leaks afterward: Toilet removal or brittle cleanout work can damage old seals and fittings. Confirm who pays for restoration before the inspection starts.
Can a homeowner perform the inspection?
A homeowner can rent a small drain camera, but professional inspection is usually safer for a buried old-house lateral. Consumer cameras may lack a sonde, have limited push distance, produce poor footage, or stop at the first bend, while interpretation of cast iron and clay requires experience.
DIY footage can be useful for a short, accessible branch drain. It is weak evidence for a real-estate decision unless the operator can document the route, endpoint, distance, pipe material, and all inaccessible sections.
How Should You Act on the Results?
Act on the defect pattern, not on the age of the house alone. A 110-year-old home with a clean clay lateral may need monitoring, while a 45-year-old house with deformed Orangeburg may need immediate replacement planning.
Use this decision sequence:
- Confirm whether the camera reached the public main or septic tank.
- Separate maintenance findings, such as minor roots, from structural findings, such as collapse.
- Obtain a repair estimate based on sonde-located distances.
- Ask whether spot repair, root management, lining, or replacement addresses the actual cause.
- Verify permits, utility responsibility, restoration, warranty, and post-repair inspection.
- Re-scope the repaired section before closing walls, paving, or finalizing a real-estate agreement.
An old-house sewer video is evidence, not a repair prescription. Two qualified contractors may recommend different methods because access, soil, pipe ownership, and local code change the practical answer.
FAQ
Does a sewer camera inspection find every sewer problem?
No. A sewer camera inspection finds visible interior defects in the section the camera reaches, including roots, cracks, offsets, corrosion, deformation, and collapse. It may miss small leaks, exterior voids, inaccessible branches, buried connections, or defects hidden under water and debris. The report should identify those limitations.
How far can a residential sewer camera travel?
A standard residential push camera commonly carries 100-200 feet of rod, although the usable distance may be shorter because of bends, pipe diameter, friction, and obstruction. The practical goal is not maximum footage. The technician should reach the municipal main, property connection, or septic tank whenever access permits.
Are sewer backups covered by homeowners insurance?
Homeowners insurance often excludes maintenance-related deterioration, roots, corrosion, and gradual damage, while some policies offer optional water-backup or service-line coverage with defined limits. Coverage depends on the policy, cause, endorsements, deductible, and local terms. Review the policy before assuming a camera-documented failure will be covered.
Should roots be removed before a sewer scope?
Roots should be removed first when they block the lens or prevent the camera from reaching the endpoint, but cleaning does not repair the pipe opening that allowed roots inside. The contractor should document the post-cleaning condition and explain whether mechanical cutting or hydro-jetting is safe for the pipe material.
What should I ask the sewer inspector before booking?
Ask whether the price includes the full video, a written report, distance measurements, sonde locating, endpoint access, and restoration after toilet removal. Confirm whether the technician will inspect to the municipal main or septic tank, how incomplete access is reported, and whether the company also sells the recommended repair.
The Bottom Line
A sewer camera inspection for old house properties is one of the most cost-effective ways to reduce uncertainty about buried drainage infrastructure. Budget about $200-$450 for a standard scope, insist on a complete recorded run and defect locations, and treat roots, corrosion, deformation, bellies, and collapse according to their observed severity.
For a buyer, schedule the inspection before contingency deadlines. For an owner, establish a baseline when pipe material or condition is unknown. For a seller, obtain evidence before listing. The camera cannot predict every future failure, but a properly performed sewer camera inspection for old house plumbing can expose expensive risks before excavation or sewage damage makes the decision urgent.