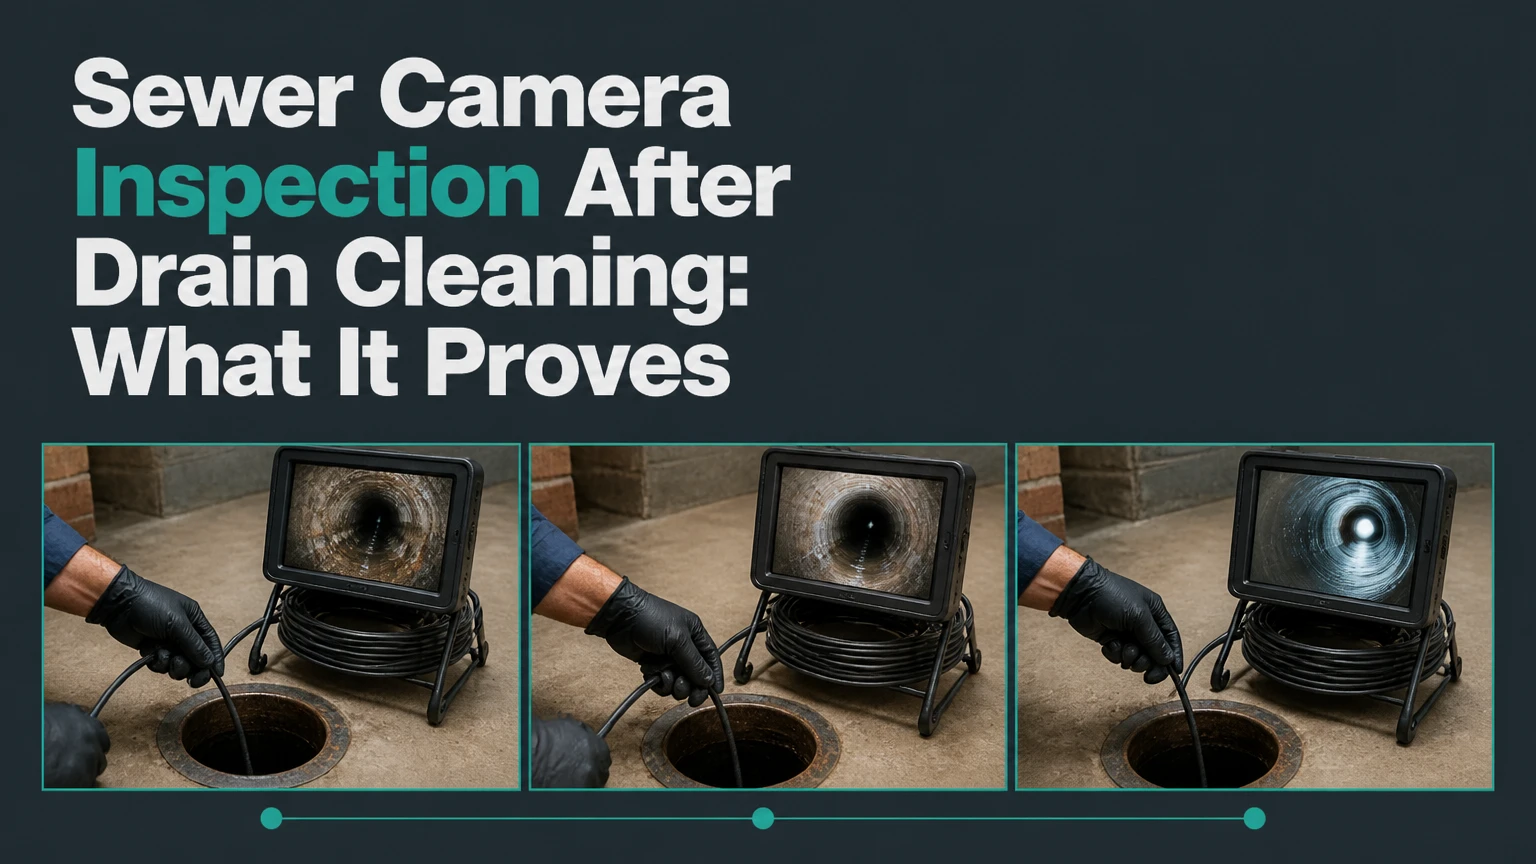
A sewer camera inspection after drain cleaning uses a waterproof CCTV camera on a flexible push rod to verify that a blockage was removed and examine the pipe for roots, cracks, offsets, sags, corrosion, or collapse. The inspection provides visual evidence, but it cannot prove that the pipe is leak-free outside its walls or guarantee future flow capacity.
Key Facts at a Glance
- A post-cleaning sewer camera inspection usually takes 30-60 minutes for one residential line.
- Typical standalone pricing is $200-$400, while bundled inspections may cost $100-$200 or be included with cleaning.
- A camera confirms interior conditions, but flow testing is still needed to assess drainage performance under normal use.
- A sonde transmitter can help locate a defect from the surface, although depth readings vary with soil, pipe geometry, and equipment.
- Roots, grease, offsets, bellies, and pipe collapse can remain after a drain snake restores temporary flow.
- A buyer should request an independent sewer scope even when a seller reports recent drain cleaning.
What Is a Sewer Camera Inspection After Drain Cleaning?
A sewer camera inspection after drain cleaning is a quality-control and diagnostic procedure performed after mechanical snaking or hydro jetting. A technician sends a high-resolution camera through a cleanout or another access point, records the pipe interior, and tracks the camera’s distance from the entry.
The first purpose is verification. The technician checks whether the original obstruction has cleared and whether loose debris remains downstream. The second purpose is structural diagnosis, because cleaning can restore flow without repairing a broken, sagging, misaligned, or root-damaged pipe.
A camera inspection is especially valuable when a stoppage has recurred, when roots caused the blockage, or when a plumber recommends excavation or trenchless rehabilitation. The video can distinguish a removable obstruction from a pipe defect that will continue producing symptoms.
A clear screen does not mean the sewer is perfect. Water, grease film, heavy corrosion, and a camera’s limited viewing angle can hide defects.
Should You Get a Camera Inspection After Cleaning?
You should get a camera inspection after drain cleaning when the blockage involved roots, repeated backups, an unknown cause, an older sewer, or a proposed repair costing thousands of dollars. A one-time clog in a newer, accessible PVC branch line may not justify a separate inspection if drainage remains normal.
Post-cleaning inspection has the highest value when the cleaning method could create false reassurance. A cable may punch a small passage through roots or soft debris, while hydro jetting may remove grease from the pipe wall without correcting a belly or offset joint.
Request verification in these situations:
- The same fixture or building drain backed up twice within 12 months.
- Roots appeared on the cable or the property contains mature trees near the sewer route.
- The home has clay, cast iron, Orangeburg, or undocumented pipe.
- A contractor recommends lining, replacement, excavation, or a point repair.
- A real-estate transaction depends on the condition of the private sewer lateral.
- A commercial kitchen or multifamily property has recurring grease-related restrictions.
The inspection is less urgent when a new PVC line had a single localized obstruction, the cause is documented, and the plumber can verify full flow through every connected fixture.
How Does the Inspection Work?
A sewer camera inspection works by transmitting live images from an illuminated camera head to a monitor while a technician advances a semi-rigid rod through the pipe. The technician records the route, notes distance readings, identifies defects, and may use a radio sonde to locate significant findings above ground.
The usual sequence is:
- Confirm the cleaning result. The technician runs enough water to move loose residue and confirms that the line drains through the access point.
- Select an access point. An outdoor cleanout is preferred. A removed toilet, basement cleanout, or other approved opening may provide access when no exterior cleanout exists.
- Inspect the entrance. The technician records pipe material, diameter, water level, and the starting distance.
- Advance slowly. The camera moves through joints, bends, transitions, and standing water while the operator watches for defects.
- Pause at findings. The technician records the distance, orientation, apparent severity, and whether the camera can pass.
- Locate the defect when needed. A sonde receiver can mark the route and approximate surface position.
- Review the return trip. Reversing the camera often reveals a defect more clearly because the lens angle and lighting change.
- Save the evidence. The customer receives video and a written explanation of findings, access points, and recommended next steps.
A typical residential inspection covers one lateral in 30-60 minutes. Multiple lines, difficult access, heavy water, or surface locating can extend the visit to 2-3 hours.
Which Camera System Is Appropriate?
Push cameras are usually the correct choice for residential laterals between approximately 2 and 6 inches in diameter, while crawler cameras are intended for larger commercial or municipal lines. Camera head diameter, rod stiffness, bend radius, cable length, and access conditions matter more than a manufacturer’s maximum advertised reach.
| Camera system | Typical pipe size | Typical reach or coverage | Best application |
|---|---|---|---|
| Push camera | 2-6 inches | 100-328 feet | Residential building sewer and branch lines |
| Self-leveling push camera | 2-6 inches | 100-328 feet | Long runs where image orientation matters |
| Pan-and-tilt push camera | 3-8 inches | 100-300 feet | Laterals, junctions, and side connections |
| Robotic crawler | 8-60+ inches | 500+ feet with access points | Commercial and municipal mainlines |
A self-leveling head keeps the image upright as the cable twists. That feature improves interpretation of cracks, seams, and pipe crowns, but it does not increase camera reach or make a blocked passage accessible.
A pan-and-tilt head can inspect lateral connections and junctions from a mainline. A standard forward-facing head may show the opening without revealing its interior.
A crawler camera travels on wheels or tracks and can cover large-diameter sewer mains. It is usually unnecessary for a typical single-family private lateral and may not negotiate small residential bends.
What Should the Video and Report Show?
A useful post-cleaning inspection report identifies the access point, pipe direction, distance, material, defect type, and recommended action. A live screen viewed briefly at the property is weaker evidence than a saved recording that another plumber, inspector, insurer, or buyer can review.
Request these deliverables:
- A complete video from the access point to the municipal connection or a documented stopping point.
- The camera’s distance counter visible or explained at major findings.
- The pipe material and approximate diameter.
- Notes identifying roots, grease, cracks, holes, offsets, sags, corrosion, and open joints.
- The location and approximate depth of repair candidates when a sonde is used.
- The reason the camera stopped if the endpoint was not reached.
- A written conclusion separating cleaning success from structural condition.
- A digital file, such as MP4, rather than a phone recording of the monitor.
The operator should state whether water was flowing during the inspection. Standing water may indicate a belly, but the camera cannot measure slope precisely enough to replace a survey or excavation.
What Defects Can the Camera Find?
A sewer camera can identify interior blockages and visible structural defects, including root intrusion, grease deposits, cracked pipe, separated joints, offsets, corrosion, holes, bellies, and collapse. The camera cannot reliably determine the full strength of a pipe, detect every leak outside the wall, or prove that invisible defects do not exist.
| Finding | What appears on video | Common consequence | Usual next decision |
|---|---|---|---|
| Root intrusion | Fine roots or a dense root mass at a joint | Repeated blockage and restricted flow | Root control, point repair, lining, or replacement |
| Offset joint | One pipe section sits higher or lower than the next | Snag point for paper and solids | Locate and assess repair feasibility |
| Belly or sag | Camera enters standing water and rises out later | Sediment accumulation and recurring restriction | Confirm grade, then consider spot repair or replacement |
| Crack or hole | Linear fracture, missing wall, or daylight-like opening | Soil entry, leakage, or collapse risk | Locate, assess, and select repair method |
| Grease buildup | Oily coating or narrowed passage | Slow drainage and recurring kitchen backups | Improve cleaning, source control, and inspect recurrence |
| Collapse | Camera cannot pass a deformed or blocked section | Complete or intermittent stoppage | Locate immediately and obtain repair estimate |
Pipe material changes interpretation. Clay commonly fails at joints and can admit roots. Cast iron may show corrosion and scale that reduce the opening. Orangeburg can deform or flatten with age. PVC generally resists corrosion, but poor bedding, joint separation, and installation defects can still create a belly or offset.
How Should Defects Be Located?
A sonde transmitter in the camera head sends a radio signal that a technician follows with a receiver at the surface. The technician can mark the approximate route, position, and depth of a defect, which helps estimate excavation or point-repair requirements.
Sonde locating is most useful when the video shows a repairable defect but the sewer route is unknown. It can also prevent unnecessary digging across an entire yard. The technician should mark the surface at the defect distance, not merely above the cleanout.
Depth readings are estimates. Reinforcing steel, utility lines, wet soil, signal distortion, pipe depth, and an angled camera head can affect accuracy. A locator mark is not a substitute for utility-locating requirements before excavation.
Pan-and-tilt cameras can inspect connections that a straight-ahead camera cannot. They are helpful when a backup may originate in a branch line entering the main sewer, but the added equipment often increases the service price.
How Much Does a Post-Cleaning Inspection Cost?
A typical standalone residential sewer camera inspection costs $200-$400 in the United States, while a bundled post-cleaning inspection commonly costs $100-$200 or is included in a larger drain service. Local labor rates, access difficulty, travel, pipe length, locating, and written reporting create substantial variation.
| Service situation | Typical price range | Typical duration | Main price driver |
|---|---|---|---|
| One residential lateral, existing cleanout | $200-$400 | 30-60 minutes | Local labor and report scope |
| Camera bundled with snaking | $100-$200 | 45-90 minutes total | Service package and access |
| Camera bundled with hydro jetting | $0-$200 additional | 1-3 hours total | Line length and flushing |
| Surface locating and depth marking | $75-$250 additional | 20-60 minutes | Number of defects and route complexity |
| Commercial crawler inspection | $250-$600+ per hour | 2+ hours | Mainline size and equipment |
Ask whether the quoted amount includes travel, a digital recording, a written report, sonde locating, and a return inspection. A low price may cover only a short push from the cleanout and exclude the municipal connection.
Inspection pricing should be judged against the decision it informs. Spending $300 to verify a line before a $10,000 excavation can prevent a repair based on an incomplete diagnosis.
How Long After Cleaning Should the Camera Be Used?
The camera can usually enter immediately after cleaning, once loose debris has been flushed and the line is draining. Waiting overnight does not improve the inspection, but running clean water for several minutes can remove sludge from the lens path and show whether residue continues moving through the pipe.
A high-volume flush is useful after hydro jetting because grease slurry and loosened material may remain in the downstream section. Flushing cannot remove a fixed offset, collapsed pipe, severe belly, or roots embedded through a broken joint.
The operator should avoid excessive flow during the first pass. Too much water can create turbulence, obscure the lens, and make a small defect difficult to see. A controlled trickle may reveal the waterline and help distinguish a localized belly from ordinary residual water.
How Does Camera Inspection Compare With Other Tests?
CCTV inspection is the strongest visual method for identifying interior defects, while flow testing measures function and hydrostatic testing evaluates leakage under controlled pressure. The tests answer different questions and should not be treated as interchangeable.
| Method | Primary question | Detects well | Important limitation |
|---|---|---|---|
| CCTV camera | What is inside the pipe? | Roots, offsets, cracks, grease, collapse | Cannot see through opaque water or outside the wall |
| Fixture flow test | Does wastewater drain normally? | Active restrictions and poor discharge | Can miss hidden cracks, roots, and early recurrence |
| Hydrostatic test | Does a plugged section hold water? | Leakage or pressure loss | Requires isolation and can stress fragile piping |
| Smoke test | Where might sewer gas escape? | Some openings and cross-connections | Does not show interior condition or blockage severity |
A flow test after cleaning is sensible because the pipe must carry real discharge, not merely accept a camera. Hydrostatic testing may be appropriate for a targeted leak investigation, but it requires professional judgment in brittle or severely deteriorated systems.
The camera is usually the first diagnostic choice when the cause of a recurring stoppage is unknown. A second test becomes useful when the camera reveals a symptom that requires functional or leak confirmation.
What Happens if the Camera Cannot Pass?
A camera that stops at a hard point should not be forced, because excessive pressure can damage the rod, wedge the camera into a joint, or worsen a fragile clay, Orangeburg, or deteriorated cast-iron line. The technician should record the stopping distance, reverse slightly, inspect the obstruction from both directions when possible, and locate the point with the sonde.
A failed pass can indicate:
- A remaining root ball or hardened debris.
- A sharp bend beyond the camera’s bend radius.
- An offset joint or collapsed section.
- A narrow pipe opening caused by corrosion or deformation.
- A branch connection that requires a different camera head.
- A water-filled belly that prevents the camera from floating or rolling through.
The correct next action depends on the evidence. Additional cleaning may help with soft debris, but repeated cleaning is unlikely to correct a collapse or severe offset. A second access point downstream can reveal whether the issue is localized and may reduce the need for exploratory excavation.
What Mistakes Reduce Inspection Quality?
Poor inspection technique can produce false reassurance even when a professional camera is present. The most damaging errors are incomplete coverage, rapid pushing, missing distance records, and accepting a verbal conclusion without the original footage.
Rushing the camera
Fast movement blurs the image and can skip a narrow crack or displaced joint. A technician should slow at every connection, change in material, waterline, and suspected defect.
Inspecting a dirty lens
Grease, sludge, and hydro jetting residue can coat the lens. The operator should reverse, create a controlled flow wave, and confirm a clear image before continuing.
Recording only the problem area
A short clip may prove a defect but cannot show whether the camera reached the property connection. Request the full route, including the entry and endpoint.
Treating standing water as automatic proof of a belly
Water may remain because of normal grade, a downstream blockage, camera position, or insufficient flushing. A suspected sag requires distance observations and, in some cases, additional access or physical verification.
Assuming cleaning proves structural health
A drain snake restores passage, not pipe integrity. A line can flow for months through a small opening in a damaged pipe before roots or solids close it again.
Failing to document access
A report should identify which cleanout, toilet opening, or branch was used. Without that detail, a later technician may inspect a different section and mistakenly treat it as a complete scope.
When Should Homeowners, Buyers, and Managers Request One?
Homeowners should request a post-cleaning scope when recurrence, roots, old materials, or major repair recommendations create uncertainty. Home buyers should arrange an independent sewer scope before the inspection contingency expires, even if the seller recently snaked the line.
A seller’s cleaning record proves that someone performed maintenance. It does not establish pipe condition, complete route coverage, or future reliability. Buyer inspections should identify the private lateral from the house to the public connection, because a standard home inspection often cannot evaluate the buried sewer interior.
Property managers should consider routine camera verification after repeated grease-line failures, especially in restaurants, multifamily buildings, and facilities with long buried laterals. The inspection interval should follow blockage history, not an arbitrary calendar. A line that has no recurrence may need less frequent imaging than a kitchen line cleaned several times each year.
Insurance and warranty claims require careful documentation. Video, dates, invoices, location marks, and written findings create a stronger record than a claim that a pipe was “bad.”
What Should You Do After the Inspection?
Match the response to the finding, not to the mere presence of a defect. A small root intrusion in an otherwise aligned pipe may call for scheduled maintenance, while an offset with soil visible through the joint may require prompt repair.
Use this decision sequence:
- Confirm the finding. Review the exact distance and video quality.
- Locate the area. Mark the surface if excavation or point repair is possible.
- Assess recurrence. A one-time restriction and a monthly backup deserve different responses.
- Compare repair methods. Point repair, trenchless lining, replacement, and continued maintenance have different prerequisites.
- Obtain a second opinion for major work. Ask another contractor to review the same video before authorizing excavation.
- Retest after repair. A final camera pass should confirm that the repaired section is aligned, open, and connected.
Trenchless lining generally requires a structurally suitable host pipe and may not correct every severe collapse, missing section, or geometry problem. Full replacement may be more appropriate when the route has widespread deformation or multiple failed joints.
Frequently Asked Questions
Can drain cleaning damage a sewer pipe?
Drain cleaning can expose or worsen a weak section, particularly when aggressive equipment meets brittle, collapsed, or severely corroded pipe. Cleaning does not automatically cause every failure reported afterward, because the same obstruction may have resulted from pre-existing deterioration. A camera comparison before and after cleaning provides stronger evidence than timing alone.
Can a sewer camera see through standing water?
A sewer camera can often see through shallow or relatively clear standing water, but opaque water, grease, and sediment can obscure the lens. The operator should document the waterline and inspect from both directions when possible. A camera cannot reliably characterize a submerged defect that remains outside the visible field.
How often should a sewer line be camera inspected?
There is no universal inspection interval for every property. A typical homeowner may inspect after recurring backups, root-related cleaning, or before buying a property, while a commercial kitchen may justify periodic verification based on cleaning frequency and failure history. Pipe age, material, tree proximity, and repair risk determine the useful interval.
Is a sewer scope the same as a drain camera inspection?
A sewer scope and drain camera inspection use similar CCTV equipment, but the inspected route defines the service. A drain camera may examine a short branch line, while a sewer scope usually follows the building sewer from the home toward the public connection. Confirm the start point, endpoint, and included length before booking.
Can I perform the inspection myself?
A homeowner can purchase or rent small inspection cameras, but professional interpretation and sonde locating are harder to duplicate. Consumer cameras may have limited lighting, short reach, weak push rods, and no reliable distance record. DIY footage can help identify a gross obstruction, but it is a poor basis for approving major structural work.
The Bottom Line
A sewer camera inspection after drain cleaning verifies more than restored flow: it documents the interior condition of the line and can reveal roots, offsets, bellies, cracks, corrosion, or collapse that cleaning leaves behind. Request the full recording, distance measurements, access details, and written findings, especially after recurring backups or before a high-cost repair. For buyers, an independent sewer scope remains worthwhile even when recent drain cleaning made every fixture drain normally.