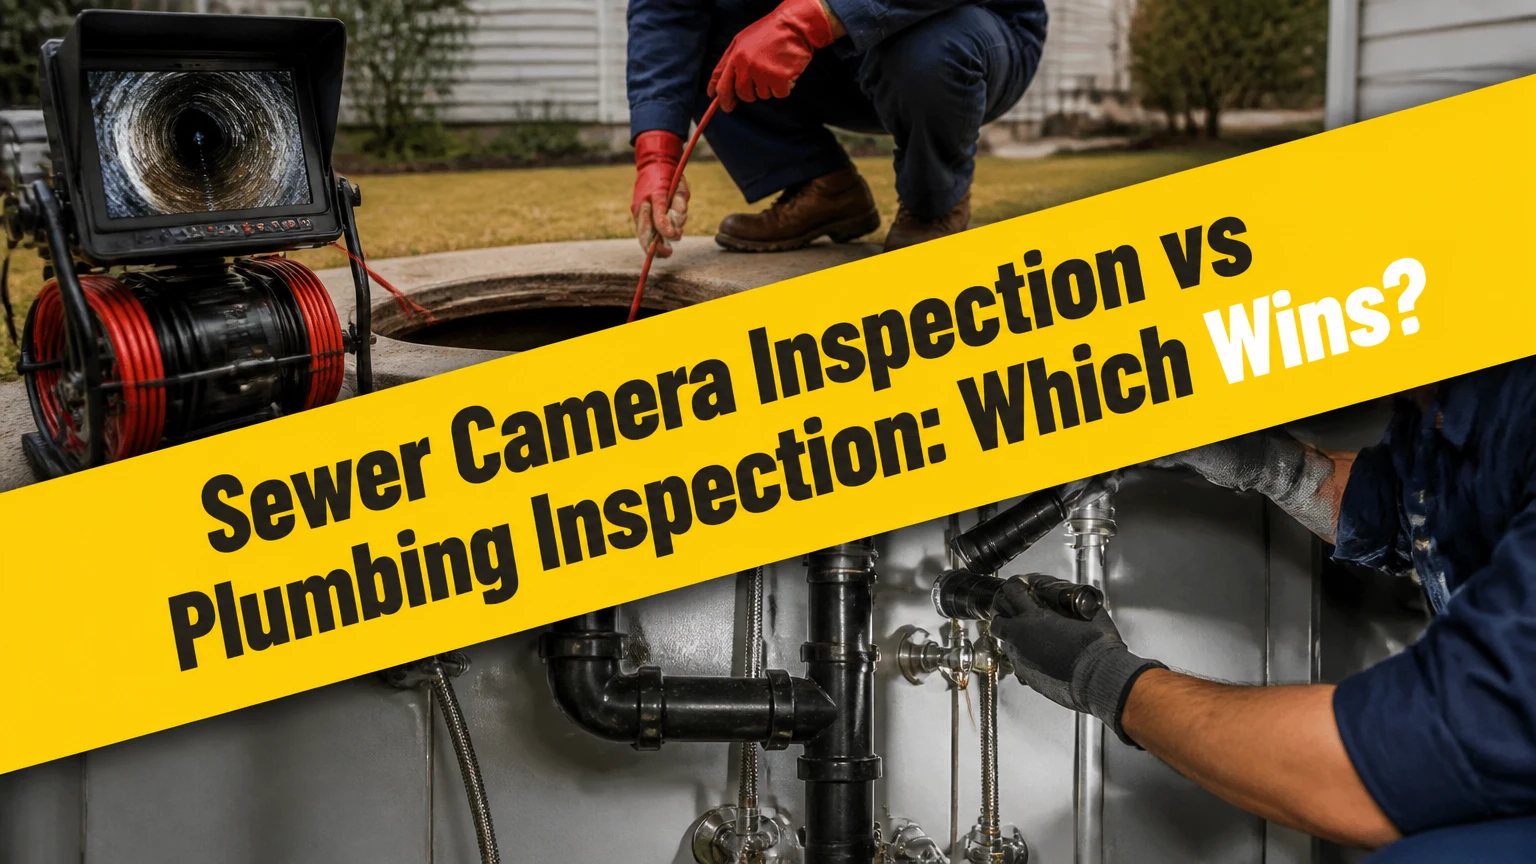
A sewer camera inspection examines the inside of an underground private sewer lateral, while a plumbing inspection evaluates visible water, waste, fixtures, valves, and water-heating equipment throughout a property. Neither replaces the other: choose a sewer camera inspection for buried drain-line risk and a plumbing inspection for whole-system condition, safety, and operation.
Key Facts
A sewer camera inspection typically examines a 2-6 inch private sewer lateral from a cleanout toward the municipal main or septic tank.
A standard plumbing inspection usually takes 1.5-3 hours and tests visible fixtures, supply piping, drains, shutoffs, pressure, and water-heating equipment.
A sewer camera cannot reliably detect every leak because the camera sees the pipe interior, not all water escaping through the pipe wall.
A conventional plumbing inspection usually does not inspect the buried sewer lateral unless a separate sewer scope is ordered.
Typical residential pricing is $200-$500 for a sewer camera inspection and $150-$400 for a plumbing inspection, with regional variation.
Home buyers purchasing older properties generally receive the strongest risk reduction from ordering both services.
What Each Inspection Actually Examines
A sewer camera inspection is a focused internal examination of a buried drain route. A plumbing inspection is a broader evaluation of the property’s accessible water distribution, drainage, fixtures, valves, and water-heating components. The two services overlap around drains, but they answer different risk questions.
The sewer camera follows a private building sewer, often called a lateral, from an accessible cleanout. The route may run beneath a basement, slab, driveway, lawn, or easement before reaching a public sewer connection or septic tank. The inspection can reveal roots, cracks, offsets, collapsed sections, scale, foreign objects, and low points that retain water.
A plumbing inspection normally covers accessible copper, PEX, CPVC, galvanized steel, cast iron, PVC, and ABS piping. The inspector operates faucets, flushes toilets, checks visible traps and drain connections, reviews water pressure, examines the water heater, and tests accessible shutoff valves. A home inspection may include these observations, but the exact scope depends on the inspector’s agreement and local practice.
The boundary that causes expensive surprises
The municipal sewer main is usually outside the homeowner’s private lateral and may not be included in a residential sewer scope. A camera run ending at the property line does not prove that the public main is clear. The written report should identify the inspected endpoint, distance traveled, pipe material, observed diameter, and whether the camera reached the connection.
Storm drains, roof leaders, foundation drains, and septic distribution fields are separate systems. A sewer camera inspection may enter them accidentally through an incorrect cleanout or improper connection, so the technician must identify the route rather than assume every buried pipe is sanitary sewer.
Sewer Camera Inspection vs Plumbing Inspection: Comparison Table
| Decision criterion | Sewer camera inspection | Plumbing inspection |
|---|---|---|
| Primary target | Underground private sewer lateral | Whole-property plumbing system |
| Typical access | 3-6 inch cleanout or removed toilet | Fixtures, hose bib, panels, heater, visible piping |
| Typical duration | 30-90 minutes | 1.5-3 hours |
| Typical residential cost | $200-$500 | $150-$400 |
| Main findings | Roots, cracks, offsets, bellies, collapse, scale | Leaks, pressure, corrosion, failed valves, fixture defects |
| Typical camera reach | 100-200 feet, subject to pipe condition | No buried-line camera in a standard inspection |
| Video evidence | Usually provided when recording is included | Usually photographs and written observations |
| Main blind spot | Outside pipe wall, inaccessible or blocked sections | Buried lateral and concealed piping |
| Best trigger | Home purchase, backups, older sewer materials | General condition, leaks, low pressure, warranty review |
The decisive distinction is location. Sewer camera inspection investigates a buried waste pipe from the inside; plumbing inspection investigates the accessible plumbing network and its connected equipment.
How Is a Sewer Camera Inspection Performed?
A residential sewer camera inspection usually follows six actions: locate an access point, establish the route, insert the camera, record the entire accessible line, locate defects from the surface, and issue a condition report. The quality of the result depends more on full-line access and endpoint documentation than on camera resolution alone.
Step 1: Locate and open the cleanout
The technician finds a capped cleanout in the basement, crawlspace, garage, side yard, or front yard. Some homes lack a usable cleanout, so access may require removing a toilet or opening a buried fitting, which should be authorized before work begins.
Step 2: Feed the camera toward the endpoint
A waterproof camera head rides on a flexible fiberglass push rod. Residential push cameras commonly fit lines from roughly 1.5-6 inches, although bends, heavy deposits, and pipe deformation reduce practical reach.
Step 3: Record the complete accessible route
The operator records distance, direction, pipe material, water level, joints, and defects while advancing the camera. Running water can wash grease from the lens, but excessive flow may obscure the pipe bottom and make a low spot harder to interpret.
Step 4: Locate significant defects above ground
Many camera heads contain a sonde, a radio transmitter that allows the operator to mark approximate surface location and depth. The commonly cited 512 Hz frequency is not universal; equipment may use 512 Hz, 640 Hz, 33 kHz, or other frequencies, and the locator must match the camera system.
Step 5: Reach the municipal main or septic connection
A strong report states whether the camera reached the city connection, property line, septic tank, or another endpoint. Stopping at the first blockage produces a partial inspection, not a clean bill of health.
Step 6: Review the video and report
The report should pair time or distance stamps with defect descriptions, photographs or video access, pipe material, approximate depth, and repair recommendations. A camera view is diagnostic evidence, not a repair estimate.
How Is a Plumbing Inspection Performed?
A plumbing inspection tests operation and observes accessible components throughout the property. The inspector checks fixtures and drains, supply lines, water pressure, shutoff valves, water-heating equipment, appliance connections, and visible signs of moisture or damage.
Fixtures, drains, and traps
Each accessible sink, toilet, tub, shower, and floor drain is operated when permitted. The inspector looks for slow drainage, leaks at traps, loose toilets, damaged caulk, poor fixture support, cross-connections, and water that backs up or remains around the fixture.
Supply piping and pressure
Visible supply pipes are identified by material and inspected for corrosion, mineral deposits, swelling, active leaks, and poor support. A pressure gauge attached to a hose bib provides a static reading, but pressure changes during use can reveal restrictions or supply problems that one reading misses.
Residential pressure commonly falls around 40-80 psi. Local plumbing codes and equipment requirements govern the acceptable range, and pressure above approximately 80 psi often warrants evaluation of a pressure-reducing valve or expansion-control arrangement.
Water heater and safety components
The inspection includes the tank or heat pump unit, temperature and pressure relief discharge pipe, venting where applicable, combustion clearance, gas or electrical connections, pan and drain, visible corrosion, and approximate age. A 120°F setting is common for household scald control, but the manufacturer’s instructions and local requirements control.
Inspectors generally observe rather than dismantle a water heater or remove its anode rod. A claimed anode-rod condition requires a specific maintenance or invasive service, not a routine visual inspection.
Shutoff valves and appliances
The main shutoff and accessible fixture valves are checked for location, corrosion, and operation when testing will not risk damage. Washing machines, dishwashers, refrigerators, and utility sinks receive attention at their supply hoses, valves, air gaps, drain connections, and cabinets.
Which Problems Can Each Inspection Find?
A sewer camera inspection is better for structural and geometric defects inside buried waste lines, while a plumbing inspection is better for active water leaks, equipment safety, fixture operation, and accessible material deterioration. A defect can exist in one inspection’s blind spot while the other system appears normal.
| Condition | Sewer camera visibility | Plumbing inspection visibility | Recommended follow-up |
|---|---|---|---|
| Tree-root intrusion | Directly visible inside sewer | Usually invisible | Root cutting, repair, or lateral replacement assessment |
| Pinched or collapsed lateral | Usually visible if camera passes area | Invisible underground | Locate, expose, and obtain repair quote |
| Sewer belly | Visible as persistent standing water or changing grade | Usually invisible | Verify with full run and consider spot repair |
| Supply-pipe pinhole leak | Not evaluated | Visible if accessible and active | Leak repair or selective opening |
| Hidden slab leak | Not reliably detected | May show moisture, heat, or pressure clues | Leak-detection specialist and pressure testing |
| Water-heater relief failure | Not evaluated | Often visible or operationally apparent | Licensed repair and safety review |
| Sewer gas odor | May show open joint or defect | May identify trap or vent issue | Smoke test, drain evaluation, or vent inspection |
| Grease or scale blockage | Directly visible | Slow drain may be observed | Cleaning followed by repeat camera run |
Roots require special interpretation. Root intrusion often indicates a joint gap or cracked pipe, but cutting roots without addressing the entry path is temporary maintenance. Conversely, a clean camera does not certify a pipe’s exterior bedding, groundwater infiltration rate, or future resistance to soil movement.
A plumbing inspection also has limits. Thermal imaging can identify temperature patterns, and moisture meters can support leak investigations, but neither tool proves the source of every concealed leak. A diagnostic plumber may need pressure testing, acoustic equipment, tracer gas, selective demolition, or a drain test.
Which Camera Equipment Is Appropriate?
A push camera is usually the appropriate tool for a single-family lateral, while lateral-launch and robotic crawler systems address larger or more complex networks. Equipment choice should match pipe diameter, access, distance, bends, cleaning condition, and the need to inspect branch connections.
| Camera system | Typical pipe or setting | Typical reach or movement | Best use | Main limitation |
|---|---|---|---|---|
| Push camera | 1.5-6 inch residential lateral | 100-200 feet, pushed manually | Single-family sewer scope | Limited force and bend navigation |
| Self-leveling push camera | 2-6 inch lateral | Similar residential reach | Clear upright video orientation | Does not remove deposits |
| Lateral-launch camera | Main pipe with branch laterals | Satellite camera enters connections | Commercial or multifamily networks | Higher setup cost and complexity |
| Robotic crawler | Large commercial sewer or storm drain | Motor-driven, often hundreds of feet | Large-diameter structural surveys | Poor fit for small residential lines |
A technician should not promise that a high-definition camera can pass every line. Orangeburg pipe may deform under pressure, clay joints may offset, cast iron may have heavy scale, and a tight bend can stop a rigid camera head. Hydro-jetting may improve visibility, but cleaning can also dislodge fragile pipe material.
What Do the Inspections Cost?
Typical United States residential pricing is approximately $200-$500 for a sewer camera inspection and $150-$400 for a standard plumbing inspection. Travel, emergency scheduling, toilet removal, line cleaning, difficult access, written locating, septic access, and repeat inspections can move the final invoice outside those ranges.
| Service variation | Typical price | Typical duration | Cost driver |
|---|---|---|---|
| Basic sewer camera run | $200-$350 | 30-60 minutes | Accessible cleanout and clear line |
| Sewer camera with locating | $300-$600 | 45-90 minutes | Surface marks, depth, defect mapping |
| Camera after drain cleaning | $350-$800 | 1-2 hours | Cable machine or hydro-jetting first |
| Standard plumbing inspection | $150-$400 | 1.5-3 hours | Home size and number of fixtures |
| Diagnostic plumbing visit | $175-$500 | 1-3 hours | Symptom testing and specialized tools |
| Combined buyer inspection package | $350-$800 or more | 2-4 hours | Separate scope, report, and travel |
Inspection price is small compared with repair exposure, but a sewer camera report does not itself justify replacement. A private lateral replacement can cost several thousand dollars, and difficult excavation, paving, depth, permits, traffic control, or trenchless access can increase the total. Obtain a written repair scope from a qualified contractor.
Ask whether the quote includes a recording, a written report, distance markers, defect locating, taxes, travel, and a second attempt after cleaning. A $225 camera run that stops at a blockage may provide less decision value than a $400 inspection that reaches the connection and documents the full route.
How Long Does Each Inspection Take?
A basic sewer camera inspection commonly takes 30-60 minutes when a cleanout is accessible and the line is open; difficult access, cleaning, locating, or a long lateral can extend the visit to 90 minutes or more. A whole-home plumbing inspection generally requires 1.5-3 hours, depending on property size and equipment count.
The duration does not measure completeness. A fast sewer scope can be adequate if the camera reaches the endpoint and records the full route. A two-hour scope can still be inconclusive if the operator never clears the first obstruction.
Can One Inspection Replace the Other?
A standard plumbing inspection cannot replace a sewer camera inspection when the question involves an underground lateral. A sewer camera inspection cannot replace a plumbing inspection because it does not assess water supply pipes, fixtures, valves, water heaters, venting, or appliance connections.
For a home purchase, ordering both is usually the most defensible choice when the property has older piping, large trees, prior backups, an inaccessible sewer history, or a high-value finished basement. A buyer with a new home and transferable sewer-construction documentation may decide against a separate scope after reviewing the warranty terms and inspection access.
When a sewer camera alone may be reasonable
A focused sewer scope may suit a homeowner with recurring backups, root concerns, a known clay or cast-iron lateral, or a pre-closing deadline when the whole-home plumbing system has already been inspected.
When a plumbing inspection alone may be reasonable
A standard plumbing inspection may suit a recently scoped property when the immediate concern is low water pressure, a leaking water heater, fixture failure, or visible supply-pipe corrosion. It still cannot certify the buried lateral.
What Can Make Results Inconclusive?
A sewer camera inspection becomes inconclusive when the camera cannot pass a blockage, the lens is coated, access is missing, the route is misidentified, or the endpoint is not reached. A plumbing inspection becomes limited when piping is concealed, fixtures are not operated, water is shut off, or specialized leak testing is outside the agreed scope.
Common failure modes include:
- Grease-coated lens: Flush or clean the line, then repeat the camera run.
- Camera stops at roots: Remove the obstruction with a cable or jetter, then inspect beyond it.
- No sonde signal: Confirm the locator frequency, move away from reinforced concrete, and mark the result as approximate.
- Buried or damaged cleanout: Locate the line carefully before excavation; do not assume the nearest cap is the correct route.
- Standing water: Determine whether the water represents a belly, normal flow, or a downstream blockage.
- Sewer scope stops early: Require the report to state the exact stopping point and reason.
One field rule matters: never accept “the camera went in 60 feet” without knowing where 60 feet ends. Distance from the cleanout is useful only when paired with surface location, depth, pipe direction, and endpoint.
How Should You Read the Report?
A useful report identifies the inspected system, access point, endpoint, pipe material, diameter, observed defects, approximate locations, and limitations. Neither a sewer camera inspection nor a plumbing inspection produces a universal pass or fail grade because severity depends on defect type, recurrence, serviceability, and repair access.
For a sewer report, prioritize a continuous video file, distance counter, defect clock position, surface markings, depth information, and a clear statement about whether the municipal main or septic tank was reached. “Minor roots” and “offset joint” should be supported by images and location data.
For a plumbing report, separate active leaks from old staining, corrosion from cosmetic oxidation, and functional defects from code concerns. A pressure reading should include whether water was flowing, where the gauge was attached, and whether a pressure regulator or expansion tank was present.
Three practitioner rules
- A clean sewer camera does not prove the line will never fail. It shows the observed interior on that inspection date.
- A high water bill does not automatically indicate a sewer defect. Supply leaks, running toilets, irrigation, and meter issues can produce the same symptom.
- A drain blockage is not always a pipe-replacement problem. A blockage that clears completely may require maintenance, while repeated blockages at the same structural defect require a different remedy.
How Often Should You Schedule One?
Older homes with clay, cast iron, or Orangeburg laterals deserve a sewer camera inspection when purchased and after recurring symptoms; a blanket two- to three-year interval is a practical risk-management rule, not a universal requirement. Homes with stable PVC laterals and no symptoms may need inspection less often.
Schedule a plumbing inspection during a home purchase, before an older-home renovation, after repeated leaks, and near a builder warranty deadline. New construction owners should document fixture operation, shutoff access, water pressure, drainage, water-heater installation, and visible pipe support before the warranty period expires.
Frequency should follow risk rather than age alone. Mature trees over the lateral, shifting soil, previous repairs, basement backups, and unverified sewer connections justify more frequent review than a recently replaced, documented line.
Which Should You Choose?
Home buyer purchasing a pre-1980 property
Choose both inspections. The plumbing inspection evaluates immediate water-system safety, while the sewer camera tests a buried liability that can remain invisible during a conventional home inspection.
Homeowner with repeated backups
Choose a sewer camera inspection after the line is opened or cleaned sufficiently for a full run. If backups involve only one fixture, begin with a localized drain diagnosis, but recurring main-line symptoms justify inspecting the lateral.
Homeowner with low water pressure
Choose a plumbing inspection or diagnostic pressure test first. A sewer camera does not evaluate the water supply side and cannot explain most low-pressure problems.
Owner of a septic property
Request a sewer camera inspection that clearly identifies the route to the septic tank, then treat the tank, effluent filter, pump, distribution box, and drain field as separate evaluations. A camera cannot assess soil absorption or tank capacity.
New construction owner
Choose a plumbing inspection before the builder warranty expires, and request sewer documentation if the lateral was not independently observed. Construction debris, poor slope, unsupported piping, and inaccessible shutoffs can be easier to correct during the warranty period.
FAQ
Does a sewer scope inspect the entire plumbing system?
No. A sewer scope inspects the interior of an accessible sewer route, usually the private lateral. It does not evaluate potable-water piping, faucets, toilets as fixtures, water heaters, pressure regulators, appliance hoses, or most venting. A whole-home plumbing inspection is needed for those components.
Is a sewer camera inspection worth it before buying a house?
A sewer camera inspection is often worth the cost when the home is older, has mature trees, uses clay or cast iron, has a history of backups, or lacks repair records. The inspection cannot eliminate future risk, but it can identify a buried defect before negotiation and closing.
Can a sewer camera detect a leak?
A sewer camera can show cracks, open joints, displaced sections, and other conditions associated with leakage, but it cannot detect every leak directly. Water may escape outside the pipe without producing an obvious interior image, so pressure testing or other diagnostic methods may be required.
Do plumbers include a sewer scope automatically?
Plumbers and home inspectors do not automatically include a sewer scope in every standard plumbing or home inspection. Confirm the written scope before scheduling, including access, endpoint, video recording, locating, cleaning, and whether the municipal connection is included.
What should I do if the camera finds roots?
Ask the contractor to identify the root location, joint or crack associated with entry, pipe material, recurrence risk, and temporary versus permanent options. Root cutting may restore flow, but repeated intrusion commonly requires joint repair, lining, spot repair, or lateral replacement based on the pipe’s condition.
The Bottom Line
Sewer camera inspection vs plumbing inspection is not a choice between two versions of the same service. A sewer camera inspection targets buried lateral sewer defects, while a plumbing inspection evaluates visible supply, drainage, fixtures, valves, and water-heating equipment. Choose the sewer scope for underground sewer risk, the plumbing inspection for whole-home condition, and both when buying an older or symptom-prone property.