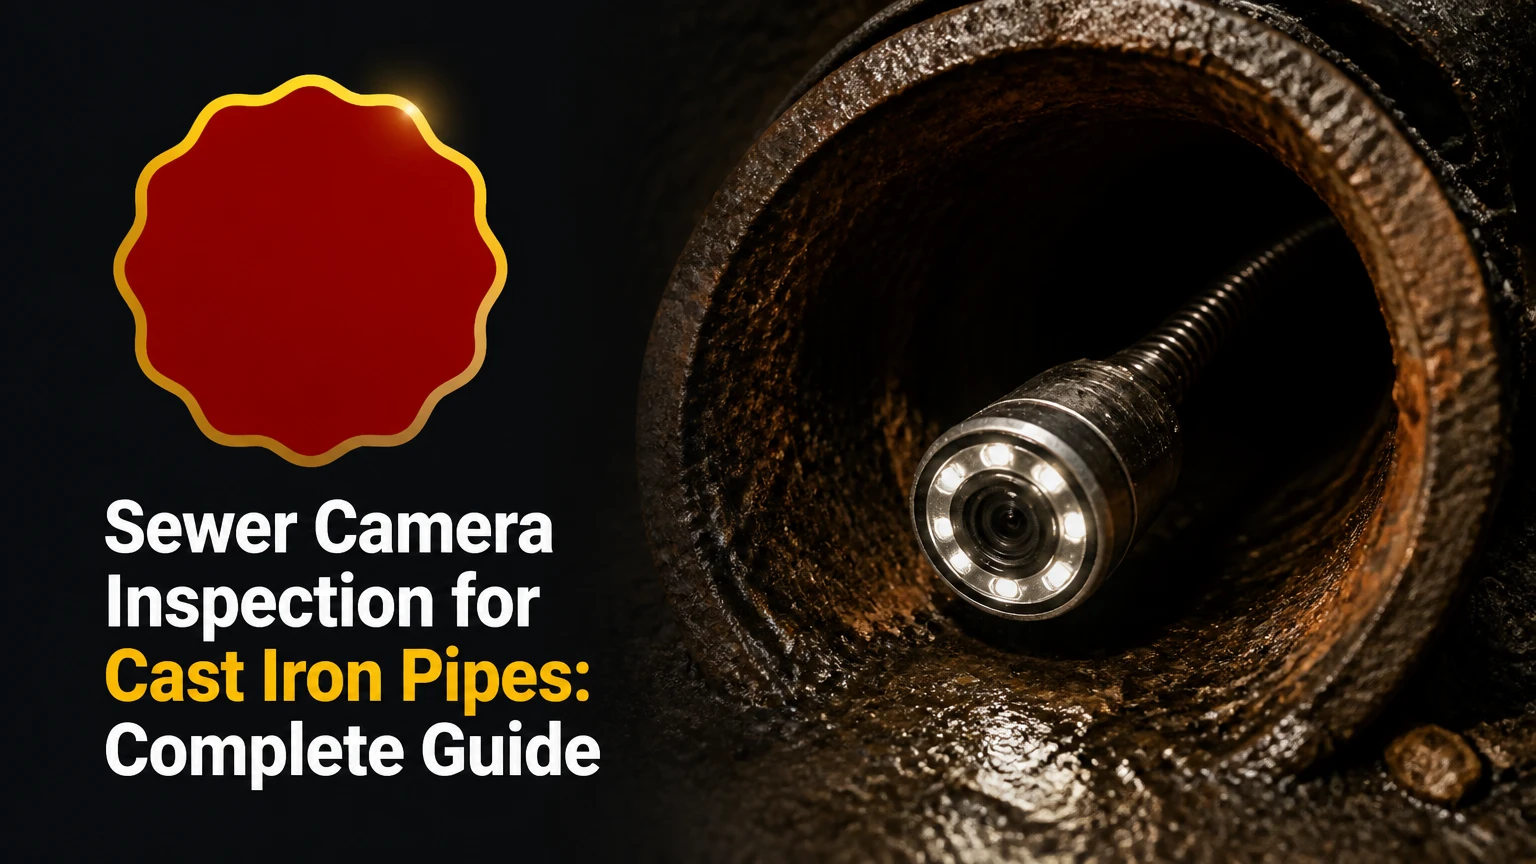
A sewer camera inspection for cast iron pipes uses a waterproof CCTV camera on a push cable to examine underground drain and sewer lines without excavation. The inspection can identify scale, corrosion, roots, cracks, offsets, bellies, and collapse, but it cannot directly measure the remaining thickness of the pipe wall.
Key Facts
A typical residential sewer camera inspection costs about $200-$450 and takes 45-90 minutes.
Cast iron commonly develops tuberculation, channeling, corrosion holes, root intrusion, and joint failures.
A sonde transmitter can locate a camera head and estimate pipe depth, but reinforced concrete and metal can reduce locating accuracy.
Hydro jetting can improve visibility, but aggressive cleaning may damage severely corroded cast iron.
A video inspection should include distance readings, defect descriptions, access-point details, and above-ground markings.
A clean video confirms visible interior condition only; it does not certify the pipe’s remaining structural strength.
What Is a Sewer Camera Inspection for Cast Iron Pipes?
A sewer camera inspection for cast iron pipes is a visual examination of the inside of a buried or concealed drain line using a waterproof camera, LED lighting, a flexible push rod, and a monitor. A technician enters through a cleanout, drain opening, roof vent, or removed toilet, then records the camera’s progress through the pipe.
Cast iron pipes are strong, heavy drainage pipes made from iron-carbon alloys. Older residential systems can remain serviceable for many decades, but their internal surface may accumulate rust scale and tuberculation, a buildup of corrosion products that narrows the passage. The pipe may look intact from above while the invert, or bottom section, has eroded through.
The inspection reduces unnecessary excavation because the operator can see the defect and often mark its approximate surface location. A camera does not see through cast iron, remove every obstruction, or determine metal thickness. Those limitations matter when a contractor recommends lining or replacement based on a short, dirty, or incomplete video.
How Does the Inspection Work?
A sewer camera inspection normally follows six stages: access, preliminary cleaning, camera insertion, observation, defect locating, and reporting. A standard residential inspection of a 50-100-foot building sewer usually takes 45-90 minutes, although access problems and blockages can extend the appointment.
Step 1: Identify the Correct Access Point
The technician first identifies the line being inspected and opens the most suitable access point. An exterior two-way cleanout is usually preferable because it allows the camera to travel toward the municipal connection without passing through multiple interior bends.
A roof vent or toilet opening may be necessary when no cleanout exists, but each route changes what the camera can reach. A camera inserted through a basement drain may inspect only the building drain, not the private sewer lateral outside the foundation.
Step 2: Establish Visibility
The operator checks whether standing water, grease, sediment, or rust scale blocks the lens. A small amount of water is normal, but heavy contamination can make a video appear worse or better than the actual pipe condition.
Light flushing may clear loose debris. Hydro jetting or mechanical descaling may improve visibility, but cast iron with a fragile wall can shed large corrosion pieces or expose holes during cleaning. Cleaning should follow an initial assessment when the pipe may be badly deteriorated.
Step 3: Push and Record the Camera
The camera head travels through the line while the technician monitors a live screen and records the inspection. The distance counter should begin at a documented reference point, such as the cleanout opening, because a reading of “42 feet” has little value without knowing where zero was established.
A self-leveling head keeps the pipe invert near the bottom of the image. The technician should pause at transitions, joints, laterals, standing water, cracks, and suspected defects instead of pushing continuously at maximum speed.
Step 4: Locate Defects Above Ground
Many professional camera heads include a sonde, which is a small radio transmitter. When the camera reaches a defect, the technician can trace the signal from the surface with a locator wand and mark the approximate horizontal position.
Depth is an estimate, not a survey-grade measurement. Cast iron, reinforced concrete, metallic utilities, soil conditions, and signal interference can affect the result. A marked location should therefore support repair planning, not replace utility locating or engineering measurements.
Step 5: Inspect the Full Reach
A meaningful sewer scope continues to the intended endpoint, such as the municipal connection, septic tank, property line, or a confirmed obstruction. Stopping at the first defect may miss a second failure farther downstream.
The report should state the endpoint and why the camera stopped. “Unable to pass” could mean a complete collapse, a tight fitting, severe scale, a sharp bend, a house trap, or an operator choosing not to risk the equipment.
Step 6: Deliver a Usable Report
The owner should receive the recorded video, inspection date, access point, distance counter, endpoint, still images, defect descriptions, and locator marks or measurements. A report that says “bad pipe” without footage or location data is insufficient for comparing repair bids.
Which Cast Iron Defects Does a Camera Reveal?
A sewer camera reveals the interior geometry and surface condition of cast iron pipe, including restrictions, missing sections, intrusions, and alignment problems. The most important finding is not always a dramatic break; widespread bottom erosion can create a larger long-term risk than one isolated joint defect.
| Camera finding | Typical appearance | Immediate consequence | Usual follow-up |
|---|---|---|---|
| Tuberculation | Rough orange-brown nodules, narrowed opening | Reduced flow and recurring stoppages | Cleaning, then reassessment |
| Channeling | Grooved or missing pipe bottom | Leakage into soil and progressive weakening | Leak test, lining, or replacement |
| Corrosion hole | Dark opening or missing wall section | Soil infiltration and sewage leakage | Local repair, lining, or excavation |
| Root intrusion | White, tan, or dark strands through a joint | Repeated blockage and joint leakage | Root cutting plus structural repair |
| Offset joint | Misaligned pipe sections or visible lip | Snag point and soil entry | Sectional repair or replacement |
| Belly | Camera enters standing water and does not regain grade | Solids settle and block the line | Grade correction or replacement |
| Collapse | Camera cannot pass through a deformed opening | Complete or near-complete obstruction | Excavation or trenchless rehabilitation |
| Cracked pipe | Linear fracture, sometimes with daylight | Leakage and possible movement | Structural assessment and repair |
Why Is Channeling Especially Serious?
Channeling is especially serious because wastewater and solids repeatedly abrade the bottom of the pipe, eventually removing the invert and exposing surrounding soil. A camera may show a broad trough rather than a clean circular pipe, and water can conceal the extent of missing metal.
A technician should document the clock position, length, water depth, and whether the camera passes smoothly. Surface soil movement, voids, or repeated backups increase concern. Cleaning alone cannot restore a missing pipe bottom.
Is Rust Scale the Same as a Collapse?
Rust scale is not automatically a collapse, although severe tuberculation can make a cast iron line look nearly closed. Collapse means the pipe’s passage has structurally deformed or disappeared; scale is corrosion buildup attached to the interior wall.
The distinction affects the remedy. Mechanical descaling or hydro jetting may restore usable diameter in structurally sound pipe, while a collapsed section requires replacement or a suitable trenchless method. A second inspection after cleaning can clarify the diagnosis, but cleaning a fragile line carries its own risk.
What Equipment Produces the Most Useful Video?
The most useful setup combines a camera head suited to the pipe diameter, adequate lighting, a flexible but controllable push rod, a distance counter, recording capability, and a locator sonde. Higher resolution improves documentation, but operator control and a clean lens usually matter more than a 1080p label.
| Equipment feature | Typical specification | Best use | Limitation |
|---|---|---|---|
| Standard push camera | 720p-1080p, 100-325-foot reel | Residential laterals and drains | Limited view around branches |
| Self-leveling head | 1.5-4-inch pipe range, LED lighting | Keeping invert orientation visible | May be larger than small fittings |
| Pan-and-tilt head | Remote rotation and side view | Laterals, joints, and cracks | Higher cost and greater snag risk |
| Sonde locator | Common 512 Hz capability | Surface tracing and depth estimates | Interference can reduce accuracy |
| Flexible push rod | 3/8- to 1/2-inch cable | Bends and smaller lines | Less force against heavy scale |
| Rigid commercial rod | Often 1/2-inch or larger cable | Long runs and rough deposits | Can damage fragile pipe if forced |
A camera head must fit the pipe and negotiate its fittings. A large pan-and-tilt camera may provide a better image in a straight six-inch lateral but fail at a tight residential bend where a smaller push camera would pass.
How Should a Cast Iron Line Be Prepared?
Preparation should improve visibility without hiding the pipe’s true condition. The technician should first record the line as found when the cause of a backup or suspected failure matters, then recommend light flushing, mechanical cleaning, or hydro jetting according to the pipe’s apparent strength.
Homeowners should remove stored items around cleanouts, provide water and electrical access, and avoid using fixtures during the inspection if wastewater could enter the open access point. A technician may need to remove a toilet when no practical cleanout exists, which adds labor, a new wax ring, and a risk of discovering a damaged flange.
Hydro jetting is not automatically the correct first step. High-pressure water can remove scale, but it can also enlarge corrosion holes or dislodge deposits that had temporarily sealed a failing joint. The operator should explain nozzle pressure, access direction, pipe diameter, and the planned response if the line opens during cleaning.
How Much Does a Sewer Camera Inspection Cost?
A typical residential sewer camera inspection costs $200-$450 and takes 45-90 minutes, with higher charges for difficult access, toilet removal, extensive cleaning, locating, or long commercial lines. Local labor rates and whether the inspection is bundled with drain cleaning can move the total substantially.
| Service component | Typical price range | Typical time | What changes the price |
|---|---|---|---|
| Basic residential camera scope | $200-$450 | 45-90 minutes | Travel, line length, local labor |
| Toilet removal and replacement | $75-$250 additional | 30-60 minutes | Toilet type, flange condition |
| Light flushing | $50-$150 additional | 15-30 minutes | Water access and debris |
| Hydro jetting | $400-$1,200 | 1-3 hours | Diameter, scale, access, length |
| Electronic locating | $75-$250 additional | 20-45 minutes | Depth, concrete, interference |
| Commercial CCTV survey | $500-$2,000 or more | 2-8 hours | Diameter, footage, reporting |
These are typical planning ranges, not regulated prices. A low advertised fee may exclude the video file, locating, the municipal reach, or a second visit after cleaning. Request an itemized scope before authorizing work.
How Long Should the Inspection Take?
A 50-100-foot residential sewer line usually takes 45-90 minutes when a cleanout is accessible and the camera passes freely. A longer or obstructed line can require several hours, especially when cleaning, toilet removal, locating, or a second camera pass is necessary.
The appointment length does not prove inspection quality. A fast push that ends at the first obstruction may provide less useful information than a slower inspection that documents each joint and reaches the property connection.
What Does the Camera Inspection Miss?
A CCTV camera cannot directly measure cast iron wall thickness, confirm every hidden leak, inspect the exterior of a buried pipe, or guarantee that a line will remain open after cleaning. Water, heavy scale, sediment, a blocked passage, and camera orientation can conceal defects.
| Question | Camera inspection answer | Additional method |
|---|---|---|
| Is the pipe wall thin? | Surface condition only | Ultrasonic thickness testing on exposed pipe |
| Is wastewater leaking? | Possible evidence, not proof | Leak isolation or hydrostatic testing |
| Where does the line run? | Approximate trace with sonde | Utility locating and measured survey |
| Is the pipe exterior stable? | Not visible underground | Excavation or geotechnical assessment |
| Is every lateral connected? | Visible only if entered and viewed | Dye testing, smoke testing, or plans |
| Will lining bond properly? | Camera shows obstruction and geometry | Cleaning, measurement, and liner contractor assessment |
This limitation is decisive in old cast iron. A pipe can have a passable opening while losing substantial metal at its bottom. Conversely, a heavily scaled line can look alarming while retaining enough structure for rehabilitation.
Camera Inspection Versus Other Diagnostic Methods
Camera inspection is the best first-line visual test for locating interior defects, but it is not a complete structural assessment. Leak testing, smoke testing, ultrasonic measurement, and excavation answer different questions.
| Method | Primary question answered | Typical cost | Main limitation |
|---|---|---|---|
| CCTV camera | Where is the visible interior defect? | $200-$450 residential | Cannot measure wall thickness |
| Hydrostatic leak test | Does an isolated section hold water? | $300-$900 | Does not explain the defect |
| Smoke test | Are openings or leaks connected to occupied spaces? | $250-$700 | Requires controlled conditions |
| Ultrasonic thickness test | How much metal remains? | $500-$1,500 | Usually needs exposed, accessible pipe |
| Excavation | What is the exterior and soil condition? | $2,000-$10,000 or more | Destructive and location-dependent |
A camera and leak test often complement each other. The camera identifies a suspected channel or joint failure, while an isolated test helps establish whether that section leaks under the test conditions.
When Should Cast Iron Be Cleaned, Lined, or Replaced?
Cleaning is appropriate when the pipe remains structurally continuous and deposits, rather than missing wall material, cause the restriction. Lining may suit a pipe with sufficient shape, stable alignment, and acceptable access, while replacement is usually necessary for collapse, severe deformation, extensive missing invert, or incompatible geometry.
Use Cleaning When
- Tuberculation narrows a still-continuous pipe.
- The camera passes after light mechanical cleaning.
- There are no large holes, severe offsets, or long sections of channeling.
- The owner accepts that cleaning removes deposits but does not rebuild iron.
Consider Trenchless Lining When
- The pipe has a continuous pathway for liner installation.
- The line can be cleaned and measured accurately.
- Branch connections can be reopened after curing.
- The contractor verifies that service connections, bends, and diameter meet the liner system’s requirements.
Cured-in-place pipe, or CIPP, creates a resin-impregnated liner inside the host pipe. CIPP is not suitable for every cast iron line because major collapse, severe grade problems, missing sections, or inaccessible transitions can prevent installation.
Choose Replacement When
- The camera cannot pass a confirmed collapse.
- The bottom is extensively missing.
- Multiple offsets or bellies prevent reliable lining.
- The line has repeated failures after cleaning and sectional repair.
- Structural or soil conditions require direct correction.
A repair recommendation should identify the defect length, location from a fixed access point, estimated depth, pipe diameter, and reason the selected method fits those conditions.
What Should Homebuyers Request?
Homebuyers should request a dedicated sewer scope for older properties, especially when the building has cast iron, mature trees, recurring drain symptoms, or an unknown private sewer lateral. The scope should reach the municipal connection or another clearly documented endpoint, not stop at the foundation without explanation.
The inspection should include raw video, a written report, distance readings, access points, defect locations, and photographs of the surface markings. A buyer should obtain repair estimates only after confirming whether the finding affects a short section or the entire lateral.
A pre-purchase scope is a negotiation tool, not a guarantee. A clean inspection reduces uncertainty on the inspected reach, but it does not establish the remaining wall thickness or certify future service life.
What Should Homeowners Do After Symptoms Appear?
Homeowners should schedule a camera inspection after repeated backups, slow drainage across multiple fixtures, gurgling toilets, sewage odors, unexplained wet spots, or drain cleaning that provides only temporary relief. Multiple affected fixtures usually point farther downstream than a single sink or shower clog.
Do not keep using chemical drain cleaners before a scope. They can create a worker hazard, damage fixtures, and fail to address structural defects. If sewage is backing up, limit water use and request an inspection that documents the blockage before aggressive cleaning changes the evidence.
Commercial property managers should map larger cast iron systems by building zone and access point. A three-to-five-year review interval can be reasonable for a high-use facility, but grease load, tenant activity, previous defects, and regulatory requirements should determine the actual schedule.
What Can Go Wrong During the Inspection?
The most common failures involve poor visibility, forced equipment, incomplete reach, and unsupported conclusions. A professional should stop and explain the limitation instead of converting an inconclusive video into a confident replacement recommendation.
A Muddy Lens
The operator should retract the camera, rinse the lens with clean water, and repeat the view. If visibility remains poor, the report should label the footage inconclusive rather than describe unseen pipe sections as intact or collapsed.
A Stuck Camera
Rust scale can catch a camera head or push rod. The technician should avoid forcing the cable, try controlled rotation or slight withdrawal, and record the stopping distance. Excessive force can break a brittle fitting or leave equipment inside the line.
Locator Signal Loss
Signal loss may result from depth, reinforced concrete, metallic utilities, electrical interference, or a sonde problem. The technician can trace from another point, change locator settings when supported, or report a location range instead of claiming an exact depth.
Camera Stops at a Blockage
A blockage is a finding, not automatically a diagnosis. The report should distinguish between debris, standing water, scale, an inaccessible bend, and structural obstruction, then state whether a second pass after cleaning is recommended.
The Video Looks Normal
A normal-looking opening does not rule out thin cast iron, hidden leakage, or a deteriorated exterior. If structural risk remains high, exposed-pipe ultrasonic testing, leak testing, or a targeted excavation may be justified.
What Should a Professional Report Include?
A usable sewer camera report identifies the inspected line, documents the full route, and links every defect to a distance and physical location. Report quality determines whether another contractor can price the repair without repeating the diagnostic work.
Use this checklist:
- Property address and inspection date.
- Access point and camera direction.
- Pipe diameter and estimated material.
- Distance counter and endpoint.
- Continuous video file with clear audio or annotations.
- Still images of significant defects.
- Clock-position descriptions, such as “channeling at 5-7 o’clock.”
- Sonde-marked surface location and estimated depth.
- Explanation for every unreachable section.
- Recommended next diagnostic or repair step.
The report should separate observation from interpretation. “Circular opening reduced by orange scale” is an observation; “full replacement required” is a conclusion that needs structural evidence and repair context.
FAQ
How old can cast iron sewer pipes be before inspection?
Cast iron service life varies with soil chemistry, installation quality, pipe thickness, drainage use, and maintenance. Many systems last 50-75 years, but some fail earlier and others remain functional longer. Age should trigger inspection, not determine replacement by itself.
Can roots grow through cast iron pipes?
Roots can enter through open or separated joints, cracks, corrosion holes, and service connections. Roots do not normally penetrate intact cast iron merely because the pipe is old. Cutting roots restores flow temporarily unless the entry point receives a structural repair.
Can a sewer camera inspect a pipe under a concrete slab?
Yes, a push camera can travel through a pipe beneath concrete, and a sonde may help trace its position. Reinforcing steel and depth can reduce locator accuracy, so surface markings should be treated as approximate until verified before excavation.
Is hydro jetting safe for old cast iron?
Hydro jetting can be safe when the pipe is continuous and the operator selects suitable pressure, nozzle, and direction. It can worsen a fragile line with severe corrosion, holes, or channeling. A preliminary camera view should guide the cleaning decision.
Does homeowners insurance cover cast iron pipe replacement?
Coverage depends on the policy, cause of loss, exclusions, endorsements, and local claim rules. Gradual corrosion and deterioration are commonly treated differently from sudden accidental damage. Review the policy and document the inspection before authorizing major work.
Should a buyer accept a house with cast iron sewer pipes?
A buyer can accept the property when the inspected line has documented condition, repair costs are understood, and the purchase price reflects remaining risk. Cast iron material alone is not a rejection criterion, but an incomplete scope or extensive channeling warrants further testing and negotiation.
The Bottom Line
A sewer camera inspection for cast iron pipes is the fastest practical way to see where scale, corrosion, roots, offsets, channeling, and collapse affect an accessible sewer line. The inspection usually costs $200-$450, but its value depends on reaching the intended endpoint, recording the full pass, locating defects, and stating limitations clearly.
Use cleaning for deposits in structurally continuous pipe, investigate lining only after confirming geometry and wall stability, and reserve replacement for collapse, severe deformation, extensive missing material, or repeated failures. A camera creates evidence for that decision, but it does not measure hidden wall thickness or guarantee future service.