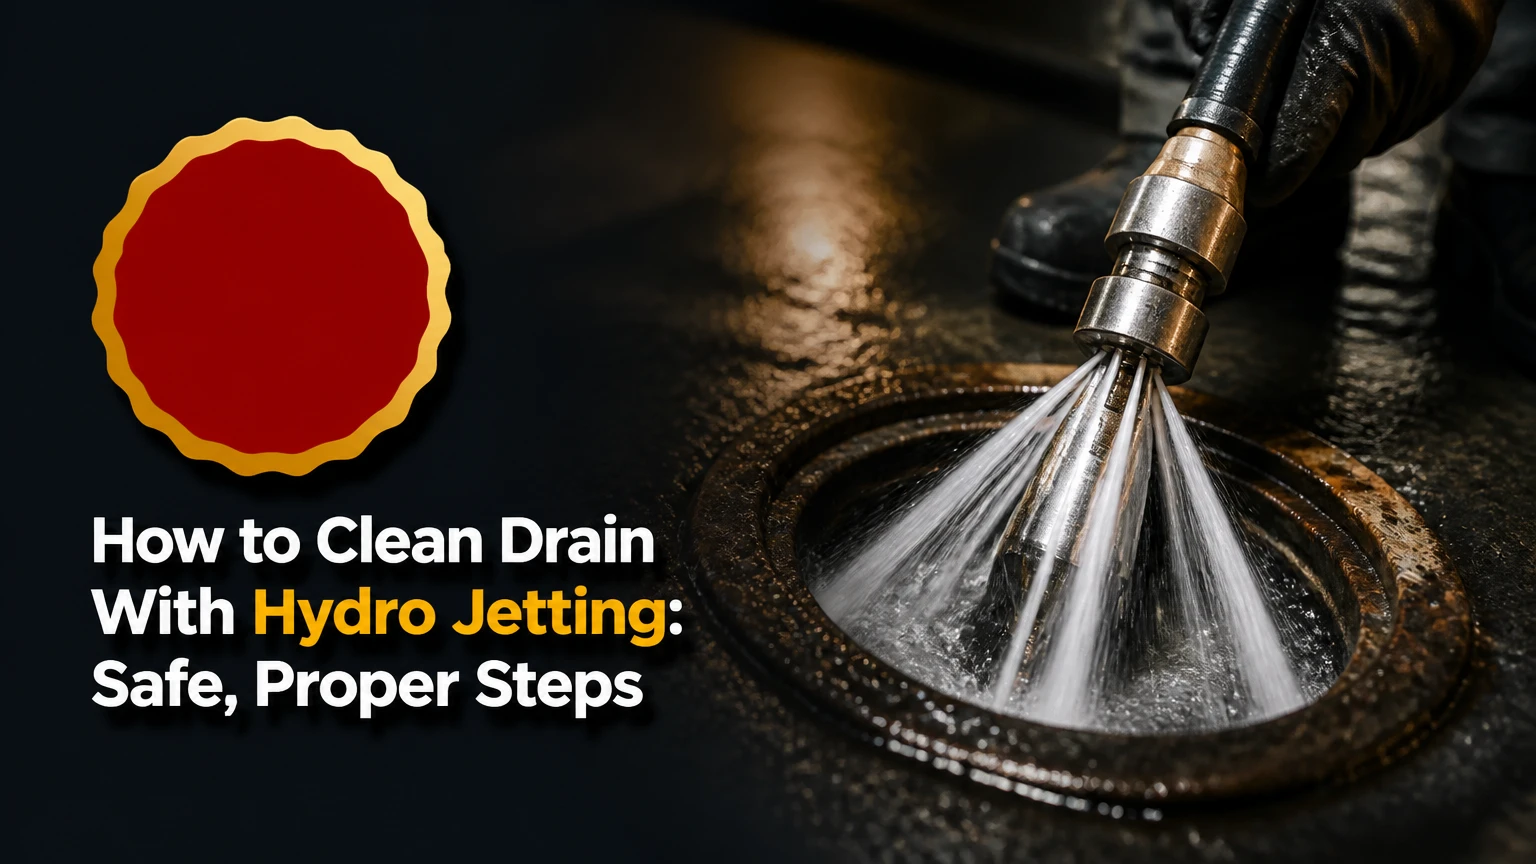
Hydro jetting cleans a drain by sending controlled, high-volume water through a specialized hose and nozzle to remove grease, scale, sludge, paper, and roots from the pipe walls. A professional should inspect the line first, match pressure and flow to the pipe, clear the blockage from a cleanout, and verify the result with a second camera inspection.
Key Facts at a Glance
Hydro jetting removes buildup along the pipe walls, while a drain snake usually creates a narrow passage through the obstruction.
A sewer camera inspection should precede jetting when pipe condition, roots, or a main-line blockage is uncertain.
Residential jetting commonly uses about 1,500-4,000 PSI and 2-8 gallons per minute, but nozzle choice and pipe condition determine the safe setting.
A typical residential main-line service takes 1-2 hours and costs approximately $350-$600 before unusual access or emergency charges.
Hydro jetting cannot repair a collapsed, separated, severely offset, or structurally failing pipe.
A pressure-washer attachment is not equivalent to a professional hydro jetter because flow rate, hose control, filtration, and nozzle design differ.
Before You Start: Confirm the Drain Is a Jetting Candidate
Hydro jetting is appropriate for intact pipes containing persistent grease, mineral scale, sludge, detergent residue, or moderate root intrusion. Hydro jetting is not an appropriate first response for a collapsed sewer, a disconnected joint, a pipe filled with concrete, or a line whose location and condition are unknown.
Typical preparation requirements
| Requirement | Typical residential value | Why it matters |
|---|---|---|
| Inspection time | 15-30 minutes | Locates the blockage and identifies structural damage |
| Jetting time | 45-120 minutes | Varies with line length, access, and buildup |
| Service cost | $350-$600 | Typical main-line range before emergency premiums |
| Pipe diameter | 2-6 inches | Determines hose, nozzle, and flow selection |
| Access point | 3-4 inch cleanout | Provides controlled entry without removing fixtures |
| Water supply | 5-10 gallons per minute | Supports flushing and prevents pump starvation |
| Required protection | Eye, face, hand, and waterproof protection | Limits exposure to contaminated water and hose movement |
A professional technician should also identify whether the property connects to a municipal sewer or a private septic system. Jetting a building-side line may be acceptable with a septic system, but forcing excessive solids or water toward an overloaded tank can worsen a backup. Septic tank level and outlet-baffle condition deserve separate inspection.
Do not begin if sewage is actively rising, electrical equipment is near standing water, or the cleanout is damaged. Shut off unnecessary water use and keep people and pets away from contaminated areas.
What Is Hydro Jetting?
Hydro jetting is a drain and sewer cleaning method that uses a pump, flexible high-pressure hose, and specialized nozzle to direct water through a pipe. Rear-facing jets propel the hose and scour the pipe circumference, while the operator controls forward movement, pressure, flow, and retrieval speed.
The cleaning result depends on both pressure and water volume. Pressure breaks adhesion and cuts material, while gallons per minute carry loosened debris downstream. A high-PSI, low-flow machine can punch through a soft obstruction yet leave heavy material inside the line.
Hydro jetting works especially well against cooking grease, soap residue, mineral scale, sludge, and many root intrusions. It does not restore missing pipe walls, reconnect separated joints, or remove a collapsed section without excavation or trenchless repair.
How Does Hydro Jetting Work?
A hydro jetter draws filtered water into a pump, pressurizes the water, and sends it through a reinforced hose to a nozzle. The nozzle’s rear jets create thrust and wall-cleaning action; a forward jet may open a path through a dense blockage.
The technician normally inserts the unpressurized nozzle through a cleanout, starts the pump only after the nozzle is inside the pipe, and advances the hose under controlled resistance. After reaching the suspected obstruction, the operator works the nozzle through the material and retrieves the hose slowly so the rear streams wash the pipe interior.
The displaced debris must have somewhere to go. A downstream obstruction, undersized building drain, full septic tank, or blocked municipal connection can cause water and debris to back up through another fixture.
Which Equipment and Settings Fit the Pipe?
Equipment selection should match pipe diameter, material, condition, access, blockage type, and available water volume. Higher PSI is not automatically safer or more effective, because a sharp nozzle stream can damage a weak joint even when the machine’s pressure appears suitable.
| Equipment type | Typical pressure | Typical flow | Common application |
|---|---|---|---|
| Portable electric jetter | 1,000-1,500 PSI | 1.5-2 GPM | Indoor branch drains, 1.5-3 inch lines |
| Gas cart jetter | 2,000-4,000 PSI | 2-4 GPM | Residential main lines, 3-6 inch pipes |
| Heavy-duty trailer jetter | 3,000-6,000 PSI | 5-12 GPM | Long commercial laterals and roots |
| Truck-mounted sewer jetter | 4,000-10,000+ PSI | 10-25+ GPM | Large commercial and municipal lines |
| Pressure-washer attachment | Variable | Often under 2 GPM | Limited surface or short-drain work, not a main-line substitute |
Nozzle design changes the result. A penetrating nozzle concentrates forward energy on a soft blockage, a flushing nozzle moves sludge and loose debris, a rotary nozzle cleans circumferentially, and a root-cutting nozzle addresses fibrous intrusion when the pipe can safely tolerate the work.
Pipe material changes the risk profile. PVC generally tolerates routine residential jetting when the operator uses a suitable nozzle and avoids damaging joints. Old clay, Orangeburg, thin cast iron, cracked vitrified clay, and severely corroded steel require lower-risk settings and a camera-based decision.
How to Clean a Drain With Hydro Jetting: Seven Steps
The professional process below usually produces a clean, testable line in 1-2 hours for a standard residential main drain. The factor that most determines success is not maximum pressure; it is accurate diagnosis of pipe condition, blockage location, and downstream flow capacity.
Step 1: Inspect the Pipe With a Sewer Camera
Insert a camera from the cleanout or another suitable access point and record the line before jetting. Identify the blockage, pipe material, standing water, root entry, joint offsets, scale thickness, belly, collapse, and distance to the municipal connection or septic tank.
Success checkpoint: The technician can explain the pipe condition, blockage location, direction of flow, and proposed nozzle before operating the jetter.
Common mistake: Jetting blindly because a fixture is backing up. A camera may reveal that the real problem is a collapsed section that water pressure cannot safely solve.
A camera inspection also distinguishes a localized fixture clog from a main-line restriction. If only one sink drains slowly, a small branch-line auger may be more appropriate. If multiple fixtures gurgle or back up together, the main building drain deserves priority.
Step 2: Locate and Prepare the Cleanout
Use the cleanout closest to the affected line, usually outside the building, in a basement, or near the sewer exit. Remove the cap carefully because a blocked line may be holding pressurized wastewater behind it.
Protect floors, walls, and nearby fixtures with waterproof sheeting. Confirm where wastewater will discharge and keep an assistant near downstream fixtures to report unexpected backup.
Success checkpoint: The hose can enter the line in a straight, controlled path, and the technician has identified a safe retreat route.
Common mistake: Removing a cleanout cap quickly without standing to the side. Stored wastewater can escape immediately.
Jetting from the downstream side toward the blockage is common because debris and water move with the intended flow direction. The exact entry point depends on access, municipal layout, and the technician’s ability to control the discharge.
Step 3: Select the Nozzle and Calibrate Pressure
Choose a nozzle based on the obstruction and pipe size. Set pressure and flow conservatively for the pipe material, then increase only when the camera evidence and operating conditions support it.
Success checkpoint: The nozzle fits the line without scraping the opening, and the machine’s pressure and flow are documented before the pump starts.
Common mistake: Choosing the most aggressive root or descaling nozzle for every job. A cutting head can damage a deteriorated line or remove protective corrosion from fragile cast iron.
The useful question is not “What is the jetter’s maximum PSI?” It is “What pressure, flow, nozzle, and retrieval speed will remove this material without stressing the pipe?” Water temperature also matters for grease, although heated jetting requires equipment designed for hot-water operation.
Step 4: Insert the Unpressurized Hose
Feed the hose and nozzle into the cleanout before engaging the pump. Keep the hose aligned with the pipe and maintain both hands on the control system according to the equipment manufacturer’s instructions.
Success checkpoint: The nozzle is fully inside the pipe, the hose is stable, and no person is positioned in front of the cleanout opening.
Common mistake: Starting the pump while the nozzle is outside the pipe. A pressurized hose can whip violently if the operator loses control.
High-pressure wastewater can carry bacteria, sharp debris, and chemical residue. Face protection, waterproof gloves, protective clothing, and hearing protection are appropriate, while ordinary household gloves and safety glasses do not provide equivalent protection.
Step 5: Advance the Nozzle Through the Blockage
Engage the pump and feed the hose gradually. Let the rear jets pull the hose forward rather than forcing it through a bend, joint, or obstruction.
Success checkpoint: The hose advances, pressure remains stable, and downstream fixtures do not begin filling unexpectedly.
Common mistake: Forcing the hose when resistance suddenly increases. Resistance may indicate a tight bend, an offset joint, a collapsed pipe, or a nozzle lodged against the obstruction.
If water begins backing up from a nearby fixture, stop the pump, reduce hose movement, and allow the line to drain. Continuing to add water can turn a drain blockage into an indoor flood.
Step 6: Work and Retrieve the Hose Slowly
Move the nozzle through the restriction, then retrieve the hose at a controlled pace so the rear jets scrub the pipe walls. Several passes may be required for thick grease, hardened scale, or roots.
Success checkpoint: Flow improves, pump behavior stabilizes, and the retrieved water contains loosened debris rather than only clear water.
Common mistake: Pulling the hose back too quickly. Fast retrieval may open a temporary channel while leaving the upper and lower pipe walls coated with residue.
The operator should avoid repeatedly attacking one point without reassessing. If the line does not accept water after controlled passes, the obstruction may be structural, downstream, or too large for the selected nozzle.
Step 7: Flush, Test, and Reinspect
Flush the line with clean water after the main material has been removed, then test several fixtures simultaneously when practical. Perform a second camera inspection for significant roots, scale, repeated backups, commercial work, or any line with suspected damage.
Success checkpoint: The camera shows an open passage, visible pipe joints, acceptable flow, and no remaining obstruction that could immediately recreate the symptom.
Common mistake: Declaring success because one sink drains. A partially open main line can pass a small fixture discharge and still fail when a bathtub, toilet, and washing machine discharge together.
Ask for the before-and-after video when the blockage involved roots, a rental property, a commercial kitchen, or a costly recommendation. Documentation identifies whether the service removed debris or merely moved it farther downstream.
What Does Hydro Jetting Cost and How Long Does It Take?
Typical residential hydro jetting costs $350-$600 and takes 1-2 hours for an accessible main line. Price increases when technicians must locate a buried cleanout, work after hours, remove severe roots, use specialized descaling equipment, or clean a long commercial lateral.
| Job condition | Typical time | Typical price range | Main cost driver |
|---|---|---|---|
| Kitchen branch line | 45-90 minutes | $250-$500 | Access and grease thickness |
| Accessible residential main line | 1-2 hours | $350-$600 | Inspection, hose length, flushing |
| Root intrusion with multiple passes | 1.5-3 hours | $600-$1,200+ | Root cutting and repeat inspection |
| Emergency night or weekend service | 1-3 hours | $700-$1,200+ | Labor premium and urgency |
| Commercial kitchen lateral | 2-5 hours | $1,000-$3,000+ | FOG volume, line length, access |
These are typical practitioner ranges, not universal prices. A written estimate should state whether camera inspection, cleanup, after-hours labor, water, disposal, and follow-up passes are included.
Water consumption may range from roughly 100 gallons for a smaller residential service to several hundred gallons for a long, high-flow commercial cleaning. The technician should manage discharge so loosened solids do not overload a septic tank, grease interceptor, or downstream restriction.
Hydro Jetting Versus Other Drain-Cleaning Methods
Hydro jetting is usually the strongest cleaning option for intact pipes with wall buildup, while an auger is often faster for a single soft obstruction and pipe repair is the only lasting solution for structural failure. Chemical cleaners are a poor substitute for either diagnosis or mechanical cleaning.
| Method | Typical cost | Best target | Result duration | Main limitation |
|---|---|---|---|---|
| Hydro jetting | $350-$600 residential | Grease, scale, sludge, roots | Months to years, condition-dependent | Unsafe for damaged pipes |
| Cable auger | $150-$300 | Hair, paper, localized soft clogs | Days to months | Often leaves wall buildup |
| Flex-shaft cleaning | $300-$800 | Scale and interior deposits | Months to years | Needs suitable access and operator skill |
| Chemical cleaner | $10-$30 | Minor organic residue | Hours to weeks | Corrosive, incomplete, poor for roots |
| Trenchless repair | $3,000-$12,000+ | Cracks, breaks, severe deterioration | Long-term repair | Does not replace routine cleaning |
A cable machine can restore flow quickly, which matters during an active backup. It does not necessarily remove grease coating the full circumference. Hydro jetting can clean more completely, but only after inspection confirms that the pipe can withstand the operation.
Never combine chemical drain cleaner with jetting without informing the technician. Residual sodium hydroxide, sulfuric acid, or other chemicals can create splash and exposure hazards.
Can Hydro Jetting Damage Old or Weak Pipes?
Hydro jetting can damage old, cracked, separated, or heavily corroded pipes, especially when an operator uses excessive pressure, an aggressive nozzle, or an unsuitable entry direction. A camera inspection reduces that risk but cannot guarantee a weak pipe will survive cleaning.
The most concerning findings include a visible collapse, missing pipe wall, major joint offset, severe corrosion, Orangeburg deformation, repeated nozzle hang-up, or soil visible through a break. Those conditions require repair planning rather than repeated pressure cleaning.
A pipe that fails during a correctly managed service may have been structurally compromised before jetting. That possibility should be discussed before work begins, particularly in homes built before modern PVC became common.
Expert Rules That Prevent Expensive Failures
- Flow rate matters as much as PSI. A nozzle must move enough water to transport loosened debris. Increasing PSI without sufficient GPM can create a narrow opening and leave the blockage downstream.
- A camera is diagnostic, not decorative. The useful recording shows pipe material, distance markings, defect location, and the post-cleaning result, rather than a few seconds of generic footage.
- Roots are a symptom of a defect. Jetting can remove root mass, but roots usually entered through a joint, crack, or failed connection. Recurrence is likely unless the entry point is repaired or managed.
- Grease requires prevention. Jetting a restaurant line without correcting FOG disposal practices shortens the interval before the next blockage.
- A clean pipe can still drain poorly. A belly, undersized line, inadequate slope, or municipal restriction can remain after all deposits are removed.
Variations for Common Situations
Residential Main Sewer Line
Use a camera, locate the building cleanout, and test multiple fixtures after cleaning. Homes with recurring roots may need inspection every 12-24 months rather than waiting for a sewage backup.
Restaurant or Commercial Kitchen
Commercial kitchen lines commonly need scheduled cleaning every 3-6 months, with the interval adjusted for meal volume, grease interceptor performance, and previous blockage history. Request a service report that records line length, nozzle type, before-and-after video, and observed FOG deposits.
Rental Property or Multi-Unit Building
Require written documentation because a recurring backup may originate in a shared lateral, not inside one apartment. A camera report helps assign responsibility between the unit branch, building drain, private lateral, and municipal connection.
Common Mistakes and How to Fix Them
| Mistake | Likely consequence | Correct response |
|---|---|---|
| Skipping the camera | Damage to a collapsed or broken pipe | Inspect before selecting pressure and nozzle |
| Using a pressure-washer attachment | Low-flow cleaning and uncontrolled hose behavior | Hire a qualified jetting operator |
| Starting outside the pipe | Hose whip, splash, and injury | Insert and secure the nozzle first |
| Choosing maximum PSI | Joint damage or incomplete flushing | Match pressure, GPM, and nozzle to conditions |
| Ignoring downstream capacity | Backup through toilets or floor drains | Stop pumping and confirm the downstream path |
| Accepting a temporary opening | Repeat blockage within weeks | Request wall cleaning and post-service verification |
If the drain remains slow immediately after jetting, do not assume another cleaning pass will solve it. The remaining cause may be a belly, collapsed section, inadequate municipal capacity, or a second obstruction beyond the original work area.
How Often Should Drains Be Hydro Jetted?
Most ordinary residential drains do not need calendar-based hydro jetting when they have no symptoms and no known buildup. A practical schedule is condition-based: inspect recurring residential root problems every 12-24 months, jet restaurant lines every 3-6 months, and reassess any line that blocks twice within one year.
Preventive cleaning makes sense when camera footage shows heavy grease, scale, or roots before a complete failure. It makes less sense when a pipe is structurally unsound, because repeated cleaning delays the repair while adding operational risk.
Ask the contractor to identify the cause of recurrence. “Jet it again” is not a complete maintenance plan when roots, poor slope, FOG discharge, or a failing joint remains unresolved.
Choosing a Hydro Jetting Contractor
Choose a contractor who performs a pre-service camera inspection, explains the proposed pressure and nozzle, carries appropriate insurance, controls contaminated water, and provides a post-service recording when the job warrants it.
Before authorizing work, ask:
- Is camera inspection included in the quoted price?
- What pipe material and diameter did you identify?
- What pressure and GPM will you use?
- Which nozzle matches the blockage?
- What happens if the camera finds a collapse?
- Is cleanup and wastewater control included?
- Will I receive before-and-after video?
- What portion of the service is covered if symptoms return?
A low quote may omit inspection, cleanup, difficult-access labor, or a second pass. Compare the scope, not only the advertised starting price.
Frequently Asked Questions
Can I hydro jet a drain with a pressure washer?
Most homeowners should not hydro jet a main drain with a pressure washer attachment. Consumer pressure washers often lack the flow, filtration, hose control, nozzle geometry, and safety controls needed for a long sewer line. A short, accessible branch drain may respond to a suitable low-flow tool, but professional diagnosis remains safer.
Is hydro jetting safe for PVC pipes?
Hydro jetting is generally compatible with intact PVC when pressure, flow, nozzle, and hose movement suit the pipe diameter. A technician should still inspect the line because failed glue joints, offsets, cracks, or unsupported sections can create damage risks that the PVC material alone does not reveal.
Does hydro jetting remove tree roots permanently?
Hydro jetting removes existing root growth but usually does not permanently prevent recurrence. Roots return when a cracked or separated joint continues allowing water and nutrients into the pipe. Root-resistant repair, joint sealing, replacement, or an agreed maintenance schedule addresses the underlying problem.
Can hydro jetting clear a septic drain?
Hydro jetting can clean a building drain connected to a septic system, but it cannot correct a full septic tank, blocked outlet baffle, saturated drain field, or failed distribution system. Confirm tank condition and control water discharge before sending large volumes of loosened solids toward the tank.
Why did my drain clog again after hydro jetting?
A repeat clog may indicate incomplete cleaning, a second downstream obstruction, structural damage, poor pipe slope, recurring roots, or excessive grease entering the line. Request a post-service camera inspection and compare it with the original recording before paying for another blind cleaning.
Should I snake or hydro jet first?
Use a snake first when one fixture has a simple, localized blockage and the pipe condition is known. Use hydro jetting when repeated backups, grease, scale, sludge, or roots coat an otherwise intact line. If the camera shows a collapse or major break, repair the pipe instead of choosing either cleaning method.
The Bottom Line
The safest way to clean a drain with hydro jetting is to inspect the pipe, access it through a suitable cleanout, select a nozzle and pressure for the pipe condition, advance the hose gradually, retrieve it slowly, flush the debris, and verify the result with a camera. Hydro jetting is thorough for intact, buildup-filled pipes, but it cannot replace structural sewer repair.