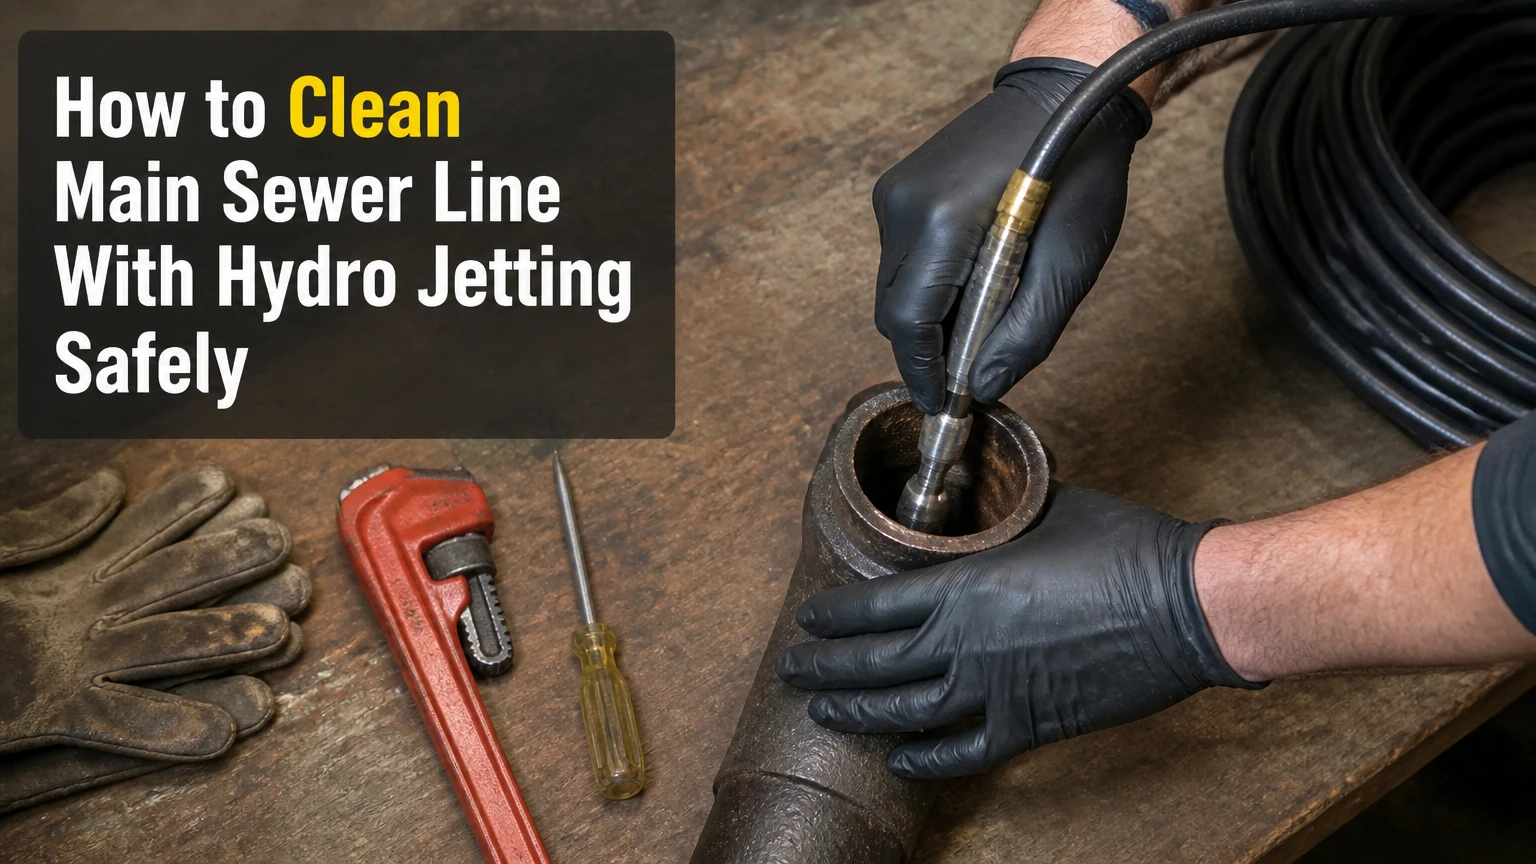
Hydro jetting cleans a main sewer line by sending high-volume, high-pressure water through a selected nozzle to cut roots, dissolve grease, remove scale, and flush debris downstream. A licensed plumber should inspect the pipe with a CCTV camera first, choose pressure and flow for the pipe material, and verify the line afterward. The typical residential job takes 1.5-3 hours and costs about $350-$1,000 when a usable cleanout exists.
Key Facts at a Glance
A CCTV inspection should precede hydro jetting because high-pressure water cannot safely clean a collapsed or severely fractured pipe.
Residential sewer jetters commonly operate around 3,000-4,000 PSI and 4-9 GPM, but the correct setting depends on pipe condition, diameter, nozzle, and access.
GPM determines how much loosened material the system can carry away; PSI determines cutting and impact force.
Hydro jetting removes more wall buildup than a drain snake, while a snake may be safer for creating a small opening in an uncertain line.
Typical residential hydro jetting costs $350-$1,000 and take 1.5-3 hours, excluding excavation or major access work.
Orangeburg and severely damaged sewer pipes generally require repair or replacement evaluation, not blind high-pressure cleaning.
What Does Hydro Jetting Do to a Sewer Line?
Hydro jetting uses a pump, reinforced hose, and engineered nozzle to direct water against the obstruction and pipe wall. Forward-facing jets penetrate a blockage, while rear-facing jets propel the hose and pull loosened grease, roots, mineral scale, paper, and sediment toward the downstream sewer.
A drain cable usually creates a narrow passage through a clog. Hydro jetting can restore more of the pipe’s internal circumference because the water stream scours deposits from multiple directions. The distinction matters when a line is slow because of years of grease or scale rather than one isolated object.
The Water Environment Federation describes sewer cleaning as an operation intended to remove obstructions and deposits so the collection system can convey wastewater. In field terms, successful jetting requires both cutting force and enough water volume to transport the cut material. A powerful nozzle that produces insufficient flow can break debris loose without carrying it away.
How do PSI and GPM affect cleaning?
PSI measures water pressure at the pump or hose system, while GPM measures water volume delivered through the nozzle. PSI helps a nozzle cut roots and hardened scale; GPM supplies the flushing capacity that moves loosened material through the sewer.
Pump ratings are not the same as pressure at the pipe wall. Hose length, internal diameter, nozzle orifice size, bends, and water loss reduce working pressure. A professional therefore sizes the nozzle and pump as a system instead of selecting the highest advertised PSI.
For a typical 3-4 inch residential main, a commercial cart jetter may provide approximately 3,000-4,000 PSI at 4-9 GPM. Those figures are common equipment ranges, not universal safe settings. A deteriorated clay or cast-iron line may require a lower-pressure approach, a different nozzle, or repair instead.
Which Nozzle Should Be Used?
The correct sewer jetting nozzle depends on the blockage, pipe diameter, access route, and CCTV findings. Penetrator nozzles open dense obstructions, rotary nozzles remove circumferential deposits, root-cutting heads address established roots, and flushing nozzles transport loosened solids.
| Nozzle type | Typical target | Typical action | Main limitation |
|---|---|---|---|
| Penetrator or chisel | Dense grease, paper mats, compacted waste | Uses a narrow forward jet to create an opening | Can lodge at defects or force debris downstream |
| Rotary descaling | Mineral scale, rust, biofilm | Spins side jets around the pipe circumference | Requires structurally sound pipe |
| Root-cutting head | Fine to moderate root intrusion | Cuts roots close to the pipe wall | Does not repair the root entry path |
| Flushing or corner | Loose sludge, sand, and cut debris | Directs most flow backward for transport | Performs poorly against a solid blockage |
Nozzle angle also changes hose behavior. Rear jets around 30-45 degrees commonly provide propulsion while washing the wall, whereas wide-angle flushing jets prioritize volume over penetration. A nozzle that works in a straight 4-inch lateral may perform poorly around tight bends or transitions.
Root chains and rotating cutters need particular caution. They can remove roots, but they cannot seal a cracked joint, correct an offset, or stop future growth. Root removal is therefore a cleaning event, not a structural cure.
How to Clean Main Sewer Line With Hydro Jetting
A professional cleans a main sewer line through a defined sequence: diagnose the pipe, establish flow, select equipment, jet from an appropriate access point, flush the debris, and inspect the result. A standard residential run up to approximately 100 feet often takes 1.5-3 hours, although difficult access, multiple passes, or a long lateral increases the duration.
Before You Start
Hydro jetting requires specialized equipment and a safe discharge route, so homeowners should prepare the property rather than operate the jetter. Confirm a functioning cleanout, identify the municipal connection if possible, and keep fixtures unused while the line is open.
| Requirement | Typical specification | Why it matters |
|---|---|---|
| CCTV camera | Push camera with sonde and recorded video | Locates defects, roots, bellies, and blockage distance |
| Jetter | 3,000-4,000 PSI, 4-9 GPM for many 3-4 inch residential lines | Provides cutting and flushing capacity |
| Access | Two-way cleanout preferred | Allows downstream and upstream inspection |
| Water supply | Often 5-8 GPM available flow | Prevents pump starvation and cavitation |
| Personal protection | Face shield, waterproof gloves, boots, coveralls | Raw sewage and high-pressure water create exposure hazards |
Step 1: Inspect the Line With a CCTV Camera
Insert a drain camera through the cleanout before applying high pressure. Record the pipe material, obstruction location, joint condition, standing water, offsets, roots, cracks, bellies, and signs of collapse.
The inspection determines whether cleaning is appropriate. A belly can repeatedly collect sediment even after a successful jetting pass. An offset joint can catch a nozzle, while a collapsed section may block the hose and worsen when pressured.
Success checkpoint: The technician can identify the obstruction and confirm a continuous, reasonably intact passage.
Common mistake: Jetting a line because it is clogged without checking whether the clog is hiding a structural failure.
Step 2: Establish a Basic Flow Path
Use a cable machine only when the CCTV findings show that a temporary opening is needed before jetting. A small channel allows wastewater and jetting water to move downstream instead of filling the cleanout or backing up into fixtures.
Mechanical pre-clearing is especially useful for a compacted root mat or a solid mass located near the property side of the blockage. The cable does not need to polish the pipe. Its role is to create enough passage for controlled water movement.
Success checkpoint: Water drains through the line without rapidly rising in the cleanout.
Common mistake: Continuing to feed a cable into a suspected collapse or offset, which can damage the pipe or trap the head.
Step 3: Match the Jetter to the Pipe
Select the pump, hose, nozzle, and pressure bypass setting after reviewing the camera footage. Match the hose diameter to the sewer, account for the run length, and confirm that the water source supplies the required flow.
A technician should not treat a pump’s maximum rating as the operating target. For example, an old cast-iron line with heavy scale may need gentle descaling and repeated inspection rather than a full-pressure root-cutting pass.
Success checkpoint: The working pressure, flow, nozzle, and pipe material are documented before the valve opens.
Common mistake: Connecting a 5-8 GPM jetter to a water source that supplies only about 3 GPM, which can starve and damage the pump.
Step 4: Insert the Hose Before Activating Pressure
Feed the hose several feet into the cleanout before engaging high pressure, while keeping the access opening controlled. The operator should establish hose position and maintain a safe stance before opening the pressure valve.
The exact direction depends on cleanout location and the blockage. Downstream jetting often sends debris toward the municipal main, while upstream passes can clean the building lateral toward interior fixtures. The operator should confirm the route with the camera rather than assume that the nearest opening is the best starting point.
Success checkpoint: The hose advances under controlled propulsion without violent bouncing, snagging, or sewage blowback.
Common mistake: Activating maximum pressure with the nozzle still at the cleanout, which increases splash, hose movement, and fixture risk.
Step 5: Advance Slowly and Retract Under Control
Allow rear-facing jets to propel the nozzle while feeding the hose gradually through the line. Once the nozzle reaches the target distance, retract it slowly so the rear jets scour deposits instead of merely punching a path through the blockage.
The retraction pass usually performs the main wall-cleaning work. A technician may repeat the pass two or three times, changing from a cutting or descaling nozzle to a flushing nozzle when loosened solids begin collecting downstream.
Success checkpoint: The hose reaches the planned endpoint, debris flow decreases, and the line accepts water without rising at the access point.
Common mistake: Pulling the hose back too quickly, leaving grease, scale, or root fragments attached to the pipe wall.
Step 6: Flush and Reinspect the Sewer
Run a final flushing pass to transport loosened solids toward the downstream connection. Then repeat the CCTV inspection and compare the recording with the pre-jetting video.
A clean-looking line is not necessarily a repaired line. The post-cleaning camera should document remaining cracks, open joints, exposed bedding, roots entering through defects, standing water, and the distance from the cleanout to each condition.
Success checkpoint: The camera confirms an open passage and identifies any defect that could cause another backup.
Common mistake: Accepting restored flow as proof of success without reviewing the pipe interior.
Is Hydro Jetting Safe for Every Sewer Pipe?
Hydro jetting is safe only when the pipe can withstand the selected pressure and nozzle action. PVC and ABS usually tolerate routine residential jetting well, while brittle clay, heavily corroded cast iron, and Orangeburg require special caution or a repair assessment.
| Pipe material | Typical condition concern | Common operating approach | Cleaning decision |
|---|---|---|---|
| PVC or ABS | Joint displacement, construction debris | Often 3,000-4,000 PSI with suitable GPM | Usually suitable if CCTV shows integrity |
| Cast iron | Rust scale, tuberculation, thin walls | Moderate pressure with descaling nozzle | Proceed only after assessing wall condition |
| Vitrified clay | Brittle joints, cracks, root entry | Lower-pressure controlled cleaning | Inspect every defect before jetting |
| Orangeburg | Fiber delamination, flattening, collapse | Avoid aggressive hydro jetting | Usually requires replacement evaluation |
| Concrete | Joint failure, surface erosion, large diameter | Equipment matched to diameter and condition | Use specialist municipal or commercial assessment |
Published service sources often quote material-specific pressure ceilings, but no single number applies safely to every pipe of a given material. Age, wall thickness, corrosion, joint condition, nozzle distance, and pressure at the nozzle change the risk. A professional should use the camera condition, not a generic chart, as the controlling evidence.
Hydro jetting is not a substitute for excavation, cured-in-place lining, spot repair, or sewer replacement. It removes deposits from a pipe that remains usable. It cannot restore missing pipe walls or correct a negative slope.
Which Method Is Better, Hydro Jetting or Snaking?
Hydro jetting is usually better for recurring grease, scale, sediment, and broad root intrusion, while mechanical snaking is often better for quickly opening a smaller clog when pipe condition is unknown. Chemical drain cleaners are the weakest choice for a main sewer because they rarely remove structural deposits and can create handling hazards.
| Method | Typical result | Typical duration of relief | Best application | Major risk |
|---|---|---|---|---|
| Hydro jetting | Cleans much of the pipe circumference | 2-5 years when the pipe remains sound | Grease, scale, roots, recurring buildup | Damage to fragile or defective lines |
| Cable snaking | Opens a narrow channel | Weeks to 6 months | Isolated soft blockage or emergency flow restoration | Leaves deposits and may snag defects |
| Enzyme treatment | Slows some organic accumulation | Days to months | Preventive maintenance after cleaning | Cannot cut roots or remove hard scale |
| Chemical cleaner | Dissolves limited organic material | Hours to weeks | Small fixture drain, not main sewer | Burns, corrosion, ecological discharge |
| Repair or replacement | Corrects the physical defect | Often 10-50+ years, depending on method | Collapse, severe belly, broken joints | Excavation or substantial project cost |
The practical sequence is often cable first, hydro jet second, repair when the camera identifies a defect. That sequence prevents a large volume of water from entering a completely blocked property-side line, while the final camera prevents repeated cleaning of a pipe that needs construction work.
How Much Does Main Sewer Hydro Jetting Cost?
Typical residential hydro jetting costs $350-$1,000 when a cleanout is accessible and the line does not need repair. Root-heavy or difficult jobs commonly reach $700-$1,400, while creating access can add approximately $800-$1,500.
| Cost component | Typical range | What changes the price |
|---|---|---|
| Standard cleanout jetting | $350-$600 | Length, access, blockage type |
| Root or severe scale cleaning | $700-$1,400 | Multiple passes, specialized nozzle, camera time |
| CCTV inspection | $150-$500 | Recording, locating, difficult access |
| New cleanout installation | $800-$1,500 additional | Excavation, depth, surface restoration |
| Emergency or after-hours call | $100-$500 additional | Night, weekend, holiday dispatch |
| Spot repair or excavation | $1,000-$10,000+ | Depth, surface, pipe length, utility conflicts |
These are typical U.S. service ranges, not a universal price list. Angi, Bob Vila, and HomeGuide publish national consumer cost ranges that vary by market and access conditions; local labor rates and municipal connection requirements can move the final invoice substantially.
Ask whether the quote includes pre-camera inspection, post-camera verification, hose length, nozzle changes, cleanup, access work, and disposal. A low quote that excludes camera work may be less useful than a higher quote that identifies why the line failed.
How Long Does Hydro Jetting Last?
A properly cleaned residential sewer line commonly remains open for about 2-5 years when the pipe has no continuing root pathway, grease source, or grade defect. Commercial kitchens with heavy fats, oils, and grease may require cleaning every 6-12 months.
Frequency should follow the cause rather than a calendar alone. A restaurant producing fryer grease needs a documented maintenance schedule, while a home with a cracked clay joint may need root management or repair after a much shorter interval.
Hydro jetting does not prevent roots from returning through an open joint. It also cannot stop sediment from collecting in a belly. Repeated backups at the same camera location are evidence for diagnosis, not automatic proof that the cleaner was inadequate.
Should You Do This Yourself?
Homeowners should not hydro jet a main sewer line with a pressure-washer attachment. Consumer attachments commonly lack the sustained flow, hose control, nozzle range, backflow protection, camera diagnosis, and debris-management capacity needed for a buried building sewer.
High-pressure water can inject contaminated material into skin, damage fixtures, flood a basement, or leave a hose lodged behind an offset. A professional also knows when to stop if the hose stalls, the access basin rises, or a camera reveals a fragile pipe.
DIY preparation is reasonable. Locate cleanouts, stop using water, protect the work area, photograph previous camera footage, and ask for a written scope. Do not open a pressurized cleanout or improvise a sewer jetter inside a building.
What Can Go Wrong During Jetting?
The most serious failures occur when operators jet without diagnosis, use too much pressure, or cut debris without enough flow to carry it away. The following conditions require an immediate pressure shutdown and reassessment.
- The hose stalls or repeatedly bounces. A sharp bend, offset, root trunk, or collapsed section may be blocking progress. Shut the valve, pull back several feet, and inspect rather than forcing the hose.
- The cleanout begins filling rapidly. The downstream line may still be blocked, or the nozzle may be producing more debris than the pipe can transport. Stop pumping and switch to diagnosis or controlled flushing.
- Fixtures burp, splash, or back up. Excess water or trapped air can move through the building drainage system. Stop water use, close the access point safely, and check venting and downstream capacity.
- The pump cavitates or loses supply. A restricted hose bib, undersized supply line, or empty tank can starve the pump. Stop the unit before valve and seal damage occurs.
- The line clears but backs up again quickly. A belly, broken joint, root pathway, or partial collapse is more likely than an ordinary recurring clog. Obtain a post-failure CCTV inspection.
One field rule deserves emphasis: never convert a stalled hose into a force contest. The obstruction may be a missing pipe section, and more pressure can turn a localized defect into a larger failure.
What If There Is No Cleanout?
A plumber may access the sewer through a toilet, rooftop vent, existing wye, or a newly installed two-way cleanout when no usable cleanout exists. Each alternative changes the labor, contamination control, camera route, and cost.
A two-way cleanout is usually the most useful long-term improvement because it provides future access in both directions. Installing one may require excavation and surface restoration, but it can reduce future emergency access costs and improve inspection quality.
A rooftop vent is not automatically a safe jetting route. The opening may be too narrow, the hose path may include difficult bends, and water or debris can enter the building. The technician should verify the route and protect the property before selecting that access point.
When Is Repair Better Than Cleaning?
Repair is better than hydro jetting when CCTV shows collapse, severe pipe deformation, an extensive belly, missing sections, open joints with soil loss, or Orangeburg deterioration. Cleaning can restore flow temporarily in such conditions while leaving the failure mechanism untouched.
| Camera finding | Likely consequence | More appropriate response |
|---|---|---|
| Fine roots at one intact joint | Recurring obstruction | Jet, then evaluate spot sealing or repair |
| Standing water across a long section | Sediment and repeat backups | Correct grade, line, or replace affected section |
| Offset joint under 1 inch | Hose snag and leakage | Spot repair or trenchless evaluation |
| Broken or collapsed pipe | Blockage and soil intrusion | Excavation, spot replacement, or lining assessment |
| Heavy cast-iron scale with thin wall | Flaking and leakage risk | Replacement or lining evaluation |
| Orangeburg flattening | Structural failure | Replacement planning, not aggressive jetting |
The camera record should show the defect’s clock position, distance, and approximate length. Those details help compare repair bids and prevent a vague recommendation to “replace the line” without locating the actual failure.
Maintenance Rules for Homes and Businesses
Use hydro jetting as corrective cleaning when buildup is substantial, then address the source that created it. Homes with recurring roots should monitor the same camera location; restaurants should combine scheduled jetting with grease-control procedures and interceptor maintenance.
Avoid sending cooking fat, wipes, paper towels, dental floss, and fibrous products into the drainage system. Enzyme products may support limited organic maintenance, but they do not replace mechanical cleaning or structural repair.
A reasonable residential plan is a camera inspection after repeated backups and cleaning only when deposits are documented. A commercial kitchen may schedule 6-12 month service intervals, adjusted by documented flow restrictions and grease accumulation rather than by a generic promise.
FAQ
Can hydro jetting remove tree roots permanently?
No. Hydro jetting can cut and flush roots from the pipe, but roots may return through cracked joints, separated connections, or holes. Permanent control requires repairing the entry point, replacing the damaged section, or using an appropriate approved root-management program after a camera inspection.
What water pressure is needed to jet a sewer line?
Many residential main-line jetters operate around 3,000-4,000 PSI at 4-9 GPM, but the safe setting depends on pipe material, age, diameter, nozzle, and defect condition. The highest available pressure is not automatically the correct pressure, especially in old clay or scaled cast iron.
Can hydro jetting damage PVC pipe?
Hydro jetting can damage PVC when the nozzle is misused, the pipe has displaced joints, or excessive pressure is applied at a defect. Intact PVC generally tolerates routine professional cleaning, but CCTV inspection remains necessary because installation condition matters more than the material label alone.
Why does my sewer back up after hydro jetting?
A post-jetting backup can indicate an incompletely flushed debris load, a downstream obstruction, a belly, a collapsed section, or roots returning through a defective joint. Request a follow-up camera inspection that identifies the new blockage location instead of repeating the same cleaning blindly.
Is hydro jetting better than a sewer snake?
Hydro jetting is better for removing grease, scale, sediment, and broad root buildup from a structurally sound line. A sewer snake is often better for creating an initial opening or restoring flow when the pipe’s condition is uncertain. Many difficult jobs use both methods in sequence.
How often should a residential sewer line be hydro jetted?
Many sound residential lines need hydro jetting only every 2-5 years, while lines affected by roots, grease, or a belly may need service sooner. A camera-confirmed cause should determine frequency. Repeated annual cleaning without repair evidence suggests the underlying defect has not been addressed.
The Bottom Line
Hydro jetting is the most thorough cleaning option for a structurally sound main sewer line affected by grease, mineral scale, sediment, or roots. The safe process starts with CCTV inspection, uses a nozzle and pressure matched to the pipe, flushes debris downstream, and ends with camera verification. If you need to know how to clean main sewer line with hydro jetting, the essential rule is simple: diagnose first, jet under controlled conditions, and repair defects that cleaning cannot fix.