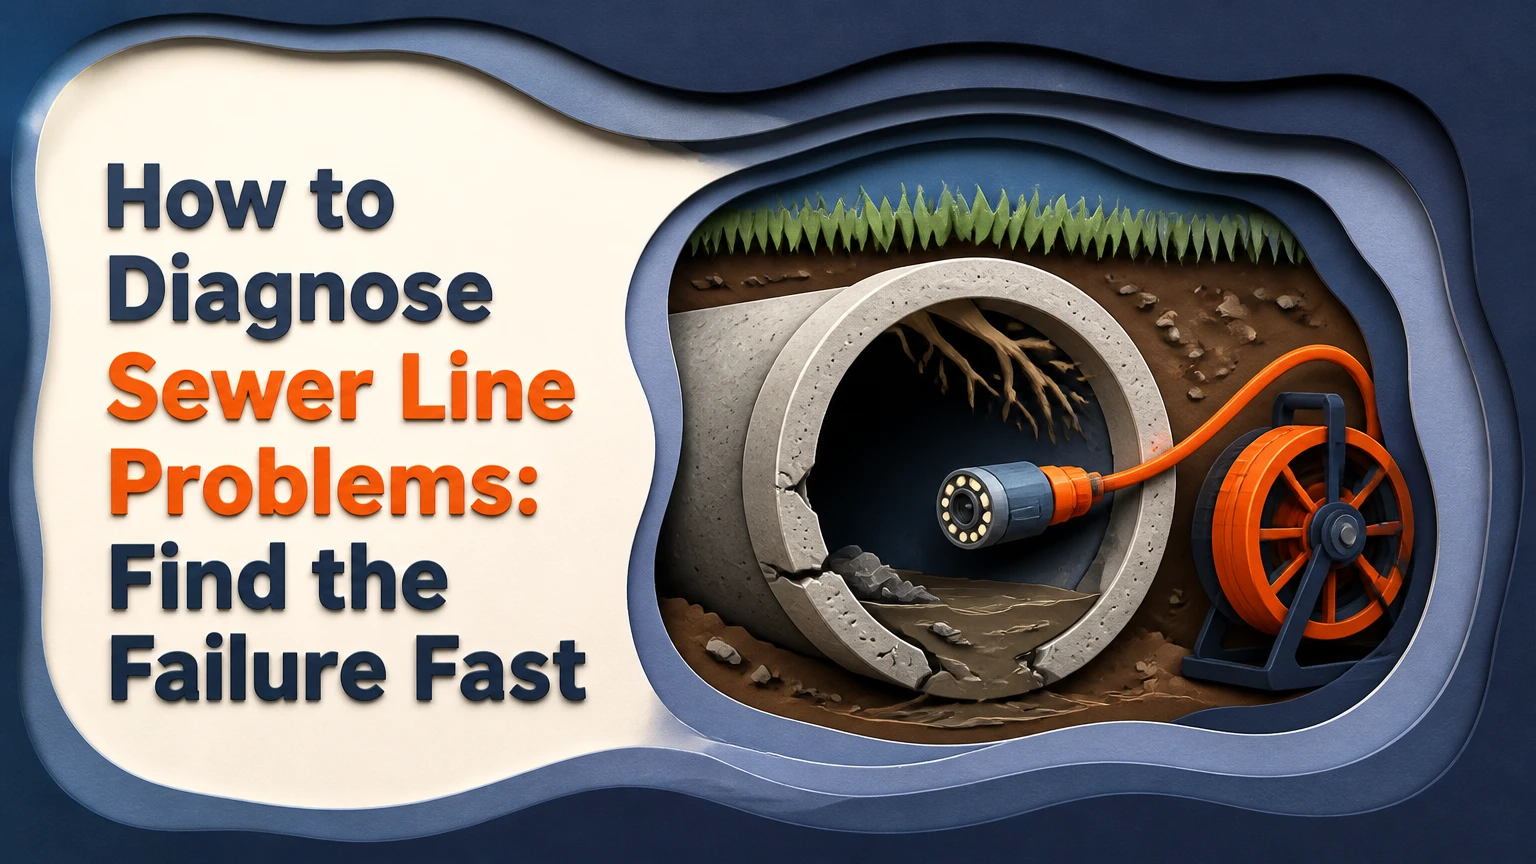
To diagnose sewer line problems, first determine whether the failure affects one fixture or multiple fixtures, then inspect the accessible main cleanout and clear standing wastewater safely. A professional sewer camera inspection is the primary test for locating roots, cracks, offsets, bellies, scale, and collapse, while smoke, dye, or pressure testing confirms leaks and odor sources.
Key facts at a glance
A single slow drain usually indicates a branch-line clog, while several affected fixtures point toward the building sewer or main drain.
A sewer camera shows the pipe interior, but it cannot prove the condition of soil outside the pipe or every hidden leak.
Recurring backups after drain cleaning require a camera inspection because roots, corrosion, and pipe deformation can remain untreated.
Camera distance is not the same as ground location; a sonde locator is needed to mark a defect for excavation.
Rain-related backups can indicate groundwater infiltration, a combined-sewer surcharge, or a storm connection rather than an ordinary clog.
Responsibility for a failed lateral depends on the property boundary, local utility rules, easements, and the exact defect location.
What does a sewer line problem include?
A sewer line problem is any blockage, leak, deformation, or loss of flow capacity in the pipe carrying wastewater from a building to a public sewer main or private septic tank. The private section is commonly called a building sewer, house sewer, or sewer lateral, although terminology varies by plumbing code and utility.
Most residential laterals are approximately 4 inches in diameter inside the property, with some newer systems using 6-inch pipe for longer runs or local code requirements. Wastewater normally moves by gravity, so the pipe needs an appropriate continuous grade, stable joints, and enough internal diameter to carry solids without prolonged settling.
The practical diagnostic question is not “Is the sewer clogged?” It is “Where does flow stop, what caused the restriction, and is the pipe still structurally serviceable?”
How wastewater failure develops
| Failure class | Typical mechanism | Diagnostic clue | Likely first test |
|---|---|---|---|
| Local branch blockage | Hair, soap, food waste, or a small object | One sink, tub, or toilet is affected | Trap and branch-line cleaning |
| Mainline blockage | Paper, grease, roots, or foreign material | Several fixtures drain slowly or back up | Main cleanout assessment and camera |
| Structural defect | Crack, open joint, offset, collapse, or corrosion | Recurring stoppage after cleaning | CCTV inspection |
| Hydraulic overload | Surcharged public sewer, flooding, or infiltration | Problem occurs during heavy rain | Utility records, dye, flow and weather correlation |
| Pipe belly | Settled section retains water and solids | Repeated blockage at the same distance | Camera with grade assessment |
| Ventilation fault | Blocked or damaged vent stack | Gurgling or odor without a mainline backup | Vent inspection and smoke testing |
Which symptoms point to the main sewer line?
Multiple slow drains, toilet bubbling, wastewater entering a shower or floor drain, and backups that follow laundry discharge strongly suggest a restriction downstream of several fixtures. One isolated slow fixture usually points to that fixture’s trap or branch pipe, although a partial obstruction can sometimes produce confusing symptoms.
Record what happens before opening a cleanout. Note which fixtures are affected, whether the problem follows toilet flushing or washing-machine discharge, whether the issue worsens during rain, and whether the lowest drain overflows first.
| Observed symptom | More likely location | What the pattern means | Urgency |
|---|---|---|---|
| Kitchen sink alone drains slowly | Kitchen branch or trap | Local grease or food buildup is more likely | Moderate |
| Toilet alone clogs once | Toilet trap or branch | A local obstruction may respond to proper plunging | Moderate |
| Two bathrooms gurgle together | Building drain or lateral | Shared downstream restriction is likely | High |
| Basement floor drain overflows | Main building sewer | The lowest opening is receiving backed-up wastewater | Immediate |
| Green strip over the pipe route | Leaking lateral or irrigation issue | Exfiltration is possible, but soil and irrigation must be ruled out | High |
| Odor after a vacant period | Dry trap or vent issue | Sewer gas can enter without a blocked lateral | Moderate |
| Backup only during storms | Infiltration or public surcharge | Weather correlation changes the diagnostic path | High |
Stop using toilets, sinks, showers, dishwashers, and washing machines when sewage is rising. Contact a plumber promptly if contaminated water reaches living areas, because sewage exposure creates sanitation risks and repeated flow can spread damage beneath flooring.
How to diagnose sewer line problems step by step
A reliable diagnosis follows the flow path from the building toward the public main. The usual sequence takes 45-90 minutes for an accessible camera inspection after cleaning, but difficult access, a buried cleanout, or a long lateral can extend the visit to several hours.
Step 1: Establish the affected plumbing zone
Use one fixture at a time and observe nearby drains. Do not deliberately fill the system if wastewater is already close to overflowing; a controlled toilet flush or brief faucet flow is enough when the line is functioning.
A shared symptom indicates a downstream location. For example, if flushing an upstairs toilet causes water to rise in a basement shower, the restriction lies after the point where those fixtures join.
Success checkpoint: You can identify the highest fixture that causes the lowest fixture to react.
Common mistake: Running the washing machine repeatedly to “test” a system that is already backing up.
Step 2: Check simple causes without treating them as proof
Inspect accessible toilet bowls, sink traps, cleanout caps, and vent openings. A plunger may resolve a toilet obstruction, but chemical drain opener is a poor choice for a suspected mainline problem because it leaves caustic liquid in the pipe and exposes the next person opening the cleanout.
Do not use a roof vent as a first DIY access point. Roof work adds fall risk, and a vent blockage does not explain every multi-fixture backup.
Success checkpoint: A local fixture works normally without causing another fixture to gurgle or rise.
Common mistake: Assuming a temporary flow improvement proves that the pipe is structurally sound.
Step 3: Find and open the main cleanout safely
The main cleanout is commonly a capped 3- or 4-inch fitting near the foundation, basement wall, driveway, or property line. Older properties may have a buried, damaged, painted-over, or missing cleanout.
Wear eye protection, waterproof gloves, long sleeves, and footwear that can be disinfected. Stand to the side, loosen the cap slowly, and stop if wastewater is visibly pressurized behind it. A plumber should open a hazardous or seized cap.
The flow direction can provide useful evidence. If the cleanout is full and the building is not discharging, the obstruction may be downstream. If the cleanout is empty while fixtures back up, the problem may be upstream or in a branch.
Success checkpoint: The cleanout is identified, opened without exposure, and its water level is documented.
Common mistake: Removing a cap directly in front of the opening, where pressurized sewage can discharge.
Step 4: Determine whether cleaning is needed before inspection
A camera cannot provide useful evidence through opaque water, thick grease, dense roots, or sludge covering the lens. A drain cable can create a temporary passage, while hydro jetting can remove grease, scale, and many root masses more thoroughly.
Cleaning is not diagnosis. If a contractor clears the line, request a camera run afterward, because the cleaning process may move past the first obstruction without revealing a crack or sag.
Hydro jetting can damage severely deteriorated Orangeburg, thin-wall clay, or badly corroded cast iron. The operator should assess pipe condition and select pressure and nozzle settings accordingly.
Success checkpoint: The camera has a clear view through the entire accessible lateral.
Common mistake: Accepting “the line is open” as evidence that no repair is needed.
Step 5: Run a full CCTV camera inspection
The technician pushes a waterproof camera through the cleanout toward the public main or septic tank. The inspection should document pipe material, diameter, distance, flow, joints, roots, cracks, offsets, scale, standing water, and the endpoint.
A useful report states where the camera started, which direction it traveled, the total distance reached, and whether the camera actually reached the municipal connection. A recording that ends at the first root intrusion is incomplete because a second defect may exist farther downstream.
| Camera finding | What it indicates | Immediate interpretation | Usual next action |
|---|---|---|---|
| Fine roots at one joint | Joint opening or failed seal | Root cutting may restore flow temporarily | Camera beyond joint, then repair planning |
| Continuous heavy scale | Internal corrosion, often cast iron | Usable diameter is reduced | Cleaning plus wall-condition assessment |
| Camera enters a void | Collapse, missing section, or open joint | Soil support may be compromised | Locate defect and evaluate excavation |
| Water remains in a low section | Belly or blocked downstream segment | Solids can settle repeatedly | Confirm grade and length before repair |
| Offset joint | Pipe sections have shifted | Infiltration and snagging are possible | Spot repair or replacement assessment |
| Smooth intact PVC | No visible interior defect | Does not exclude outside leakage | Consider targeted leak testing if symptoms persist |
Success checkpoint: The video reaches the main connection or septic tank and records the entire run with distance markers.
Common mistake: Stopping after finding a repairable-looking root intrusion.
Step 6: Locate the defect from the surface
A camera sonde transmits a radio signal that a locator receiver can follow above ground. The technician marks the pipe route, defect position, and approximate depth, which helps compare trenchless repair, spot excavation, and utility responsibility.
Sonde accuracy decreases near reinforced concrete, buried metal, electrical interference, steep terrain, and complex pipe crossings. A marked point is a planning aid, not a survey-grade boundary determination.
Success checkpoint: The report includes a surface mark, depth estimate, camera distance, and defect description.
Common mistake: Digging at the camera’s distance reading without accounting for the pipe’s route and access-point location.
Step 7: Add a confirmatory test when the camera cannot answer the question
A camera is usually the first-line structural test, but additional testing may be justified when the complaint involves odor, groundwater, invisible leakage, or disputed responsibility.
| Diagnostic method | Typical US price | Typical duration | Best evidence | Important limitation |
|---|---|---|---|---|
| CCTV camera scope | $125-$500 | 45-90 minutes | Interior defects and distance | Cannot inspect the outside wall |
| Sonde locating | $50-$200 add-on | 15-30 minutes | Route and approximate depth | Interference reduces accuracy |
| Hydrostatic test | $300-$800 | 1-2 hours | System leakage under water load | Local procedures and pass criteria vary |
| Smoke test | $250-$600 | 1-2 hours | Vent leaks and illegal connections | Dry traps can create misleading smoke paths |
| Dye test | $150-$400 | 1-4 hours | Whether water reaches a suspected area | Does not size or structurally classify a defect |
| Acoustic detection | $300-$700 | 1-2 hours | Escaping-flow or void clues | Performance depends on soil and flow conditions |
How do you diagnose a sewer odor?
A sewer odor does not prove that the underground lateral is broken. Dry P-traps, blocked roof vents, cracked interior drain piping, loose toilet seals, and floor drains without trap primers can all release sewer gas.
Pour water into an infrequently used floor drain or fixture trap, then observe whether the odor returns. A typical trap needs enough water to restore its seal, but recurring evaporation may require a trap primer or an approved non-evaporating treatment.
Smoke testing is useful when odor persists and the source is hidden inside walls, under slabs, or near abandoned plumbing. The technician introduces visible smoke at low pressure, while occupants and pets remain away from the test area according to the contractor’s safety instructions.
Rain-related odor deserves a separate investigation. A saturated soil profile can increase infiltration through defective joints, while a public sewer surcharge can reverse flow through a private lateral.
How does pipe material change the diagnosis?
Pipe material changes the likely defect pattern, but age alone cannot establish failure. A 1940s cast-iron line may be serviceable after cleaning, while a newer PVC line can fail because of poor bedding, a displaced joint, or inadequate slope.
| Pipe material | Common installation period | Frequent defect | Camera clue | Repair concern |
|---|---|---|---|---|
| Cast iron | Pre-1970 in many regions | Scale, corrosion, pinholes | Rough black wall and reduced opening | Jetting can expose weak pipe |
| Vitrified clay | Older urban and suburban systems | Rooted joints and offsets | Bell-and-spigot joints with roots | Joint repair may not address later defects |
| Orangeburg | Mostly pre-1970 | Flattening and delamination | Soft, oval, or collapsed interior | Lining may fail if shape is badly lost |
| PVC | Modern construction | Poor joints, settlement, bellies | Smooth wall with separated fittings | Bedding and grade need assessment |
| ABS | Modern construction | Joint separation or deformation | Smooth dark plastic and fitting defects | Local installation quality matters |
Pipe slope requires careful interpretation. Common plumbing guidance uses approximately 1/8 inch per foot for 4-inch drainage pipe in many residential applications, while smaller pipe may require a steeper grade; local code, pipe diameter, and approved installation standards control. A camera cannot reliably measure precise slope by itself, so a suspected belly should be confirmed through observed length, water retention, elevation data, or excavation.
What can a sewer camera prove, and what can it not prove?
A sewer camera can directly show the interior condition of an accessible pipe, including roots, cracks, offsets, scale, standing water, material transitions, and collapse. A camera cannot reliably show the condition of the pipe’s exterior bedding, detect every hairline leak, verify exact legal ownership, or determine whether a pipe will fail next year.
Standing water creates another limitation. The camera may pass through a belly while the submerged section hides a crack or open joint. The inspection report should identify obscured areas instead of presenting the run as fully evaluated.
A clean video is evidence, not a repair specification. Before approving lining or bursting, confirm that the pipe has sufficient shape, access, diameter, and continuity for the proposed method.
Should the sewer line be repaired or only cleaned?
A structurally sound pipe with grease or soft debris generally needs cleaning, while a collapsed, severely offset, or badly deformed pipe usually needs replacement or excavation. Root cutting is often temporary because roots return through the same failed joint unless the joint or pipe section is repaired.
| Finding after diagnosis | Temporary response | Permanent options | Key decision condition |
|---|---|---|---|
| Grease in intact pipe | Snaking or hydro jetting | Preventive maintenance | Wall and joints remain sound |
| Roots at one accessible joint | Root cutting | Spot repair or lateral replacement | Defect is isolated and reachable |
| Several cracks, round pipe intact | Cleaning and monitoring | CIPP lining or replacement | Lining requires a continuous host pipe |
| Severe belly | Repeated cleaning | Excavation and regrading or replacement | Slope must be physically corrected |
| Full collapse | Emergency bypass or cleaning nearby | Open excavation or approved replacement | Camera cannot pass the failure |
| Orangeburg flattening | Gentle cleaning only | Replacement or engineered rehabilitation | Internal diameter and shape are critical |
Typical US project prices vary widely by region, depth, access, permits, traffic control, and restoration. Hydro jetting often costs $300-$800, trenchless lining may run approximately $80-$250 per linear foot, pipe bursting approximately $60-$200 per foot, and open excavation approximately $50-$250 per foot before difficult restoration or utility conflicts.
Those are planning ranges, not bids. Require separate prices for locating, cleaning, permits, excavation, pipe work, backfill, concrete, landscaping, and post-repair inspection.
What mistakes produce a false diagnosis?
The most expensive diagnostic error is treating the first cleared obstruction as the whole problem. A recurring backup can involve roots near the house and a belly near the street, so the camera should continue to the public connection whenever access and safety permit.
Practitioner rules improve the result:
- Inspect after cleaning, not instead of cleaning. A blocked lens produces a weak record, while a cleared pipe can reveal defects that caused the blockage.
- Measure from a known access point. Camera distance without sonde locating cannot tell an excavator where to dig.
- Separate flow evidence from structural evidence. A line that drains today may still have an open joint, corrosion, or a long-term belly.
- Get the endpoint documented. “Camera reached 80 feet” is less useful than “camera reached the municipal connection at 80 feet.”
- Check the legal boundary before authorizing work. Many utilities maintain the public main but not the private lateral, and some jurisdictions assign lateral maintenance differently.
- Do not pressure-test an unsafe active failure casually. Filling a compromised system can release sewage into a basement, crawlspace, or soil.
How much does sewer diagnosis cost?
A basic residential sewer camera inspection typically costs $125-$500 when an accessible cleanout exists and approximately $175-$750 when toilet removal or difficult access is required. Add-ons such as locating, cleaning, smoke testing, dye testing, or hydrostatic testing increase the total according to the evidence needed.
| Service situation | Typical total range | Typical time | Cost drivers |
|---|---|---|---|
| Accessible cleanout and open line | $125-$500 | 45-90 minutes | Travel, recording, report |
| Backup requiring cable cleaning | $300-$900 | 1-3 hours | Line length, roots, grease |
| Camera after heavy jetting | $500-$1,300 | 2-4 hours | Cleaning difficulty and access |
| Toilet removal for access | $175-$750 inspection | 1-3 hours | Reset parts, flooring, access |
| Camera plus sonde mark | $175-$700 | 1-2 hours | Locating complexity |
| Camera plus confirmatory test | $400-$1,500 | 2-5 hours | Smoke, dye, or pressure testing |
Ask whether the price includes a downloadable video, written condition report, defect distances, endpoint confirmation, and surface locating. A low price that excludes cleaning or stops before the main connection may not answer the actual question.
Special cases: buyers, landlords, and septic systems
Homebuyers should order a dedicated sewer scope because a standard visual home inspection generally cannot evaluate underground private piping. Request the complete video before closing, especially for homes with mature trees, older cast iron or clay, Orangeburg, additions, basement plumbing, or a history of backups.
Landlords should preserve maintenance records and respond quickly to repeated backups, because a recurring sanitary failure can damage tenant property and create habitability concerns under local law. A written camera report also helps separate tenant-caused fixture clogs from aging lateral defects.
Properties connected to septic tanks require a different endpoint. The camera should reach the tank inlet or a known distribution component when possible. A sluggish drain may originate in the building sewer, the tank, the outlet baffle, the distribution box, or saturated soil, so a sewer scope alone does not diagnose the entire septic system.
Who is responsible for a failed sewer lateral?
Responsibility depends on the defect’s location and the governing utility or municipal rule. The homeowner commonly maintains the private lateral from the building to a defined public connection, but some cities maintain part of the lateral, and easements can transfer obligations.
Obtain the utility’s written service-boundary map before excavation. Ask for the cleanout-to-main distance, the defect’s marked location, the parcel boundary, and any recorded easement. Insurance coverage also depends on the policy and cause of loss; ordinary wear, roots, and gradual deterioration are often treated differently from sudden accidental damage.
Frequently Asked Questions
Can a sewer line be diagnosed without digging?
Yes. A camera inserted through a cleanout can inspect the pipe interior without excavation, and a sonde can mark a defect from the surface. Noninvasive testing cannot fully evaluate exterior soil support or every concealed leak, so excavation may still be required to confirm a belly, void, or responsibility boundary.
Is a sewer scope worth it before buying a house?
A sewer scope is particularly valuable before buying an older property, a home with mature trees, or a house showing slow drains or basement plumbing. The inspection commonly costs less than a major lateral repair and provides video evidence that can support a repair credit or a decision not to proceed.
How often should a sewer line be inspected?
Inspect a sewer line when symptoms recur, before purchasing a property with unknown lateral condition, and after a major repair. Commercial properties with heavy grease or high occupancy may need scheduled inspections based on blockage history, while a stable residential line does not automatically require an annual camera run.
Can tree roots enter a PVC sewer pipe?
Tree roots can enter PVC sewer systems through separated joints, damaged fittings, service connections, or cracks. Roots do not normally penetrate intact pipe walls. Root cutting restores flow temporarily, but recurring roots indicate a defect that should be located and repaired or rehabilitated.
Does a belly always require sewer replacement?
No. A short, shallow belly in an otherwise sound line may be monitored or managed if symptoms are absent, while a long belly that repeatedly retains solids usually needs correction. Camera footage alone may show standing water, but elevation and length determine whether regrading or replacement is justified.
What should a sewer inspection report contain?
A useful report contains the access point, pipe material and diameter, camera direction, total distance, endpoint, time-stamped video, defect descriptions, surface locations, approximate depths, and recommendations tied to specific findings. Reports should also identify sections obscured by water, roots, grease, or debris rather than calling them normal.
The Bottom Line
To diagnose sewer line problems accurately, begin with the fixture pattern, stop unsafe water use, inspect the main cleanout, clear the line when necessary, and obtain a full CCTV inspection to the municipal main or septic endpoint. Use sonde locating for excavation planning and add smoke, dye, or pressure testing only when the camera cannot explain the odor, leak, or hydraulic behavior. The correct repair follows the defect: clean an intact pipe, repair an isolated joint, rehabilitate a structurally continuous line, and excavate when collapse or slope failure has removed the pipe’s function.