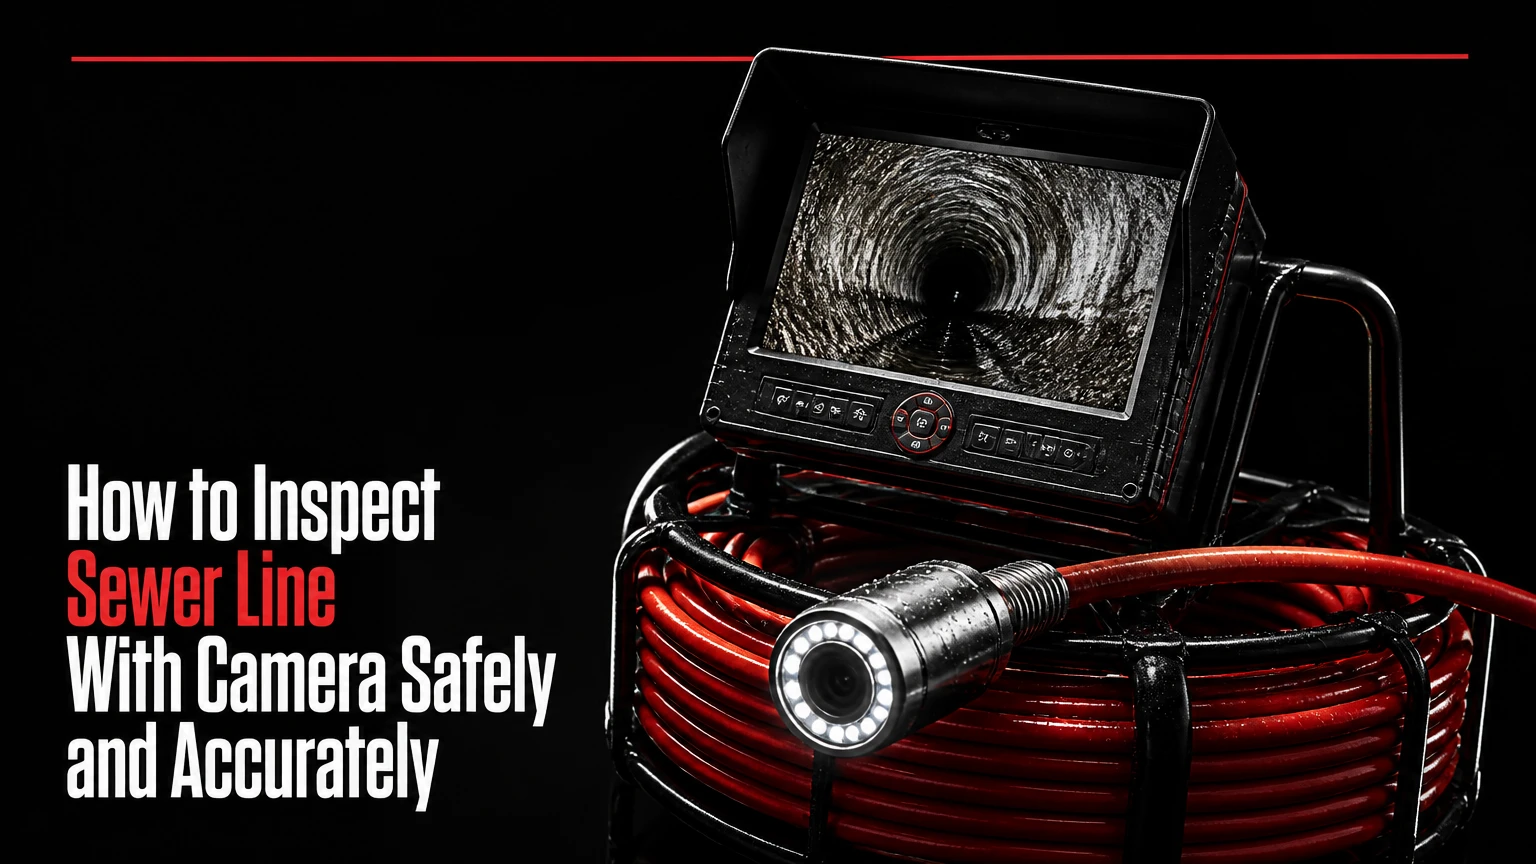
To inspect a sewer line with a camera, open an accessible cleanout, insert a waterproof push camera, advance it slowly while recording distance and pipe conditions, then locate and document defects above ground. A typical residential inspection takes 30-60 minutes, but success depends most on a clear line and correct camera access.
Key Facts
A residential sewer camera inspection usually costs $150-$450 when performed by a professional.
A 512 Hz sonde is common, but locator frequencies vary by camera system and are not universal.
A pipe camera can reveal roots, cracks, offsets, corrosion, scale, standing water, and lost pipe sections.
A surface locator reports approximate underground position and depth; it does not automatically provide GPS coordinates.
A blocked pipe may require cabling or hydro-jetting before the camera can produce useful footage.
A camera inspection identifies visible conditions, but it does not prove pipe flow capacity or confirm every hidden structural defect.
What a Sewer Camera Inspection Does
A sewer camera inspection uses a waterproof camera head attached to a flexible push cable or motorized crawler to view the inside of a wastewater pipe without excavation. The operator watches a monitor, records video, tracks cable distance, and may use a radio transmitter to mark a defect at the surface.
Residential inspectors generally use a self-leveling camera head on a push reel. Larger municipal or commercial pipes may require a tracked crawler that drives through a manhole. The camera does not clean the pipe, repair it, or guarantee that an intermittent blockage will not return.
The inspection begins at an access point and follows the pipe toward the building sewer, property line, or public main. The exact endpoint depends on access, pipe diameter, blockage location, camera reach, and local ownership boundaries.
How the Equipment Works
A sewer inspection camera combines four functions: illumination, image transmission, distance measurement, and optional underground locating. LED lights illuminate the pipe wall, while a sapphire or hardened glass lens protects the camera head from water and abrasion.
The push cable carries the video signal and supplies the stiffness needed to advance through a 3-inch or 4-inch residential line. A monitor displays live video and may record footage, add text labels, or show the cable distance.
Many professional camera heads contain a sonde, which is a small radio transmitter. A compatible locator can estimate the camera’s surface position and depth. The commonly used 512 Hz frequency works with many locating receivers, but systems also use 640 Hz, 33 kHz, or other frequencies, so the camera and receiver must be compatible.
Before You Start
Prepare the access point, safety equipment, recording system, and cleaning materials before opening the sewer line. Allow 15-30 minutes for setup, and do not begin until you know whether the cleanout is stable, accessible, and safe to open.
Tools and Prerequisites
| Item | Typical specification | Purpose |
|---|---|---|
| Push camera | 20-30 mm head, IP68, 100-200 ft cable | Views 3-6 inch residential lines |
| Locator | Compatible sonde receiver, 512 Hz or system-specific | Finds camera position and depth |
| Monitor | 7-10 inch screen, video recording | Documents conditions |
| Safety gear | Nitrile gloves, eye protection, washable boots | Reduces wastewater exposure |
| Cleaning supplies | Disinfectant, microfiber cloths, disposable towels | Cleans cable and lens |
| Access tools | Correct cleanout wrench, penetrating oil | Removes the cap safely |
| Water source | Nearby faucet or hose, low flow | Helps move light debris |
Do not open a cleanout inside a confined space, near exposed electrical equipment, or when sewage is under pressure. A cleanout cap can release wastewater suddenly. If the cap is damaged, seized, buried, or located in a traffic area, use a licensed plumber.
Identify the Correct Access Point
Look for an exterior cleanout near the foundation, a basement cleanout, or an accessible branch cleanout. A typical residential cleanout is 3 or 4 inches in diameter and may have a threaded PVC, ABS, cast-iron, or clay fitting.
Confirm the camera will travel in the intended direction. A cleanout may serve a branch, building drain, or downstream sewer, and inserting the camera into the wrong opening can produce misleading footage. Removing a toilet to gain access is a last-resort procedure that can damage the flange, wax seal, or flooring; a professional should usually perform it.
How to Inspect Sewer Line With Camera
The following eight steps provide a controlled residential inspection. Advance the camera slowly, record the entire run, and stop whenever resistance indicates a blockage or structural hazard.
Step 1: Test and Prepare the Camera
Connect the camera head, reel, monitor, power supply, and locator. Confirm that the lens is clean, the LEDs work, the video records correctly, and the distance counter is set to zero at the chosen entry point.
Run the camera briefly above ground before insertion. Inspect the push cable for cuts, exposed reinforcement, kinks, or contamination. A damaged cable can transmit water into the reel or cause the camera head to separate underground.
Success checkpoint: The monitor shows a sharp image, the distance counter changes when the cable moves, and the recording device stores a test clip.
Common mistake: Zeroing the counter several feet away from the cleanout makes every later defect location inaccurate.
Step 2: Establish a Safe, Clear Pipe
Run a small amount of clean water through a nearby fixture if the line is open and draining normally. Water can carry loose silt away from the lens, but it will not remove grease, roots, heavy scale, or a solid obstruction.
Do not force additional water into a backed-up system. Stop fixture use if wastewater rises, and arrange mechanical cabling or hydro-jetting before attempting a full inspection.
Success checkpoint: Water drains without rising at a fixture or cleanout, and the camera lens remains visible during the first several feet.
Common mistake: Inspecting a pipe full of sewage or grease and treating a black screen as proof that the camera has failed.
Step 3: Insert the Camera Head
Place the camera head into the cleanout without scraping it across the rim. Feed the push rod with both hands, maintaining steady pressure rather than jerking the reel or forcing the cable around a corner.
Keep the cable aligned with the pipe. Excessive bending at the cleanout can increase friction and make the cable harder to control. Residential push cameras commonly reach 65-200 feet, although multiple bends and pipe deposits can reduce practical reach.
Success checkpoint: The camera advances smoothly, the footage remains upright, and the distance counter increases consistently.
Common mistake: Holding the cable in a tight loop beside the cleanout, which creates torque and can damage the rod.
Step 4: Navigate Bends and Fittings
Advance through a bend using short, controlled pushes. A gentle rotation or slight withdrawal followed by a re-advance can help a flexible camera head align with a 45-degree or 90-degree fitting.
Never ram the camera into a hard stop. Resistance may indicate a collapsed pipe, root mass, offset joint, sharp transition, or solid blockage. Pushing harder can break the camera lens, separate the head, or wedge the cable permanently.
Success checkpoint: The image passes through the bend without prolonged distortion, and the camera continues in the expected direction.
Common mistake: Assuming every hard stop is a clog. A camera can be trapped by a broken or displaced pipe that requires excavation or specialized retrieval.
Step 5: Record the Entire Pipe Run
Record continuously from the entry point to the farthest safe point. Announce the direction, pipe material if known, distance, visible fittings, defects, and transitions while filming, or add notes through the monitor keyboard.
Pause at each lateral connection, joint, change in material, standing-water section, and obstruction. A short clip of a defect without the surrounding pipe can make severity and location difficult to judge.
Success checkpoint: The recording shows the beginning, progression, and endpoint of the inspection, with distance values visible or documented.
Common mistake: Recording only the area suspected of causing a backup. Unrelated defects often occur farther downstream.
Step 6: Inspect the Pipe Wall Systematically
Rotate a non-self-leveling camera slowly when necessary, and keep a self-leveling camera centered while observing the whole circumference. Look for defects in the pipe wall, joints, flow channel, and connections rather than focusing only on obvious cracks.
| Video finding | Typical appearance | Likely significance | Recommended next action |
|---|---|---|---|
| Root intrusion | Hairlike or dense roots at a joint | Recurring blockage and joint entry path | Root cutting, repair, or replacement |
| Offset joint | One pipe section shifted vertically or sideways | Flow restriction and soil movement | Locate, assess grade, obtain repair quote |
| Belly | Persistent water across a pipe segment | Solids may settle and cause backups | Reinspect after flow, verify grade |
| Cracked pipe | Linear fracture or missing wall section | Leakage, collapse risk, soil entry | Locate and obtain structural evaluation |
| Heavy scale | Rough mineral or corrosion buildup | Reduced diameter and snagging | Descaling, lining, or replacement review |
| Grease or sludge | Opaque coating and restricted view | Poor diagnostic visibility and blockage risk | Clean before final assessment |
| Defective connection | Open gap, protruding branch, or offset tee | Localized snag and leakage risk | Repair connection or excavate |
A belly is not defined by a single moment of water on the lens. The camera must be observed traveling through the section, and the operator should distinguish temporary retained water from a sustained low spot.
Step 7: Locate Important Defects Above Ground
Stop the camera at a significant defect and activate the sonde if the system includes one. Walk the locator over the ground, follow the strongest signal, and mark the point. Use the receiver’s depth function only after the signal has been centered and the locator is held according to its instructions.
Locator depth can be affected by soil, reinforced concrete, nearby utilities, pipe depth, and operator technique. Mark the result as approximate, not as a survey-grade excavation coordinate. Confirm utility locations through the applicable one-call service before digging.
Success checkpoint: The surface mark, displayed depth, video distance, and nearby fixed reference point agree within the equipment’s expected accuracy.
Common mistake: Treating the camera’s distance counter as a direct ground measurement. Cable bends, slack, and entry-point geometry can create several feet of difference.
Step 8: Retract, Clean, and Report
Pull the cable back slowly while continuing to record. Wipe the push cable with disinfectant as it exits, then clean the camera lens with a soft microfiber cloth and a manufacturer-approved cleaner.
Save the original video in at least two locations. Create a written report containing the access point, pipe direction, approximate length, material, diameter, observed defects, measurements, and limitations.
Success checkpoint: The camera head, cable, reel, monitor, and work area are disinfected, and the recording can be replayed from start to finish.
Common mistake: Deleting footage after verbally describing the defect. Video preserves evidence for contractors, insurers, buyers, and property owners.
How Do You Read Sewer Camera Video?
Sewer camera footage should be interpreted by combining appearance, location, movement, pipe material, and flow behavior. A dark line, a circular seam, or water on the lens alone does not prove a structural failure.
PVC lines commonly show molded joints and color changes that are not defects. Cast-iron lines can have widespread tuberculation, which is a rough corrosion buildup that reduces the opening without necessarily indicating immediate collapse. Clay pipes often have joint separations, root entry, and brittle fractures.
Structural Versus Maintenance Defects
Structural defects alter the pipe’s shape, continuity, or ability to retain surrounding soil. Cracks, holes, collapsed sections, severe offsets, and separated joints deserve a repair assessment.
Maintenance defects restrict flow but may not require replacement. Grease, roots, deposits, and minor scale can sometimes be addressed through cleaning or cutting. The correct remedy depends on recurrence, pipe material, access, and whether the defect lies on private or public infrastructure.
One practitioner rule is especially useful: a repair recommendation should identify the defect, its measured or estimated location, its consequence, and the evidence supporting the proposed remedy. “The line needs replacement” is not a sufficient inspection conclusion.
Which Camera Equipment Fits the Job?
A push camera is the correct choice for most single-family lateral lines, while a crawler is intended for larger pipes with manhole access and enough internal clearance. A cheap handheld borescope is useful for short indoor drains but usually lacks the cable stiffness, reach, and locating capability required for a sewer lateral.
| Equipment type | Pipe range | Typical reach | Typical cost | Best application |
|---|---|---|---|---|
| Handheld borescope | 1-2 inches | 10-30 ft | $50-$150 | Sink, appliance, short branch |
| Residential push camera | 2-6 inches | 65-200 ft | $300-$1,200 rental or purchase range | House sewer lateral |
| Commercial reel system | 3-12 inches | 200-400 ft | $2,500-$8,000 | Long private or commercial runs |
| Tracked crawler | 6-48+ inches | 500-1,200 ft | $40,000-$100,000+ | Municipal mainline inspection |
A self-leveling head makes footage easier to interpret. A built-in sonde makes defect locating possible. A distance counter and recording monitor matter more than a high pixel count when the inspection will guide excavation.
Push Camera Versus Crawler
| Decision factor | Push camera | Crawler camera |
|---|---|---|
| Minimum practical pipe size | 2-3 inches | 6-8 inches |
| Operator control | Manual cable force | Motorized wheels or tracks |
| Typical access | Cleanout or small opening | Manhole or large access point |
| Residential suitability | High | Low |
| Typical setup time | 10-20 minutes | 30-90 minutes |
| Main limitation | Cannot pass every bend or blockage | Requires large pipe and trained operation |
Commercial crawlers can travel farther and handle larger pipe diameters, but they do not solve every residential inspection problem. A crawler cannot enter a 4-inch house lateral, and a push camera cannot reliably inspect hundreds of feet of large municipal mainline.
What Does a Sewer Camera Inspection Cost and Take?
A professional residential sewer scope typically costs $150-$450 and takes 30-60 minutes when the cleanout is accessible and the line is open. Cleaning, locating, difficult access, emergency scheduling, long-distance travel, and formal reporting can raise the total.
| Service condition | Typical time | Typical added cost | Why it changes the job |
|---|---|---|---|
| Open cleanout, clear line | 30-60 min | $0-$100 | Standard inspection |
| Blocked line requiring cabling | 1-2 hr | $150-$500 | Camera needs a path |
| Hydro-jetting before inspection | 1-3 hr | $300-$1,000 | Removes grease and deposits |
| Defect locating and marking | 15-45 min | $50-$200 | Adds surface measurements |
| Buried or damaged cleanout | 1-3 hr | $100-$600 | Access must be exposed or repaired |
| Home purchase sewer scope | 45-90 min | $200-$600 | Includes documentation and buyer report |
These are typical North American ranges, not fixed prices. Request the video file, not only a verbal summary, and confirm whether the quoted service includes locating, footage, written findings, and tax.
Common Problems and How to Fix Them
The most common inspection failures are poor access, a dirty pipe, incorrect equipment, and excessive pushing. Recovery depends on whether the problem affects image quality, cable movement, or the pipe itself.
| Problem | Probable cause | Immediate response | Do not do this |
|---|---|---|---|
| Black screen | Disconnected cable, failed power, blocked lens | Check connectors, power, and lens above ground | Keep pushing blindly |
| Blurry image | Grease, condensation, scratched lens | Retract, clean, and retest | Use abrasive solvents |
| Camera stops | Blockage, offset, collapse, tight bend | Withdraw slightly and reassess | Ram the head forward |
| Distance seems wrong | Counter reset away from entry | Reset at cleanout and document offset | Treat footage as survey data |
| Water obscures view | Full pipe, belly, or lens immersion | Reduce flow or clean the line | Diagnose structure from one frame |
| Cable will not retract | Wedge, kink, or severe obstruction | Stop, rotate gently, seek professional retrieval | Pull with a vehicle or winch |
A camera that loses signal underground should be pulled back before troubleshooting connectors. Moisture in a connector can cause intermittent video or permanent equipment damage. If the camera head is stuck, professional retrieval is usually cheaper than replacing a damaged sewer camera and excavating without reliable location data.
When Should You Hire a Professional?
Hire a professional when the line is blocked, the access point is unsafe, the inspection affects a real-estate transaction, or the footage will determine excavation or replacement. Professional value comes from interpretation and location accuracy, not merely from owning a camera.
A homeowner can reasonably rent a push camera for a clear, accessible line with a straightforward symptom, such as a recurring backup near a known cleanout. A professional is preferable for older clay, Orangeburg, cast-iron, or heavily scaled pipe because brittle and irregular interiors can trap a camera.
Home buyers should request inspection footage from the building drain toward the municipal connection when possible. The municipal connection may be outside the property owner’s responsibility, but its condition and location can affect the buyer’s future repair exposure.
Property managers should use consistent access points, naming conventions, and defect categories across repeated inspections. Comparing the same segment over time is more useful than collecting unrelated videos.
How Often Should You Inspect a Sewer Line?
Inspect a sewer line when symptoms recur, before purchasing an older property, after a major ground movement event, or before replacing a sewer lateral. Routine intervals of 24-36 months can be reasonable for older properties with known roots or corrosion, but a fixed schedule is unnecessary for every new PVC installation.
Inspect sooner when the property has mature trees near the lateral, repeated backups, slow drainage across multiple fixtures, unexplained sewage odors, foundation work, or a history of pipe repair. A camera inspection after cleaning provides better evidence than footage taken through heavy grease or root debris.
An inspection is not a substitute for a flow test. The camera may pass through a pipe that still has inadequate slope, recurring solids accumulation, or a downstream restriction that only appears under high discharge.
What Should the Final Report Include?
A useful sewer camera report identifies the inspection route, defect position, pipe characteristics, recording limitations, and recommended next action. The report should let another contractor find the same defect without relying on the original operator’s memory.
Include:
- Property address and inspection date.
- Access point and direction of travel.
- Pipe diameter and material, if identifiable.
- Total distance inspected and endpoint.
- Video file with visible distance counter.
- Defect descriptions with approximate footage.
- Surface marks and estimated depth for major defects.
- Whether cleaning, flow testing, or excavation is recommended.
- Whether the public connection was actually inspected.
- Areas hidden by standing water, sludge, obstruction, or limited reach.
A strong report separates observed facts from recommendations. “Roots enter at a joint around 42 feet from the east cleanout” is an observation. “Replace the entire lateral” is a recommendation requiring additional reasoning.
Frequently Asked Questions
Can a sewer camera inspect a pipe full of water?
A sewer camera can operate underwater because the camera head is waterproof, but a full or dirty pipe may prevent reliable diagnosis. Flowing water can obscure cracks, joints, and the pipe crown. If the line is blocked, a plumber usually clears it first, then performs a second inspection under improved viewing conditions.
Can a sewer camera find a leak?
A camera can reveal visible holes, separated joints, cracks, and displaced connections that may permit leakage. A camera cannot detect every leak, especially a small fracture hidden beneath deposits or a defect outside the camera’s field of view. Dye testing, pressure testing, or excavation may be needed for confirmation.
How far can a residential sewer camera travel?
A typical residential push camera can reach approximately 65-200 feet, although practical distance depends on pipe diameter, bends, slope, deposits, and cable stiffness. A camera distance counter measures deployed cable, not necessarily straight-line ground distance. Long or complex laterals may require access from both ends.
Is a sewer camera inspection safe for old clay pipe?
A sewer camera can inspect old clay pipe, but the operator must use controlled pressure because displaced joints, brittle sections, and root intrusions can trap or damage the camera. Do not force the head through a suspected collapse. A professional should handle fragile pipe, especially when excavation decisions depend on the footage.
Does a camera inspection prove that a sewer line needs replacement?
A camera inspection alone does not prove that full replacement is necessary. Replacement becomes more defensible when footage shows collapse, repeated severe offsets, widespread fractures, major leakage, or defects across much of the run. Localized roots, grease, or minor scale may support cleaning or spot repair instead.
Should you camera-scope a sewer line before buying a house?
A sewer scope is advisable before buying a property with older, unknown, or tree-affected sewer infrastructure. The inspection can identify repair exposure that a standard home inspection may not see. Request the complete recording, defect locations, pipe endpoint, and clarification about whether the municipal connection was included.
The Bottom Line
To inspect a sewer line with a camera, use a compatible waterproof push system, start at a confirmed cleanout, record the full run, advance without force, and document each defect by camera distance and surface location. Clear heavily blocked lines first, treat sonde depth as approximate, and hire a professional when access, pipe fragility, or repair stakes exceed basic DIY work.