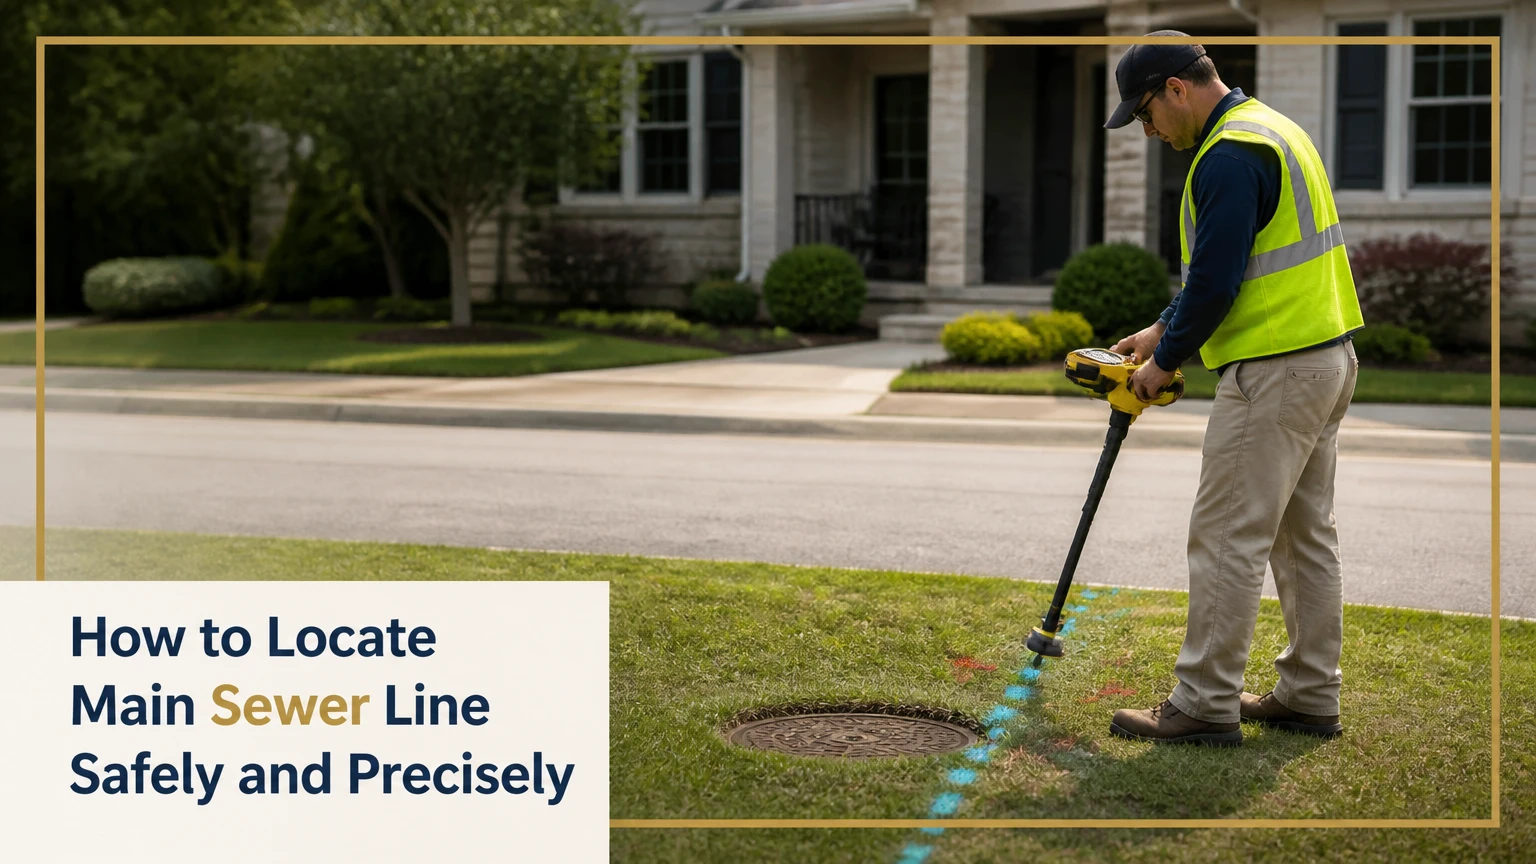
To locate the main sewer line, trace the largest interior drain or main stack to the building exit, identify an exterior cleanout, and follow the line toward the municipal connection or septic tank. Confirm the route and depth with a sonde-equipped camera or private utility locator before excavation, especially near old or fragile pipe.
Key Facts at a Glance
- A residential sewer lateral usually carries wastewater from the building to a municipal sewer tap or private septic tank.
- The largest drain typically leaves the house near the lowest plumbing level, but the visible vent stack is only a route clue.
- U.S. 811 generally marks public utilities and does not reliably locate a privately owned sewer lateral across a yard.
- Typical residential sewer pipe is 3 or 4 inches inside the property, with depth often ranging from 18 inches to several feet.
- A sonde-equipped camera can show the pipe route, approximate depth, blockages, and structural defects during one inspection.
- Do not excavate based only on a lawn pattern, plumbing stack, probe impact, or assumed straight line.
What Is the Main Sewer Line?
The main sewer line is the property’s primary wastewater drain, often called the building drain, house drain, building sewer, or private sewer lateral. Inside the home, branch drains from toilets, sinks, showers, tubs, and laundry connect to a larger drain; outside, the private lateral runs to a public sewer tap or septic tank.
Residential drainage normally relies on gravity. Pipe grade, fitting layout, foundation geometry, and the elevation of the municipal connection determine the route. A commonly used design slope for 3- and 4-inch horizontal drainage pipe is about 1/4 inch per foot, although actual requirements depend on local plumbing codes, pipe size, and installation conditions.
The public sewer main is different from the private lateral. The public main is usually beneath a street, alley, or easement, while the lateral connects the property to that main. Responsibility for the lateral varies by municipality, ownership documents, and the location of the maintenance boundary.
Which pipe are you trying to locate?
| Pipe or feature | Typical location | Typical size | Function |
|---|---|---|---|
| Branch drain | Beneath rooms or fixtures | 1.5-3 inches | Carries discharge from one fixture group |
| Building drain | Beneath the lowest floor | 3-4 inches | Collects multiple branch drains |
| Private sewer lateral | Yard, driveway, or side passage | 4 inches typical | Connects building drain to public tap |
| Public sewer main | Street or recorded easement | 6-12 inches or larger | Collects flows from multiple properties |
| Septic building sewer | Yard between house and tank | 4 inches typical | Carries wastewater to a septic tank |
A vent stack can identify the general drainage zone, but it is not proof that the buried pipe follows a perfectly vertical path. Cast-iron fittings, offset foundations, remodeled bathrooms, and municipal tap locations can move the actual line several feet from the apparent stack position.
Where Should You Look First?
Start at the lowest plumbing level and find the largest drain or cleanout, then inspect the foundation wall closest to that pipe. The first exterior cleanout is commonly near the building, but some homes have a cleanout in the basement, crawlspace, side yard, driveway, or public right-of-way.
Use property records before touching the ground. A permit drawing, drainage plan, plumbing “as-built” sketch, seller disclosure, septic record, or previous inspection report may show the route more accurately than visual assumptions.
Step 1: Find the largest interior drain
Enter the basement, crawlspace, utility room, or mechanical room. Look for a 3- or 4-inch pipe that runs horizontally into a floor slab, passes through a foundation wall, or connects to a prominent vertical stack.
You will know the clue is useful when: flushing a toilet or running a nearby fixture produces flow in that pipe without another branch receiving the discharge.
Common mistake: treating the roof vent as the buried line’s exact position. The vent identifies a drainage stack, but the building drain may turn below the floor.
Step 2: Search for a cleanout
Inspect the floor near the main drain and the ground outside the likely exit wall. Search within approximately 5-10 feet of the foundation first, then expand toward the street or septic tank.
A cleanout may appear as a threaded plastic cap, brass plug, cast-iron cover, capped vertical pipe, or small access box. Landscaping, mulch, gravel, paving, and later additions can bury or cover it.
You will know the cleanout is relevant when: its diameter resembles the main drain and opening it reveals a full-size sewer passage rather than a small drain or irrigation fitting.
Common mistake: forcing a seized cap. Corroded metal cleanouts can break at the fitting or release wastewater under pressure. A plumber can expose and remove a damaged cap without fracturing the surrounding pipe.
Step 3: Establish the likely route
Draw a preliminary line from the building drain or exterior cleanout toward the street sewer tap, alley, recorded easement, or septic tank. Use the lowest practical route, but do not assume the shortest route is correct.
Municipal tap locations, retaining walls, mature trees, outbuildings, property boundaries, and changes in grade can create offsets. A lateral may cross a side yard before reaching a street connection rather than heading straight toward the nearest curb.
You will know the preliminary route is plausible when: it aligns with the building drain, follows downhill drainage, and points toward a documented connection or septic tank location.
Common mistake: confusing a cleanout with a storm drain. Sanitary cleanouts usually have a capped vertical access point, while storm systems commonly use grates, catch basins, or downspout connections.
Step 4: Call 811 before disturbing soil
In the United States, call 811 or submit a request through the state’s 811 website before digging. The U.S. 811 service uses the instruction “Call 811 before you dig,” and the request typically coordinates marks for participating public utilities.
811 is a safety requirement and a public-utility locating service, not a complete private sewer mapping service. The ticket may identify electric, gas, communications, water, and public sewer infrastructure near the property, but private sewer laterals are often excluded unless the utility owns or maintains them.
You will know the ticket is complete when: the utility responses are recorded and the marks are visible, or the ticket identifies a facility that could not be marked.
Common mistake: interpreting an “all clear” response as proof that no private pipe exists. Keep excavation outside the marked tolerance zone until private lines are located and exposed safely.
Step 5: Confirm with non-destructive locating
The safest precise method is to insert a sonde, camera transmitter, or compatible locating rod through an accessible cleanout, then track its signal from the surface. A receiver identifies the transmitter’s horizontal position and often estimates depth.
A basic soil probe can provide a rough route on shallow, modern piping, but probing is not a dependable depth survey. A forced rod can puncture brittle clay, Orangeburg fiber pipe, transite, or severely deteriorated cast iron. Avoid probing when the planned work is near a suspected line or when the pipe’s material and condition are unknown.
You will know the route is confirmed when: the signal follows a continuous path between known access points and the locator records depth at direction changes, not merely one surface point.
Common mistake: assuming every signal peak marks the pipe center. Signal distortion from conductive soil, reinforcing steel, fences, wire, and nearby utilities can move the apparent position.
Step 6: Mark the route and record depth
Mark the confirmed centerline with temporary utility paint, flags, or measured offsets from fixed property features. Record depth at the cleanout, each bend, the foundation crossing, and the planned excavation zone.
Keep the locating report, photographs, date, equipment type, and utility ticket number with the property records. Paint fades, landscaping changes, and future contractors may otherwise lose the route information.
You will know the work is documented when: another person can reproduce the route and depth using fixed references without relying on a hand-drawn line from memory.
Common mistake: marking only the endpoints. Excavation damage often occurs at an unmarked bend, shallow section, or diagonal crossing between two apparently aligned points.
How Deep Is a Residential Sewer Line?
A residential sewer lateral may be about 18-36 inches deep near a house, but the line can be several feet deeper at the street, easement, or septic connection. Frost depth, foundation elevation, terrain, municipal tap elevation, pipe slope, and previous grading determine the actual burial depth.
The following figures are typical field ranges, not design guarantees. Cold-climate lines may be deeper than the frost line, while older shallow installations can sit above current preferred depths. A professional locator’s depth reading is an estimate, and excavation still requires careful hand exposure near the marked line.
| Location or condition | Typical depth range | Main reason for variation |
|---|---|---|
| Near a crawlspace foundation | 18-36 inches | Short building exit and shallow grade |
| Near a slab foundation | 12-36 inches outside | Interior drain may be below the slab |
| Mid-yard lateral | 24-60 inches | Pipe slope and site elevation |
| Cold-climate street connection | 4-8 feet or more | Frost protection and public tap depth |
| Septic tank approach | 12-36 inches typical | Tank elevation and local installation |
| Older altered property | 18 inches to 6 feet | Unrecorded additions and regrading |
A pipe’s depth should increase gradually in the direction of flow when gravity drainage is working as designed. An abrupt depth change can indicate a fitting, a steep grade, a prior repair, a collapsed section, or an inaccurate locator reading.
Which Locating Method Is Most Accurate?
A CCTV camera with a built-in sonde usually provides the most useful combination of route, depth, access, and pipe-condition information. A sonde-only rod or fish tape can locate a clear pipe at lower cost, while visual tracing and 811 marks are better treated as starting information than final confirmation.
| Method | Typical cost | Typical time | Accuracy and best use |
|---|---|---|---|
| Records and visual tracing | $0-$50 | 15-60 minutes | Preliminary route near known plumbing |
| 811 public utility ticket | $0 | 2-5 business days typical | Public utility safety marks |
| Soil probe | $20-$40 tool cost | 1-2 hours | Rough route in shallow, accessible soil |
| Sonde and push rod rental | $50-$150 | 1-3 hours | Route tracing through an open cleanout |
| Private utility locator | $150-$400 typical | 30-90 minutes | Excavation planning and depth marks |
| CCTV camera with sonde | $150-$500 typical | 30-90 minutes | Route, depth, blockage, and pipe condition |
A standard metal detector cannot reliably find PVC, ABS, clay, concrete, or Orangeburg sewer pipe because those materials are not strongly conductive. A conductive tracer wire, metal cable, sonde, or camera transmitter is needed to create a trackable signal.
What can CCTV reveal that a locator cannot?
A camera can identify root intrusion, grease accumulation, offset joints, cracks, holes, belly sections, collapsed pipe, and abandoned connections. The sonde can locate the camera head at a selected point, allowing the operator to mark the defect’s surface position and approximate depth.
CCTV does not automatically prove property ownership, municipal responsibility, or exact boundary location. It also cannot pass a severe blockage, collapsed section, tight bend, or undersized cleanout without access work. A camera inspection that stops 20 feet into the lateral is incomplete, not a full-line assessment.
Can You Locate the Line Under Concrete?
A sewer line under a slab, driveway, or patio can often be located without opening the surface by feeding a sonde-equipped rod or camera through a cleanout. If no access point exists, a plumber may need to expose an indoor drain, remove a toilet, or create a controlled access opening.
Slab homes require extra caution because the main drain may run beneath the foundation before leaving through a wall. A plumbing plan can show the intended route, but remodeling may have relocated fixtures or added an unrecorded branch.
For concrete excavation, use a private locator and confirm both route and depth. Marking two endpoints is insufficient because the lateral may cross the slab diagonally or change direction beneath the foundation.
What Changes for a Septic System?
A septic property has a private sewer pipe between the house and septic tank, followed by an outlet system leading to a drainfield. Locate the tank first through septic records, riser covers, access ports, a licensed septic professional, or a measured probe only where local practice permits.
The house-to-tank pipe usually follows a downhill route, but the tank may be offset to preserve setbacks, avoid wells, accommodate soil conditions, or fit the drainfield design. The pipe does not necessarily point toward the driveway or the nearest road.
Do not open a septic tank casually. Toxic gases, unstable lids, and unsafe confined-space conditions make tank access a professional task. A septic contractor can locate the tank, inlet, outlet, distribution box, and drainfield while reducing the risk of structural or health hazards.
How Much Does Sewer Line Locating Cost?
Sewer locating costs approximately $0 for an 811 request, $50-$150 for a rented sonde system, $150-$400 for a private locator, and $150-$500 for a CCTV camera inspection with sonde tracking. Emergency access, long laterals, buried cleanouts, multiple structures, and difficult terrain can increase the price.
A sewer scope may cost less than a full private utility locate, but the services are not identical. The scope emphasizes pipe condition and may include surface marking; a utility locator emphasizes underground route and depth across a work area.
| Service | Typical price | Typical duration | Includes |
|---|---|---|---|
| 811 request | $0 | 2-5 business days | Public utility responses |
| Cleanout exposure | $100-$400 | 1-3 hours | Digging to find a buried access cap |
| Private sewer locate | $150-$400 | 30-90 minutes | Route and depth marks |
| Camera sewer scope | $150-$500 | 30-90 minutes | Interior video and condition findings |
| Difficult access or emergency visit | $300-$800+ | 1-3 hours | Specialized access or urgent dispatch |
These are typical U.S. homeowner ranges, not fixed national prices. Ask whether the quote includes cleanout access, sonde tracking, depth readings, video, written findings, surface marking, and travel fees.
When Should You Hire a Professional?
Hire a professional before excavation when the line is under concrete, the property contains old or undocumented piping, the route is near gas or electric utilities, or a damaged sewer could create substantial repair costs. A camera-and-sonde locate is also appropriate for a home purchase, pool installation, addition, retaining wall, or major tree removal.
A professional is particularly valuable when the house has Orangeburg pipe, vitrified clay, transite, deteriorated cast iron, or repeated sewer backups. These materials can be damaged by probing, and a route without a condition assessment may lead to a second excavation later.
Which option fits your situation?
| Situation | Minimum sensible approach | Preferred confirmation |
|---|---|---|
| Planting a shallow garden | Records, 811, private marks if digging | Hand excavation near marks |
| Installing a fence | 811 plus private sewer locate | Depth marks at every post zone |
| Building a pool or addition | Utility ticket and engineering review | CCTV sonde plus private locator |
| Buying a home | Sewer scope through the lateral | Video, defect marks, written report |
| Active backup | Stop water use and call a plumber | Camera after flow is controlled |
| Unknown septic layout | Septic records and contractor | Tank, line, and field location |
Common Mistakes and How to Fix Them
Assuming the line takes a straight route
Failure: A homeowner draws a direct line from the house to the nearest curb and excavates there.
Why it fails: The lateral may target a municipal tap farther along the street or avoid a foundation, tree, or retaining wall.
Recovery: Use a sonde or camera to trace every bend, then mark intermediate points.
Using a metal detector on plastic pipe
Failure: The detector produces no response, so the homeowner assumes the sewer is absent.
Why it fails: PVC and ABS do not provide the conductive target a conventional detector needs.
Recovery: Access the pipe with a sonde, tracer rod, or camera transmitter.
Forcing a probe into unknown pipe
Failure: A steel rod is driven repeatedly until it hits resistance.
Why it fails: Brittle clay, Orangeburg, or damaged pipe can be punctured, turning a locate into a leak.
Recovery: Stop probing, use signal tracing, and arrange a condition inspection if the pipe is old.
Treating green grass as proof
Failure: A greener strip is excavated as the sewer route.
Why it fails: Irrigation, fertilizer, drainage, soil type, or a water leak can create the same pattern.
Recovery: Use vegetation only as a clue and confirm with a cleanout-based locate.
Confusing sanitary and storm systems
Failure: A yard grate is followed toward the street.
Why it fails: Catch basins and downspouts commonly connect to stormwater piping, not the sanitary lateral.
Recovery: Trace fixtures and capped cleanouts, then compare the route with drainage plans.
Opening a cleanout during an active backup
Failure: A cap is removed while the building drain is full.
Why it fails: Stored wastewater can discharge suddenly from the opening.
Recovery: Stop using fixtures, protect the area, and let a plumber relieve pressure and inspect the line.
Expert Rules That Prevent Expensive Errors
A cleanout is an access point, not necessarily the property line’s main route. Some cleanouts serve a branch, a downstream section, or a prior repair. Confirm flow direction with a camera or controlled fixture test.
Depth readings require context. A locator may report the sonde’s depth, but signal distortion, sloped terrain, and the receiver’s angle affect the result. Record several readings and expose the line by hand near the planned excavation.
The municipal tap matters more than the nearest curb. Public mains can run in streets at irregular alignments, and individual laterals often connect at designated tap points rather than at the property’s geometric midpoint.
How Do You Test a Suspected Route?
Run a controlled fixture test only when the sewer is functioning and no overflow exists. One person flushes a toilet or runs a measured amount of water while another listens near the suspected path, but sound is useful only as a rough clue because soil, depth, insulation, and traffic mask flow noise.
A backup pattern can also identify the system’s low point. If wastewater rises in a basement floor drain when a washing machine discharges, the obstruction is often downstream of that drain, although the observation does not reveal the exact underground route.
A greener lawn strip may indicate leakage, but it can also indicate irrigation or compacted soil differences. Treat all behavioral clues as hypotheses that require physical confirmation.
FAQ
How do I find the sewer cleanout in my yard?
Search near the foundation, especially outside the wall nearest the basement or crawlspace main drain. Look for a capped 3- or 4-inch pipe, brass plug, small access box, or covered vertical fitting. Check permit plans and areas hidden by mulch, paving, shrubs, and later landscaping before expanding the search.
Can I locate a sewer line without digging?
Yes. A camera or push rod fitted with an electromagnetic sonde can be tracked from the surface through an accessible cleanout. Records and plumbing layout can suggest the route, but non-destructive signal tracing provides much stronger confirmation than a vent-stack alignment or soil probe alone.
How far from the house is the main sewer line?
The private lateral may leave the building immediately and continue 20-100 feet or more to the street, alley, easement, or septic tank. Lot size, municipal tap location, foundation placement, and local topography determine the distance. Measure from a confirmed access point rather than estimating from the curb.
Will a sewer camera locate a blocked pipe?
A camera can locate the pipe and identify the blockage if the camera can reach it. Severe grease, roots, collapse, or an offset joint may stop the camera before the defect. In that case, a plumber may clear the obstruction first and repeat the inspection.
Do sewer lines run under driveways?
Sewer laterals commonly cross driveways when the house drain and street connection are on opposite sides of the property. The route should be confirmed before driveway replacement because a shallow or damaged lateral can be difficult to repair beneath concrete or asphalt.
Does homeowners insurance cover sewer-line locating?
Insurance policies commonly cover sudden damage only when the policy includes the relevant service-line or sewer-backup coverage, and they generally do not pay for routine locating. Coverage varies by insurer, cause of loss, exclusions, deductible, and whether the pipe is privately owned. Review the policy before assuming reimbursement.
The Bottom Line
To locate the main sewer line, begin with the largest low-level drain, find or expose a cleanout, call 811, and draw a preliminary route toward the public tap or septic tank. Use a sonde-equipped camera or private locator for dependable route and depth marks. For excavation, old pipe, slab foundations, active backups, and property purchases, professional confirmation is usually cheaper than repairing a damaged or misplaced sewer lateral. A careful how to locate main sewer line process treats visual clues as preliminary evidence and signal-traced measurements as the final planning record.