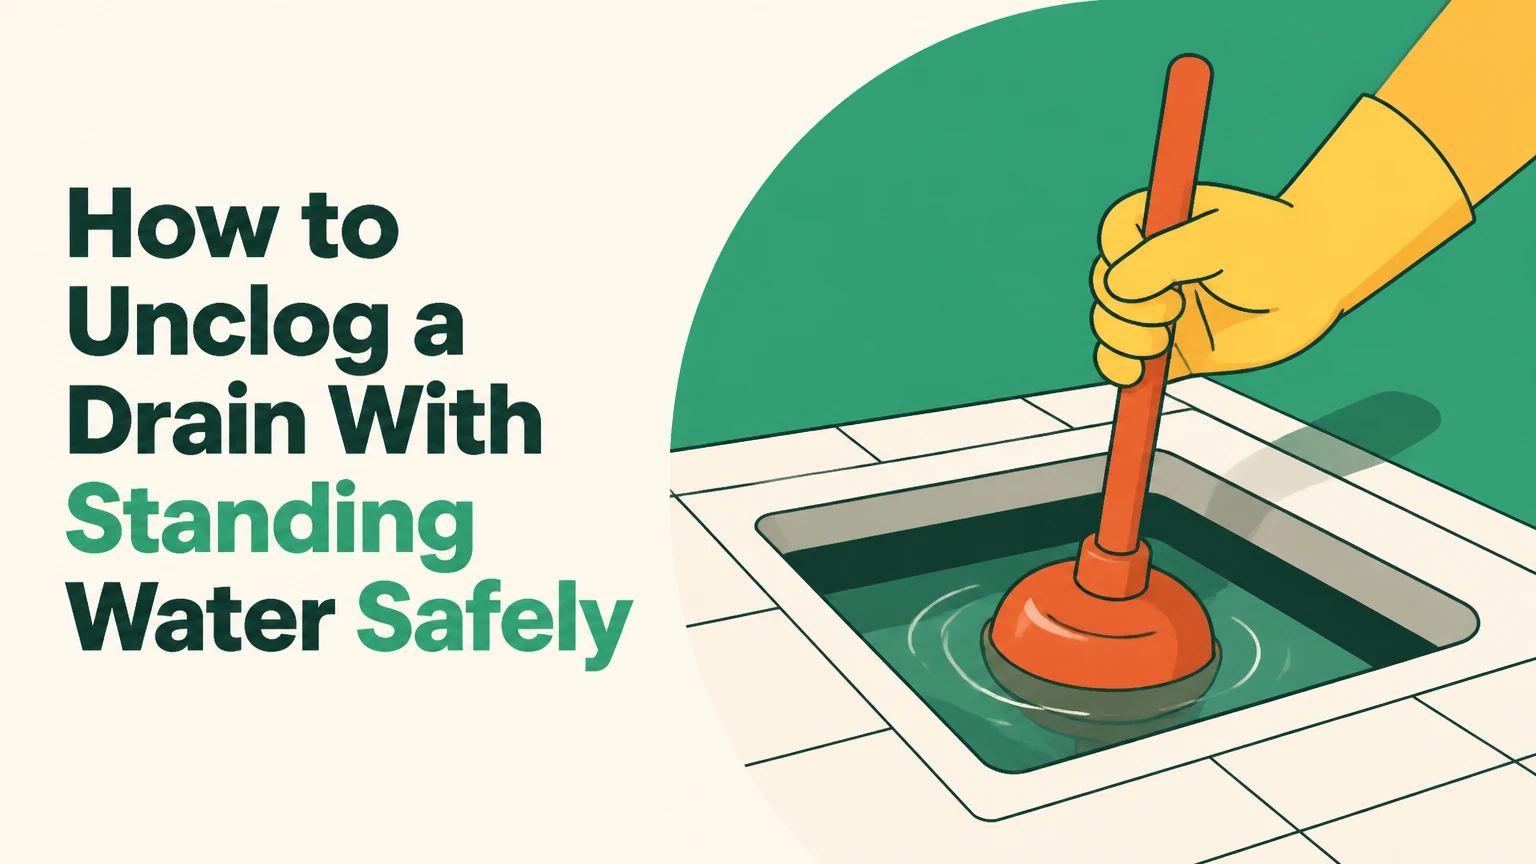
To unclog a drain with standing water, remove most backed-up water, clear the stopper or grate, seal the overflow, and plunge with a tight seal. If plunging fails after two or three attempts, use a manual drain auger through the drain or a removed P-trap. The process usually takes 15-45 minutes.
Key Facts at a Glance
- Standing water usually means a complete or near-complete blockage in the fixture trap or nearby branch pipe.
- Leave about 1-2 inches of water above a sink drain when plunging, because that depth transmits pressure without causing excessive splashing.
- A flat cup plunger fits sinks, tubs, and showers; a toilet flange plunger fits toilet outlets and usually seals poorly on flat fixtures.
- Never mix chemical drain cleaner with bleach, ammonia, vinegar, another cleaner, or a drain snake.
- A 15-25-foot manual auger handles many residential branch clogs, while repeated backups across fixtures can indicate a main-line problem.
- Typical DIY clearing costs $10-$50 for a plunger or hand auger; professional service commonly costs $150-$450, depending on access and clog location.
What Standing Water Means
A drain with standing water has stopped moving wastewater through the fixture, usually because hair, grease, soap residue, food particles, mineral scale, or an object has narrowed the pipe to nearly zero flow. The water level identifies the immediate problem, but it does not prove the obstruction is inside the visible drain opening.
A sink clog often sits in the stopper, tailpiece, or P-trap. A bathtub or shower blockage commonly collects at the strainer and first bend. When water backs up into multiple fixtures, the obstruction is more likely in a shared branch line or building drain.
How the Blockage Works
Household drains rely on gravity, a continuous pipe slope, and an open air path to move water through the P-trap and into the branch line. A buildup restricts the passage, and a total blockage leaves wastewater trapped between the fixture and the obstruction.
Standing water also creates a hydraulic barrier. Liquid drain products may be diluted before reaching the blockage, while baking soda and vinegar cannot generate enough sustained force to move a dense hair mat, object, or compacted grease plug. Mechanical action is therefore the safest first response.
Before You Start
Prepare the work area before touching the backed-up water. Sewage-contaminated water requires extra protection, and water mixed with a caustic cleaner requires chemical-resistant gloves, eye protection, ventilation, and a different decision path.
| Item | Typical quantity or specification | Purpose |
|---|---|---|
| Flat cup plunger | 1, 4-6 inch cup | Seals sink, tub, or shower drains |
| Manual hand auger | 1, 15-25 feet, 1/4-inch cable | Reaches common branch-line clogs |
| Bucket and cup | 1 each, 2-5 gallon bucket | Removes standing water |
| Rubber gloves and eye protection | 1 pair each | Protects against contaminated water and splashes |
| Adjustable pliers | 1 pair, 8-12 inches | Removes slip-joint P-trap nuts |
| Towels or plastic sheet | 2-4 towels | Protects cabinets and flooring |
Set a bucket beneath a sink before loosening any trap connection. Turn off a garbage disposal at the wall switch and circuit breaker before investigating that fixture. Do not use a wet/dry vacuum unless the machine is rated for liquid pickup and its filter configuration matches the manufacturer’s instructions.
Step 1: Remove Most of the Standing Water
Scoop the water into a bucket until only 1-2 inches remain above the drain opening. Use a wet/dry vacuum only for liquid pickup, and never use a standard household vacuum because water can reach energized components.
Work slowly to reduce splashes. If the water smells strongly of sewage, contains visible waste, or backs up from several fixtures, stop treating it as an ordinary sink clog and contact a plumber or building manager.
You will know this step worked when the drain opening is visible and the remaining water covers the plunger cup without flooding the fixture rim. The common mistake is leaving a full basin in place, which turns each plunger stroke into a splash rather than controlled pressure.
Dispose of contaminated water according to local wastewater rules. Do not pour chemically treated water into another household drain.
Step 2: Remove the Stopper, Strainer, or Grate
Remove the sink pop-up stopper, bathtub stopper, shower grate, or hair screen. A sink pop-up usually disconnects from the lift rod below the basin, while a shower grate may lift out or require a screwdriver.
Clean visible hair and debris from the stopper before testing the drain. A small obstruction at the stopper can cause a complete backup even when the pipe below remains clear.
Inspect the opening with a flashlight. Pull out reachable material with needle-nose pliers, a plastic drain zip tool, or a hooked plastic cleaning strip. Avoid pushing debris farther into the trap.
You will know this step worked when the opening is unobstructed and the stopper no longer traps hair. The common mistake is forcing a decorative grate or threaded stopper, which can damage a fitting or scratch the fixture.
Step 3: Seal the Overflow and Secondary Openings
Cover the overflow opening with a damp folded cloth held firmly against the surface. On a bathtub, the overflow is usually beneath the faucet; on a bathroom sink, it may be a slot near the upper basin wall.
Seal the second bowl of a double-basin sink with a drain plug or a wet cloth. Without that seal, plunging one basin pushes water and air into the other basin instead of toward the blockage.
A dishwasher hose or garbage-disposal connection can also affect pressure in a kitchen sink system. Do not disconnect those hoses for routine plunging, but inspect for obvious kinks or leaks after the blockage clears.
You will know this step worked when the overflow and adjacent opening remain dry during a gentle test stroke. The common mistake is using a loose cloth that leaks air around its edges.
Step 4: Plunge the Drain
Place a flat cup plunger directly over the drain so the rubber cup sits fully underwater. Push down gently once to expel trapped air, then make 15-20 compact, forceful strokes without lifting the cup from the surface.
The plunger must move water, not air. Keep the handle vertical, maintain the seal, and use a steady rhythm for about 20 seconds before lifting the cup to check the water level.
For a bathroom sink, a small cup plunger often fits better than a large kitchen model. For a tub or shower, press the cup firmly against the flat drain surface. Do not use a toilet flange plunger when the extended rubber flange prevents a flat seal.
You will know it worked when the water level drops quickly, the pipe makes a hollow gurgling sound, or water drains continuously after the cup lifts. The common mistake is pumping with insufficient water or lifting the plunger completely on every upstroke.
Repeat two or three cycles. If the water level does not change at all, stop plunging and move to a drain auger. Excessive force can loosen a slip-joint connection or stress a brittle, corroded trap.
Step 5: Feed a Manual Drain Auger
Insert a 1/4-inch manual auger into the open drain, then rotate the handle clockwise while applying light forward pressure. A 15-foot cable reaches many sink and tub clogs; a 25-foot model offers more reach for a nearby branch line.
When the cable meets resistance, rotate rather than ram it. The auger may pierce a soft blockage, hook hair, or break up accumulated residue. Withdraw the cable every few inches after resistance changes, and wipe the retrieved material into a disposable container.
For a sink, access through the removed stopper is appropriate for a short reach. If the cable repeatedly stops at the trap, place a bucket under the P-trap, loosen the slip-joint nuts carefully, and clean the trap separately. Do not remove a glued trap without cutting and properly rebuilding the connection.
You will know it worked when the cable advances farther, retrieves debris, or the standing water begins to drain. The common mistake is forcing the auger around a tight elbow, which can kink the cable, damage a thin metal trap, or push an object deeper.
If the cable becomes stuck, stop turning forward. Rotate it slowly counterclockwise while pulling with gentle, steady pressure. A cable that will not release may be caught on a damaged pipe, a fixed fitting, or a large object that needs professional extraction.
Step 6: Flush and Test the Drain
Run warm tap water for 2-3 minutes after the blockage breaks, beginning with a thin stream and increasing flow gradually. Warm water helps carry loosened soap and grease, but it does not repair a collapsed pipe or remove tree roots.
Avoid pouring a kettle of boiling water into a cold porcelain, ceramic, acrylic, or composite fixture. Thermal shock can damage some fixtures, and boiling water can soften certain plastic components or fittings. Warm tap water is the safer general flush.
Check the P-trap, slip joints, supply connections, cabinet floor, and ceiling below for leaks. Run the faucet for 30 seconds, pause for 30 seconds, and repeat twice to test both flow and connection stability.
You will know the repair is complete when the basin empties at full faucet flow without bubbling, rising, or leaving a slow residual pool. The common mistake is testing only with a cup of water, which may not reveal a partial blockage or a loose trap connection.
Which Method Works Best for Standing Water?
Mechanical removal is the best first method for a drain full of water because plunging and snaking apply force directly to the obstruction without introducing corrosive chemicals. The correct choice depends on the clog’s location, the fixture’s shape, whether cleaner was already added, and whether several fixtures are affected.
| Method | Best use case | Typical reach or duration | Main limitation |
|---|---|---|---|
| Flat cup plunger | Surface hair, soap, light food residue | 15-20 strokes, 2-3 cycles | Cannot reliably reach deep branch clogs |
| Manual hand auger | Dense hair, soft objects, deeper buildup | 15-25 feet, 10-25 minutes | Cable can kink or catch in damaged pipe |
| P-trap removal | Debris trapped directly under a sink | 15-30 minutes | Requires access, bucket, and leak testing |
| Enzyme drain treatment | Maintenance after normal drainage returns | 6-24 hours per label | Does not overcome a full standing-water blockage |
| Chemical opener | Some organic clogs when label permits | Often 15-60 minutes | Splash, incompatibility, pipe, septic, and exposure risks |
| Professional auger or jetter | Main-line, recurring, or inaccessible clogs | 20-60 minutes typical service time | Typical service cost is $150-$450 |
Are Baking Soda and Vinegar Effective?
Baking soda and vinegar are poor choices for a completely blocked drain with standing water. Their reaction produces carbon dioxide, water, and sodium acetate, but the brief foaming action rarely shifts a compacted obstruction several feet inside a pipe.
The mixture can still help loosen light surface residue after normal drainage returns, but it should not be treated as a substitute for a plunger or auger. Never combine it with a commercial drain cleaner, bleach, or any product whose label prohibits mixing.
Should You Use Chemical Drain Cleaner?
Do not pour a chemical cleaner into standing water when you expect to plunge, snake, or remove the P-trap. A caustic or oxidizing product can remain in the basin and splash onto skin or eyes when mechanical pressure is applied.
Chemical drain cleaners do not automatically destroy PVC pipe. Many are labeled for compatible PVC, ABS, or metal systems when used exactly as directed, but damaged pipes, excessive dosage, repeated use, incompatible materials, and chemical residue create genuine risks. Product labels from manufacturers such as SC Johnson’s Drano specify usage, contact time, ventilation, and prohibitions against mixing products.
If cleaner is already present, stop mechanical work, keep children and pets away, ventilate the area, and read the product’s first-aid and disposal instructions. Do not add a second chemical to neutralize it. Contact Poison Control in the United States at 1-800-222-1222 for exposure guidance, or use the applicable service in your country.
What Changes for Different Fixtures?
Fixture design changes the best access point and the safest technique. A bathroom sink usually exposes a removable P-trap, while a shower drain often requires a long, narrow tool through the grate and a kitchen sink may share piping with a second basin or dishwasher.
| Fixture | Common clog location | Preferred first tool | Typical complication |
|---|---|---|---|
| Bathroom sink | Stopper, tailpiece, P-trap | Plastic pick, cup plunger | Lift-rod stopper traps hair |
| Kitchen sink | Strainer, P-trap, branch line | Cup plunger, hand auger | Second basin or disposal backs up |
| Bathtub | Stopper, overflow tee, trap | Cup plunger, auger through overflow | Overflow seal is easy to miss |
| Shower | Strainer, hair mat, trap | Plastic strip, narrow auger | Limited access and standing water |
| Garbage-disposal sink | Disposal chamber or shared branch | Power off, cup plunger | Object or food waste may jam impellers |
How Do You Clear a Bathtub or Shower?
Remove the drain cover, pull out reachable hair, block the overflow, and plunge with 1-2 inches of water over the drain. If the water remains unchanged, feed a narrow manual auger through the opening or, where the design allows, through the overflow access.
Do not pour drain chemicals into a shower pan and then insert a metal cable. The low basin increases splash exposure, and the chemical may remain concentrated near the grate. A plastic hair-removal tool is safer for a shallow hair mat.
What If a Double-Basin Sink Backs Up?
Plug the second basin tightly before plunging the first. Water rising in the adjacent bowl means pressure is traveling through the shared drain line, so an unsealed opening will prevent the plunger from transmitting force toward the obstruction.
If both bowls remain full after plunging and the P-trap is clear, the blockage likely sits past the shared connection. A longer auger may work, but repeated kitchen backups often justify professional branch-line cleaning.
Common Mistakes and How to Fix Them
| Mistake | Why it fails or creates risk | Corrective action |
|---|---|---|
| Pouring cleaner into full standing water | Leaves hazardous residue near the fixture | Stop, ventilate, follow the label, avoid tools |
| Using a toilet plunger on a flat drain | Flange prevents a stable seal | Use a flat cup plunger |
| Leaving the overflow open | Releases pressure through the overflow | Seal it with a damp cloth |
| Forcing a drain snake | Can kink cable or damage aged pipe | Rotate gently and withdraw at resistance |
| Pouring boiling water into a cold fixture | Thermal shock may damage porcelain or plastic | Use warm tap water |
| Plunging a disposal without cutting power | Creates an injury hazard from moving parts | Switch off power at the breaker first |
A common practitioner rule is to treat zero movement differently from slow improvement. A drain that drops slightly after plunging may respond to another controlled cycle; a drain that never changes can indicate a deeper obstruction, a closed stopper mechanism, or a shared-line blockage.
Another useful rule is to remove the P-trap earlier on a bathroom sink than on a tub or shower. The trap is accessible, inexpensive, and frequently contains the entire obstruction, while tub and shower traps are less accessible and easier to damage through aggressive cable work.
When Should You Call a Plumber?
Call a plumber when multiple fixtures back up, wastewater enters a floor drain, sewage odors persist, a cable will not release, or the drain reclogs within days. Those symptoms point beyond a simple stopper or nearby hair accumulation.
A main-line blockage often affects toilets, sinks, tubs, or floor drains at the same time. Stop using water throughout the property until the line is assessed, because every flush or appliance discharge can add wastewater to the backup.
Call promptly for these conditions:
- Chemical exposure: Cleaner contacted skin, eyes, or was inhaled.
- No access: The obstruction lies beyond the reach of a 25-foot hand auger.
- Recurring failure: The same fixture blocks repeatedly after cleaning.
- Structural signs: Gurgling, sewage odor, wet walls, ceiling stains, or shifting pipe joints.
- Older plumbing: Corroded galvanized steel, fragile cast iron, or visibly damaged plastic makes forceful snaking risky.
- Rental property: Report persistent standing water to the landlord before modifying fixed plumbing.
Typical professional drain service costs $150-$450 for an accessible residential clog, although emergency hours, difficult access, camera inspection, main-line cleaning, and regional labor rates can increase the bill. Hydro-jetting is generally reserved for heavy grease, scale, or recurring line buildup rather than a single hair clog.
How Long Does Drain Clearing Take?
A straightforward sink or shower clog usually takes 15-45 minutes of active DIY work. Plunging may take 5-10 minutes, while removing a P-trap or feeding an auger can add 10-25 minutes, excluding cleanup and leak checks.
| Job type | Typical active time | Typical DIY materials | Likely professional range |
|---|---|---|---|
| Stopper or hair removal | 5-15 minutes | $5-$15 | $100-$250 |
| Plunger clearing | 5-15 minutes | $10-$25 | $150-$300 |
| P-trap cleaning | 15-30 minutes | $10-$30 | $150-$350 |
| Hand-auger branch clog | 20-45 minutes | $15-$50 | $200-$450 |
| Main-line diagnosis | 30-90 minutes | Not usually DIY | $300-$1,000 or more |
These are typical planning ranges, not guaranteed prices. Location, access, after-hours scheduling, pipe condition, and whether inspection or replacement is required change the final cost.
How Can You Prevent Another Blockage?
Prevent recurrence by keeping solids, grease, and fibrous material out of the drain and by cleaning removable strainers regularly. A kitchen sink should receive scraped food waste in the trash or compost stream, while a bathroom drain benefits from a hair catcher cleaned weekly.
Use these maintenance practices:
- Wipe pans with paper towels before washing grease into the sink.
- Install a removable shower or tub hair screen.
- Clean sink stoppers every 2-4 weeks.
- Flush a normally draining kitchen sink with warm tap water for 30-60 seconds after washing greasy dishes.
- Do not flush wipes, cotton products, floss, paper towels, or cat litter.
- Keep the P-trap connections dry and inspect them after any DIY work.
- Investigate recurring clogs instead of repeatedly applying chemical opener.
Enzyme products may reduce organic residue during maintenance when the drain flows normally, but they cannot correct pipe slope, root intrusion, collapsed fittings, or a failed sewer lateral. Prevention cannot replace diagnosis when the same blockage returns.
Frequently Asked Questions
Can I unclog a drain without a plunger?
Yes. Remove the stopper and pull out visible debris with pliers or a plastic drain strip, then clean an accessible sink P-trap. A manual auger is the next mechanical option. Do not substitute compressed air or explosive pressure methods, which can damage fittings and propel contaminated water.
How do I know whether the clog is in the P-trap?
A bathroom or kitchen sink clog is likely in the P-trap when the sink fills quickly, the trap contains visible debris, and other fixtures drain normally. Place a bucket beneath the trap before loosening it. If the trap is clear and water still backs up, the obstruction is farther downstream.
Can a drain snake damage plumbing?
A drain snake can damage plumbing when excessive force is used against corroded metal, brittle plastic, a tight elbow, or a fixed obstruction. Use light forward pressure and steady rotation. Stop when the cable kinks, binds, or will not withdraw, because continued force can turn a simple clog into a pipe repair.
Why does my drain clog again after I clear it?
A drain that reclogs may contain residue beyond the original opening, a damaged or undersized pipe, mineral scale, grease buildup, roots, or an object that the auger only pierced. Repeated recurrence within days or weeks calls for a deeper auger pass or camera inspection rather than another chemical treatment.
Is standing water in a drain a health concern?
Standing water can contain bacteria, mold-supporting organic material, and sewage if the backup involves a waste line. Wear gloves, prevent splashes, disinfect the fixture after clearing it, and wash hands thoroughly. Treat water from multiple-fixture backups as potentially contaminated and limit household water use until the source is identified.
The Bottom Line
To unclog a drain with standing water, remove most of the water, expose the drain, seal the overflow, and use a flat cup plunger before a manual auger. Warm-water flushing belongs at the end, not the beginning. Avoid chemical products when mechanical work may follow, and call a plumber for multi-fixture backups, chemical exposure, recurring clogs, or inaccessible damage.