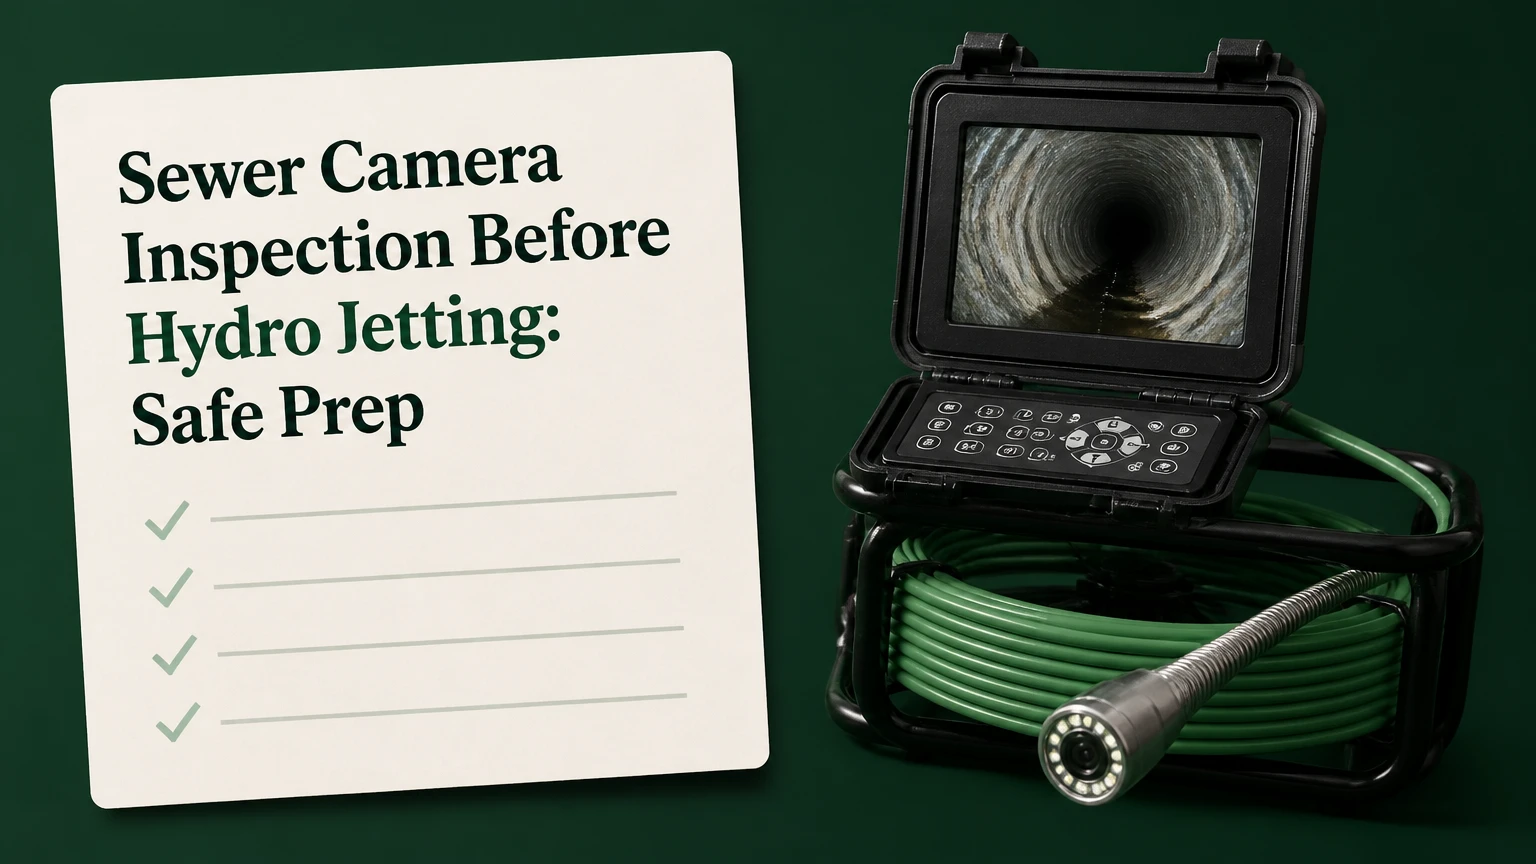
A sewer camera inspection before hydro jetting is a diagnostic check that identifies pipe material, blockage type, structural damage, and access conditions before high-pressure water enters the line. The inspection is strongly recommended for older, damaged, repeatedly blocked, or unknown sewer lines, although it is not universally mandatory for every pipe.
Key Facts at a Glance
- A sewer camera inspection can identify roots, grease, scale, cracks, offsets, bellies, and collapsed sections before cleaning.
- Hydro jetting removes deposits and obstructions, but it does not repair a collapsed, offset, or improperly sloped sewer pipe.
- Typical residential camera inspections cost about $250-$500 and take 30-60 minutes when a usable cleanout exists.
- A camera inspection does not prove that a pipe can safely tolerate a particular PSI; nozzle type, flow, distance, material, and defect condition also matter.
- Orangeburg, severely cracked clay, and visibly collapsed pipe require repair planning rather than blind jetting.
- A post-jetting camera run verifies cleaning results and documents whether the line remains structurally intact.
What Does a Sewer Camera Inspection Before Hydro Jetting Do?
A sewer camera inspection before hydro jetting shows whether the line is a suitable candidate for high-pressure cleaning and identifies the obstruction that needs treatment. A waterproof camera travels through the sewer lateral from an access point, while the technician watches and records the pipe interior in real time.
The camera typically uses a flexible push cable, a small lens, built-in lighting, and a self-leveling head. Many professional systems include a sonde, which transmits a signal that an above-ground locator can detect. The locator helps mark a defect’s approximate horizontal position and depth, but it is not a substitute for utility locating or an excavation plan.
The inspection answers four practical questions:
- What is blocking the pipe?
- Is the pipe structurally continuous?
- What pipe materials and connections are present?
- Can the technician safely choose a jetting hose and nozzle?
The word “mandatory” needs precision. No universal plumbing rule makes a camera inspection compulsory before every residential jetting job. A documented inspection becomes much more important when the pipe is old, repeatedly failing, made from uncertain materials, or inaccessible for direct evaluation.
Why Inspect the Sewer Line Before Hydro Jetting?
Inspection before hydro jetting reduces the risk of converting a drain-cleaning problem into a structural sewer replacement. High-pressure water can remove grease and roots, but water cannot stabilize a fractured pipe, bridge an open joint, or correct a sag that holds wastewater.
Hydro jetting equipment commonly operates within a broad range, often around 1,500-4,000 PSI at the pump for residential and light commercial work. Those figures describe equipment capability or operating practice, not a universal safe pressure for every sewer. Actual force at the pipe depends on flow rate, nozzle design, hose distance, jet angle, and the pipe’s condition.
A camera-first decision is especially valuable in these situations:
- A home was built before the 1970s and has unknown sewer materials.
- A drain snake repeatedly restores flow for only days or weeks.
- Roots return in the same location.
- The property contains Orangeburg, old clay, or badly corroded cast iron.
- The line has caused sewage backups inside the building.
- A plumber proposes high-pressure cleaning without showing the pipe condition.
- The sewer lateral crosses a slab, driveway, retaining wall, or landscaped area.
A camera cannot guarantee that jetting will cause no damage. It can expose visible warning signs before the cleaning decision is made.
How Is a Sewer Camera Inspection Performed?
A standard sewer camera inspection takes about 30-60 minutes when the technician has a clear cleanout and the line is passable. The technician identifies the access point, inserts the camera, records the run, measures defect distances, and locates significant findings from the surface when needed.
Step 1: Identify the Best Access Point
The technician starts at a sewer cleanout, usually a capped pipe in a basement, crawlspace, garage, or exterior ground area. A 3-inch or 4-inch cleanout generally provides better access than a removed toilet because it avoids a tight trap and gives a more direct route.
If no cleanout is usable, alternatives may include removing a toilet, accessing a building drain, or using a roof vent. Roof access introduces fall hazards and may limit camera control, so it should not be treated as equivalent to a properly installed cleanout.
Step 2: Establish Direction and Distance
The operator sets the footage counter at the entry point and feeds the camera slowly. The counter records cable length, not necessarily exact pipe distance, because bends, slack, and cable flex can create measurement error.
A useful report identifies whether the camera traveled toward the municipal main, septic tank, or a branch connection. “Twenty feet out” has little value without the starting point, direction, and a description of the defect.
Step 3: Evaluate the Interior in Real Time
The technician looks for deposits, intrusions, structural discontinuities, and changes in pipe geometry. The camera may reveal roots entering through joints, grease coating the crown and invert, mineral scale reducing the opening, or a displaced joint that catches the camera head.
The operator should also note transitions between materials, laterals, cleanout locations, standing water, and the apparent slope. A camera image can suggest a belly, but it cannot measure grade as accurately as a dedicated survey or excavation.
Step 4: Locate Important Defects
A sonde locator can mark the surface above a camera head containing a transmitter. The technician may record approximate depth and distance for a root mass, break, offset, or suspected collapse.
Sonde readings can be affected by signal strength, nearby metal, reinforced concrete, soil conditions, and operator technique. Surface paint marks should guide further investigation, not authorize digging without checking buried utilities and confirming the repair design.
Step 5: Decide Whether Cleaning Is Appropriate
The technician compares the observed condition with the proposed cleaning method. A partially scaled but continuous PVC or sound cast-iron line may be a reasonable jetting candidate, while an open collapse or severely fragmented Orangeburg line usually requires a repair discussion first.
A professional should explain the proposed nozzle, operating pressure, flow, access point, and stopping conditions. “We use 4,000 PSI” is incomplete information because pressure alone does not describe the force delivered to the pipe.
What Can the Camera Reveal Before Jetting?
A sewer camera can reveal both cleanable obstructions and defects that hydro jetting cannot correct. The most important distinction is whether material is sitting inside an intact pipe or whether the pipe itself has lost continuity, alignment, or grade.
| Camera finding | Typical appearance | Jetting implication | Likely next action |
|---|---|---|---|
| Grease coating | White, tan, or dark film narrowing the opening | Often cleanable | Select a grease-cutting nozzle |
| Tree-root intrusion | Hairlike or dense roots entering a joint | Often removable temporarily | Jet, then plan root-control or repair |
| Mineral scale | Rough crust on cast iron or clay | May require controlled cleaning | Use suitable nozzle and pressure |
| Offset joint | One pipe section visibly displaced | Jetting may worsen snagging | Repair or excavate the offset |
| Belly or sag | Persistent standing water in a low section | Jetting does not restore grade | Evaluate re-sloping or replacement |
| Crack or fracture | Linear break, missing wall, or daylight | High damage risk | Repair before aggressive cleaning |
| Collapse | Camera blocked by deformed or missing pipe | Jetting is inappropriate | Locate and replace the failed section |
Tree roots deserve careful interpretation. Root cutting can restore flow, but roots usually return when the joint remains open. Jetting is therefore a cleaning method with a potentially temporary result, not a permanent root repair.
A belly also creates a common diagnostic trap. A jetter may wash debris out of a sag temporarily, yet wastewater and solids continue collecting at the low point because the pipe elevation has not changed.
Which Pipe Materials Need Extra Caution?
Old Orangeburg and severely damaged clay sewer lines present greater uncertainty than intact PVC because their walls, joints, and shape may have deteriorated. A camera inspection should identify the material and document visible damage before a technician selects aggressive cleaning equipment.
| Pipe material | Common age or context | Camera concerns | Practical cleaning approach |
|---|---|---|---|
| PVC | Common in modern repairs and new construction | Crushed sections, separated joints, root entry | Jet only after checking continuity |
| Cast iron | Common in older homes and commercial buildings | Internal scale, corrosion, bellies | Controlled descaling with suitable nozzle |
| Vitrified clay | Older residential laterals and municipal connections | Open joints, cracks, root intrusion | Inspect each joint before jetting |
| Orangeburg | Mostly pre-1970 installations | Ovaling, delamination, soft walls | Avoid blind high-pressure cleaning |
| Concrete | Large mains and some older systems | Joint movement, surface erosion | Use system-appropriate CCTV equipment |
Pipe age does not determine safety by itself. A 60-year-old cast-iron line can be more serviceable than a 15-year-old pipe damaged by settlement, while a newer PVC line can still have a crushed section from construction activity.
A technician should not promise that a camera “cleared” the pipe for a specific pressure without explaining the evidence. The appropriate conclusion is conditional: the visible run appears continuous, the proposed method is suitable for the observed obstruction, and the operator will stop if new damage or instability appears.
How Much Does the Inspection and Jetting Cost?
A typical residential sewer camera inspection costs $250-$500, while a camera inspection bundled with hydro jetting commonly totals about $500-$900 before repairs. Local labor rates, emergency timing, access work, pipe length, and whether the technician provides locating and recorded footage can move the price substantially.
| Service component | Typical residential range | Typical duration | What changes the price |
|---|---|---|---|
| Camera inspection from cleanout | $250-$500 | 30-60 minutes | Length, recording, locating |
| Camera plus hydro jetting | $500-$900 | 1.5-3 hours | Deposits, hose access, cleanup |
| Toilet removal for access | $150-$400 | 30-90 minutes | Toilet type and reset requirements |
| Mechanical pre-clearing | $150-$350 | 30-90 minutes | Blockage density and access |
| Localized sewer repair | $1,000-$5,000 or more | 1-3 days | Depth, surface, pipe diameter |
These are typical planning ranges, not a national price schedule. A quote should state whether it includes a video file, sonde locating, a written report, access restoration, jetting passes, cleanup, and a post-cleaning inspection.
The least expensive first visit can become the most expensive outcome if a contractor jets blindly through a weakened line beneath a finished floor. Inspection cost is usually small compared with excavation, concrete replacement, landscaping, or emergency sewage remediation.
Inspection First Versus Jetting Blind
Inspection first is the safer default for an unknown or repeatedly failing sewer line, while blind jetting may be reasonable only when the pipe is known to be sound and the blockage prevents immediate flow restoration. The decision turns on structural uncertainty, not on whether the initial camera fee feels inconvenient.
| Decision factor | Inspection before jetting | Blind jetting |
|---|---|---|
| Initial service time | 30-60 minutes | Often 60-120 minutes |
| Upfront residential cost | About $250-$500 | Saves inspection fee initially |
| Structural information | Video evidence before cleaning | No condition evidence |
| Root and grease targeting | Location and severity known | Nozzle selection relies on symptoms |
| Repair planning | Defects can be located | Damage may become apparent afterward |
| Best use case | Old, unknown, recurring, fragile line | Known sound pipe with urgent access issue |
A mechanical cable or auger is different from hydro jetting. An auger makes a narrow passage through many blockages, whereas jetting uses water flow to scour deposits from the pipe wall and flush debris downstream. Neither method repairs a collapse or corrects a belly.
When Can a Technician Clear First?
A technician may use a controlled auger before camera inspection when standing water completely prevents visibility and the building needs immediate drainage. The goal should be to create a small passage, drain the line, and inspect before any high-pressure cleaning, rather than replacing diagnosis with repeated mechanical cleaning.
This exception requires restraint. If the auger meets hard resistance, repeatedly snags, or returns fragments of pipe, the operator should stop and reassess instead of forcing the tool through a suspected structural failure.
What Should the Inspection Report Include?
A useful sewer camera report includes the recorded video, inspection direction, starting access point, footage counter, pipe material, observed defects, and surface location of significant findings. A blurry video without distance markers cannot support a reliable repair estimate or prove that hydro jetting worked.
Ask for these deliverables:
- A downloadable MP4 file or durable viewing link.
- The property address and inspection date.
- The access point and direction of travel.
- Footage distance for each defect.
- Notes on pipe material and diameter.
- Sonde-located depth where relevant.
- Still images of roots, cracks, offsets, and collapse.
- A clear recommendation for cleaning, repair, or further testing.
- Before-and-after footage if jetting is performed.
A camera inspection has limits. Greasy water, sediment, turbulent flow, lens fouling, tight bends, and a blockage can hide the pipe wall. The report should identify those blind spots instead of presenting an incomplete run as a full-line certification.
What Happens After Hydro Jetting?
A post-jetting camera inspection confirms whether deposits and roots were removed and whether the camera can now travel through the entire accessible line. The second video also creates a record of remaining defects, which prevents a recurring backup from being mistaken for a failed cleaning.
The post-cleaning sequence should include:
- Flush the line with controlled water.
- Run the camera from the same access point.
- Compare footage distances with the pre-cleaning video.
- Record remaining roots, scale, cracks, offsets, and standing water.
- Confirm that debris did not relocate and obstruct a downstream section.
- Provide the new video and a maintenance recommendation.
A clean-looking pipe is not automatically a healthy pipe. Jetting can expose a previously hidden crack by removing grease around it, and the camera should document that finding rather than treating it as evidence that cleaning caused the defect.
How Long Does a Sewer Camera Inspection Take?
A straightforward residential inspection usually takes 30-60 minutes, but access problems, heavy blockage, long laterals, and locating work can extend the appointment to two hours or more. Hydro jetting adds approximately 60-120 minutes for setup, cleaning passes, flushing, and verification.
| Situation | Camera time | Total service expectation | Main delay |
|---|---|---|---|
| Clear exterior cleanout | 30-45 minutes | 1.5-2.5 hours with jetting | Hose setup |
| Partial blockage | 45-75 minutes | 2-3 hours with pre-clearing | Draining standing water |
| No usable cleanout | 60-120 minutes | 2-4 hours | Toilet removal or access creation |
| Long commercial lateral | 1-3 hours | 3-6 hours | Multiple lines and locating |
| Collapsed section | 30-90 minutes | Repair visit required | Camera cannot pass defect |
Camera cable length does not equal inspected sewer length. Standard push-camera reels often carry 100-200 feet, but friction, bends, and pipe diameter may limit the actual distance reached.
What If the Camera Cannot Pass the Blockage?
When a camera cannot pass a blockage, the technician should document the obstruction, use controlled pre-clearing if appropriate, and inspect again before hydro jetting. A camera that stops at a hard collapse, severe offset, or inaccessible bend should not be forced through with high pressure.
Common recovery options include:
- Use a small drain cable to open a narrow passage.
- Drain standing water before restarting the camera.
- Try a smaller camera head for tight residential bends.
- Access the line from a downstream cleanout.
- Remove a toilet only when the access route is safe and justified.
- Use a lateral-launch or crawler camera for larger systems.
- Stop and locate the obstruction when structural failure is suspected.
A camera head may fail to turn a sharp 90-degree bend, especially in older building drains. That limitation does not prove that the sewer beyond the bend is defective, and it should be stated clearly in the report.
Which Equipment Is Appropriate?
Push cameras suit most 3-6 inch residential laterals, while crawler, pan-and-tilt, or lateral-launch systems are better for larger commercial mains and complex branch networks. Equipment choice should match pipe diameter, access geometry, inspection distance, and the information required.
| Equipment type | Typical pipe context | Reach or capability | Best application |
|---|---|---|---|
| Push camera | 3-6 inch residential lines | About 100-200 feet | Main lateral diagnosis |
| Mini push camera | 1.5-3 inch drains | Shorter, tighter routes | Small branches and elbows |
| Pan-and-tilt camera | 6-inch or larger lines | Views laterals at junctions | Commercial connections |
| Lateral-launch system | Large mains with branches | Launches into side lines | Multi-unit properties |
| Crawler camera | 8-inch or larger mains | Motorized long-distance travel | Commercial and municipal lines |
High-definition and self-leveling features improve interpretation, but they cannot overcome opaque water or a blocked lens. A standard camera can still produce a useful inspection when the operator controls speed, cleans the lens, and narrates distance and findings.
What Are the Most Common Mistakes?
The most expensive mistake is treating hydro jetting as a structural repair. Jetting removes material from a pipe; it does not replace missing pipe, restore slope, seal an open joint, or prevent roots from returning through a defective connection.
Avoid these errors:
- Jetting unknown old pipe blindly: Inspect material and continuity first.
- Using PSI as the only safety metric: Match nozzle, flow, hose, and pressure to the line.
- Skipping the after-video: Verify the result instead of relying on improved drainage alone.
- Calling every standing-water section a clog: Evaluate a possible belly separately.
- Accepting a camera file without distances: Require access point, direction, and footage markers.
- Assuming root removal is permanent: Plan repair or periodic maintenance when joints remain open.
One practitioner rule is especially useful: recurring roots at the same footage distance usually indicate a persistent entry point, not a need for increasingly aggressive cleaning. Repeated jetting can postpone repair while increasing the number of times a compromised joint is exposed to pressure.
Who Should Schedule a Camera Inspection?
Homebuyers, owners of older properties, and commercial operators with recurring drainage problems benefit most from a camera inspection before cleaning. Emergency customers may need immediate flow restoration first, but the inspection should follow as soon as the line becomes passable.
Homebuyers
A sewer scope is worthwhile before closing when the lateral’s age, material, route, or condition is unknown. A general home inspection rarely provides the same internal view of the buried sewer line, and repair responsibility may change at the property line or municipal connection.
Existing Homeowners
Schedule inspection when multiple fixtures back up together, a basement floor drain overflows, toilets gurgle during laundry discharge, or a cleared line fails again within weeks. A single isolated sink clog usually does not justify sewer jetting or a full lateral scope.
Commercial Properties
Restaurants and food-service buildings need special attention to fats, oils, and grease, or FOG. A camera can identify whether recurring backups originate in the building drain, downstream lateral, grease interceptor connection, or municipal side, while maintenance frequency should follow actual accumulation rather than an unsupported six-month promise.
DIY Users
Renting a camera may help locate a simple blockage, but DIY hydro jetting carries risks involving hose recoil, contaminated water, equipment control, and pipe damage. A homeowner should not use a rented jetter blindly, particularly where Orangeburg, old clay, collapse, or unknown buried utilities are involved.
FAQ
Is a sewer camera inspection necessary for every drain cleaning?
No. A camera inspection is usually unnecessary for a single, obvious sink or shower clog that responds to normal cleaning. It becomes appropriate for a main sewer backup, recurring blockage, suspected roots, unknown pipe material, multiple affected fixtures, or any proposed hydro jetting on an older line.
Can hydro jetting damage PVC sewer pipe?
Hydro jetting can damage any sewer pipe when the equipment, nozzle, pressure, or operating distance is inappropriate, although intact PVC is generally more tolerant than deteriorated Orangeburg or fractured clay. The technician should inspect for crushed sections, separated joints, and installation defects before selecting a cleaning method.
Does hydro jetting remove tree roots permanently?
No. Hydro jetting can cut and flush existing roots, but it does not close the joint or crack where roots entered. Roots may return until the defective section is repaired, replaced, or internally renewed, so recurring root intrusion requires a repair strategy rather than repeated cleaning alone.
How often should a sewer line receive a camera inspection?
There is no universal inspection interval. Inspect after recurring backups, before major cleaning on an unknown line, during a property purchase, or when a prior report identifies defects. Commercial properties should base repeat inspections on FOG accumulation, usage, line history, and documented maintenance results.
Can a sewer camera find a belly in the pipe?
A camera can suggest a belly by showing persistent standing water, a low point, or repeated debris accumulation. Camera footage alone may not measure slope or depth precisely, so confirming the defect can require locating, a level survey, or excavation, especially before choosing a replacement design.
Should you snake or hydro jet before a camera inspection?
Use a controlled snake only when a complete blockage prevents the camera from seeing the line and immediate drainage is needed. The preferred sequence is to open a passage, inspect the pipe, then decide whether hydro jetting is safe and useful. Blindly repeating either method leaves the structural cause unknown.
The Bottom Line
A sewer camera inspection before hydro jetting is the safest default when a line is old, damaged, repeatedly blocked, or made from unknown material. The camera identifies whether the problem is grease, roots, scale, a belly, an offset, or structural collapse, while hydro jetting addresses only the cleanable category. Require recorded before-and-after footage, documented distances, an explanation of the proposed equipment, and a repair recommendation for every defect that cleaning cannot correct.